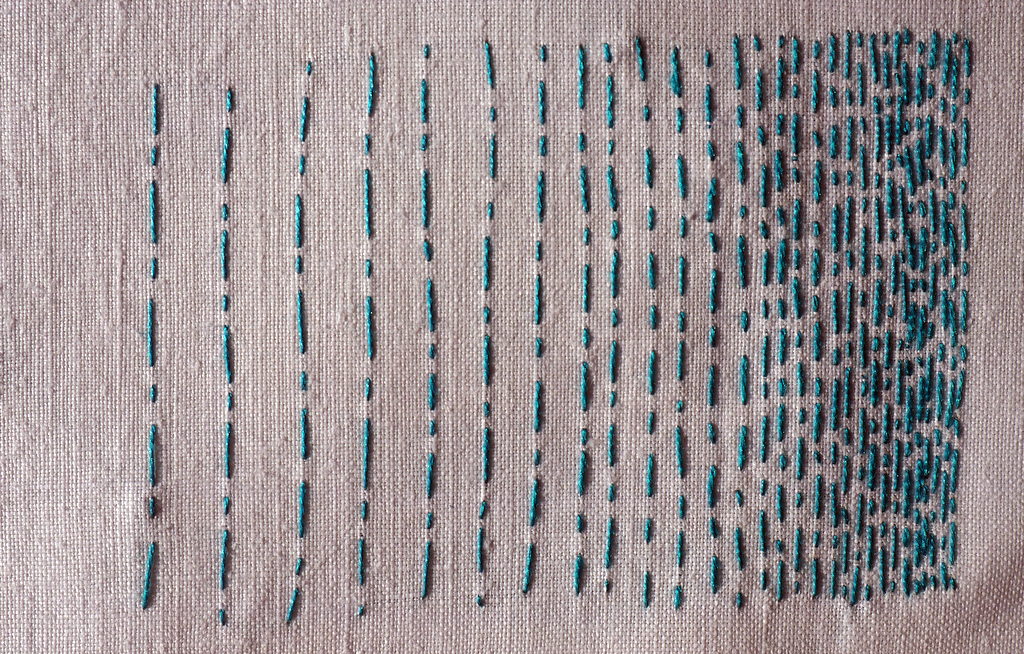
Last week Hazel was concentrating on one stitch and pushing the possibilities of it. So here in the paper blog this week we are going to do the same thing – but with a mark. This is one of the creative warmups we use with students on our year-long courses; these are a great kick-start if you want to do something creative but don’t know where to start or are out of ideas. Once you get doing something, anything, you’ll find the ideas start to flow. You might even decide to start a daily practice… (more on this next week).
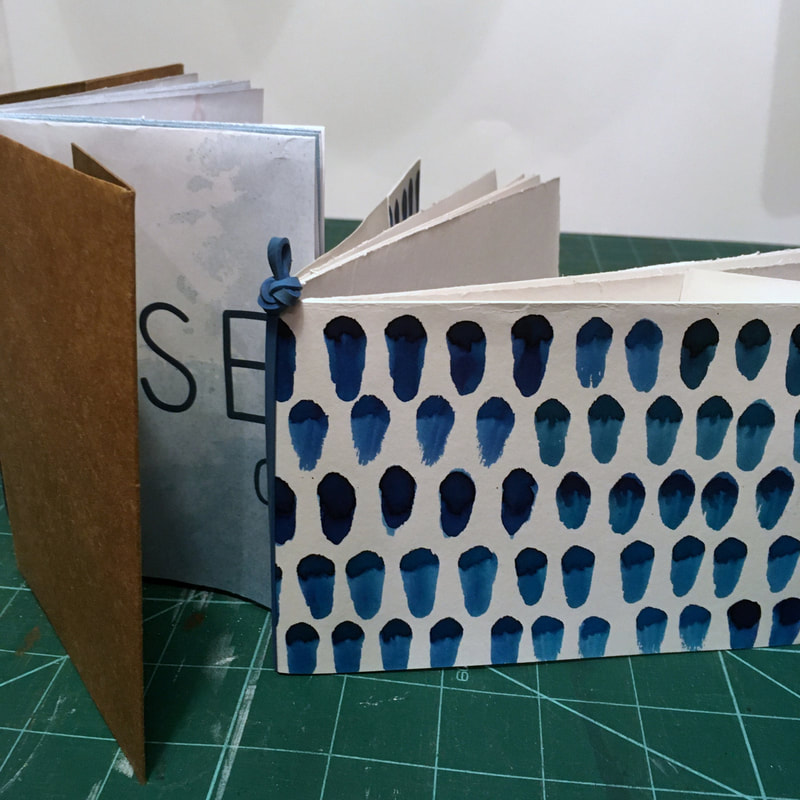
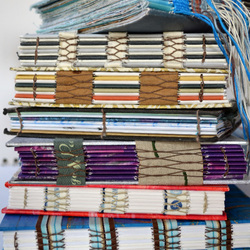
Today we are going to look at just one of the many ways of exploring and playing with mark making. It's one of our favourite ways of adding interest to sketchbook pages and stitched pieces, and makes great personalised paper for collage, card making and even wrapping paper! And you might have noticed that many of the covers I made for my little books had just one mark - a very simple brush daub.
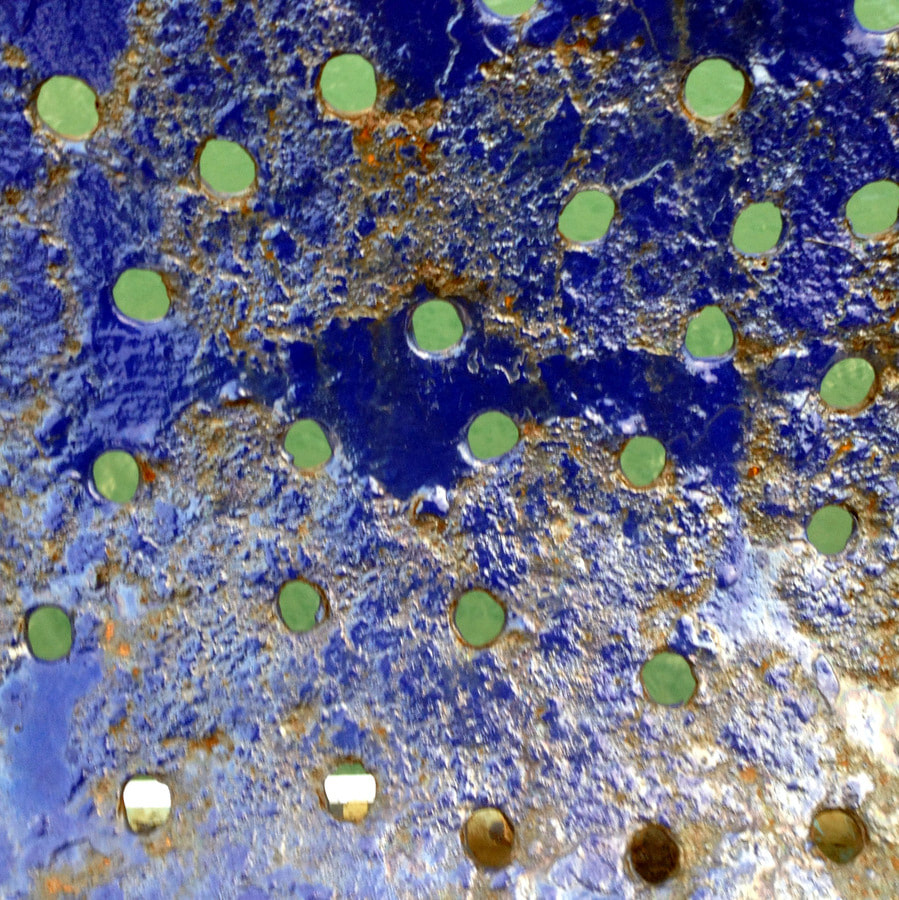
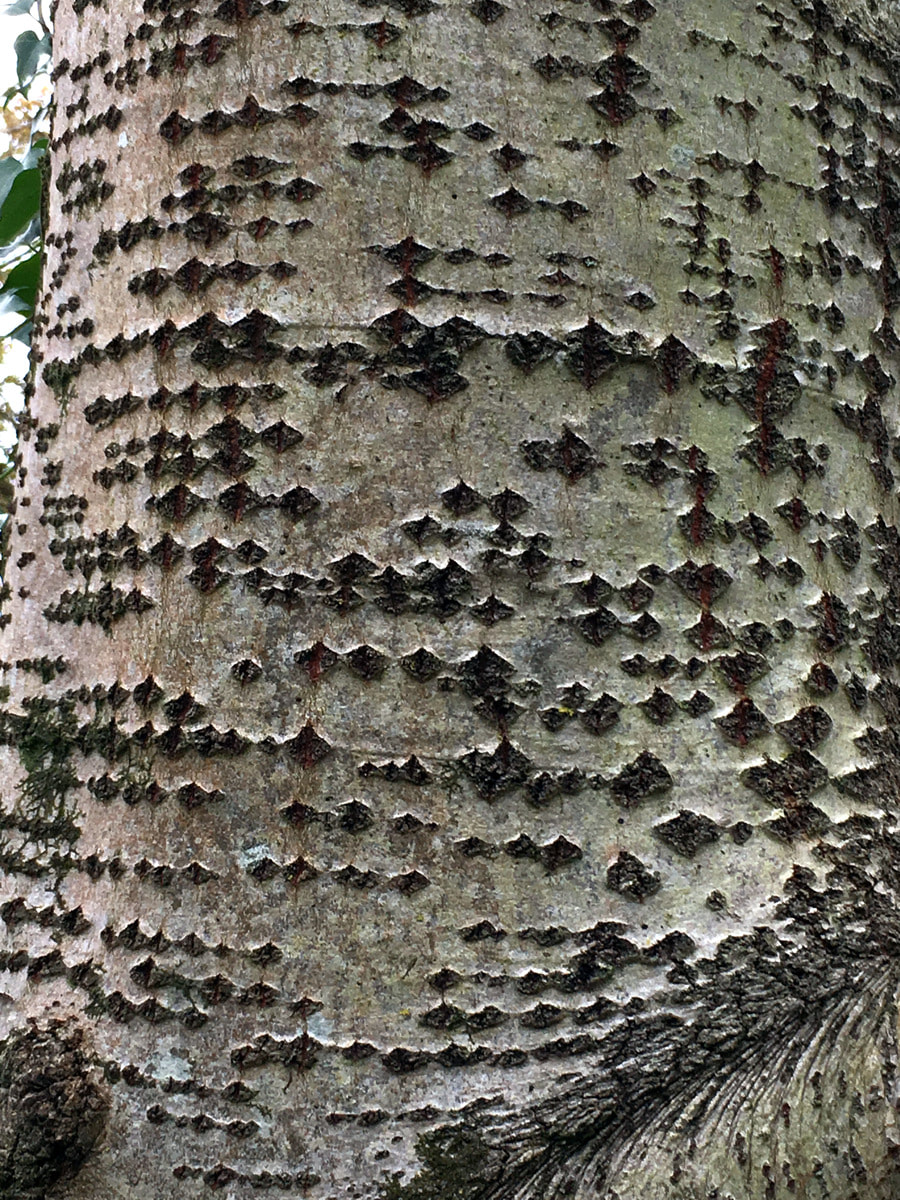
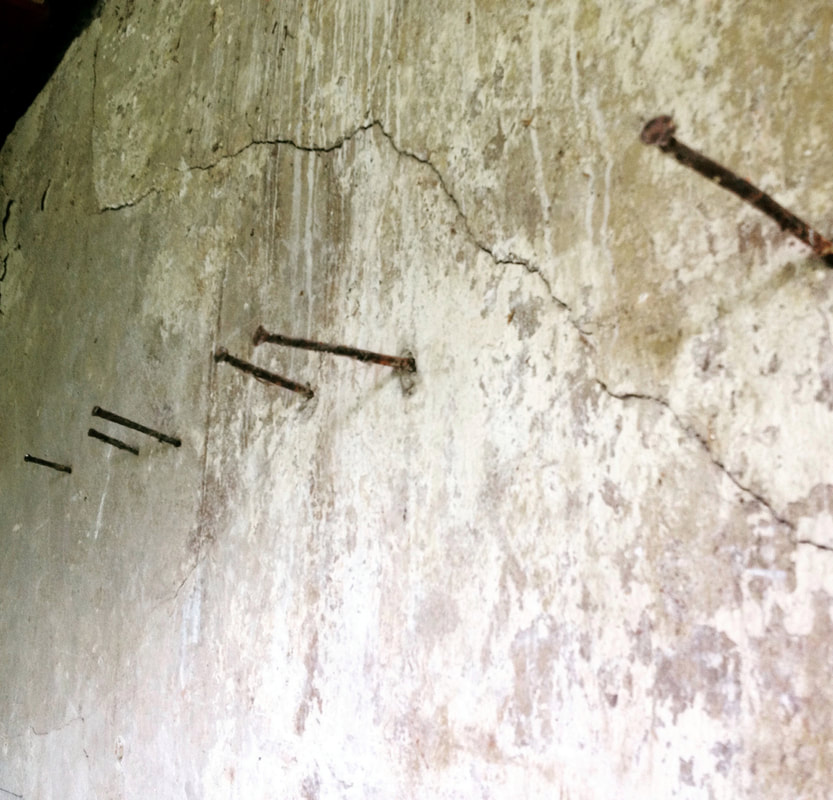
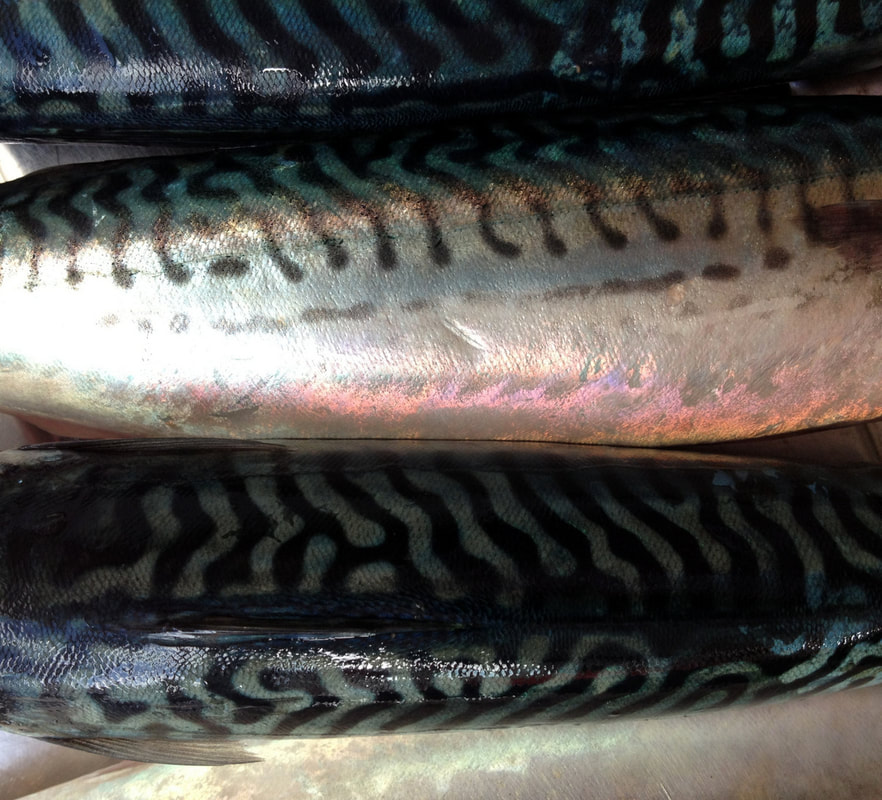
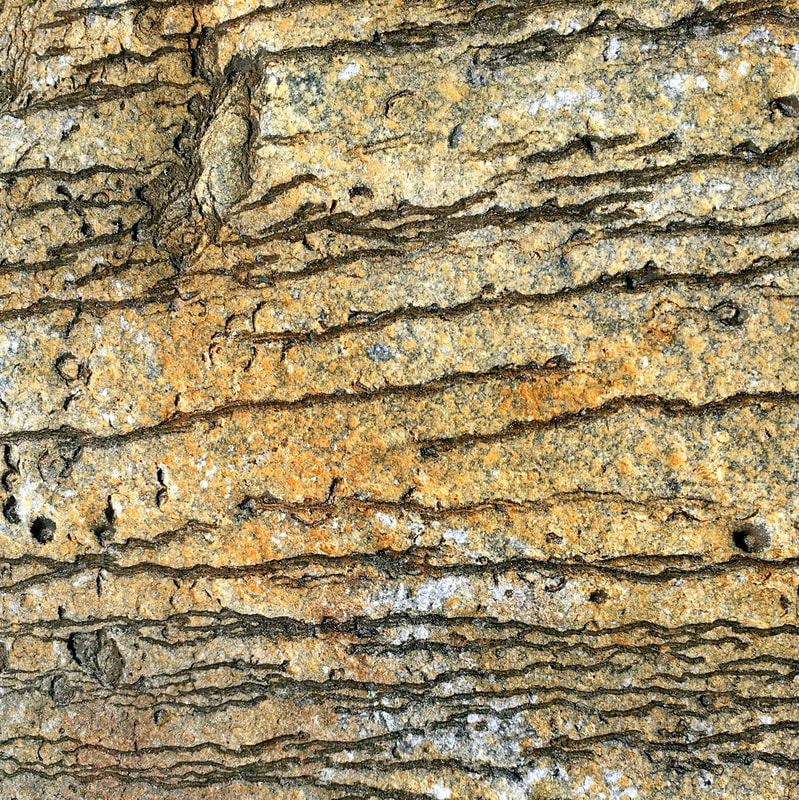
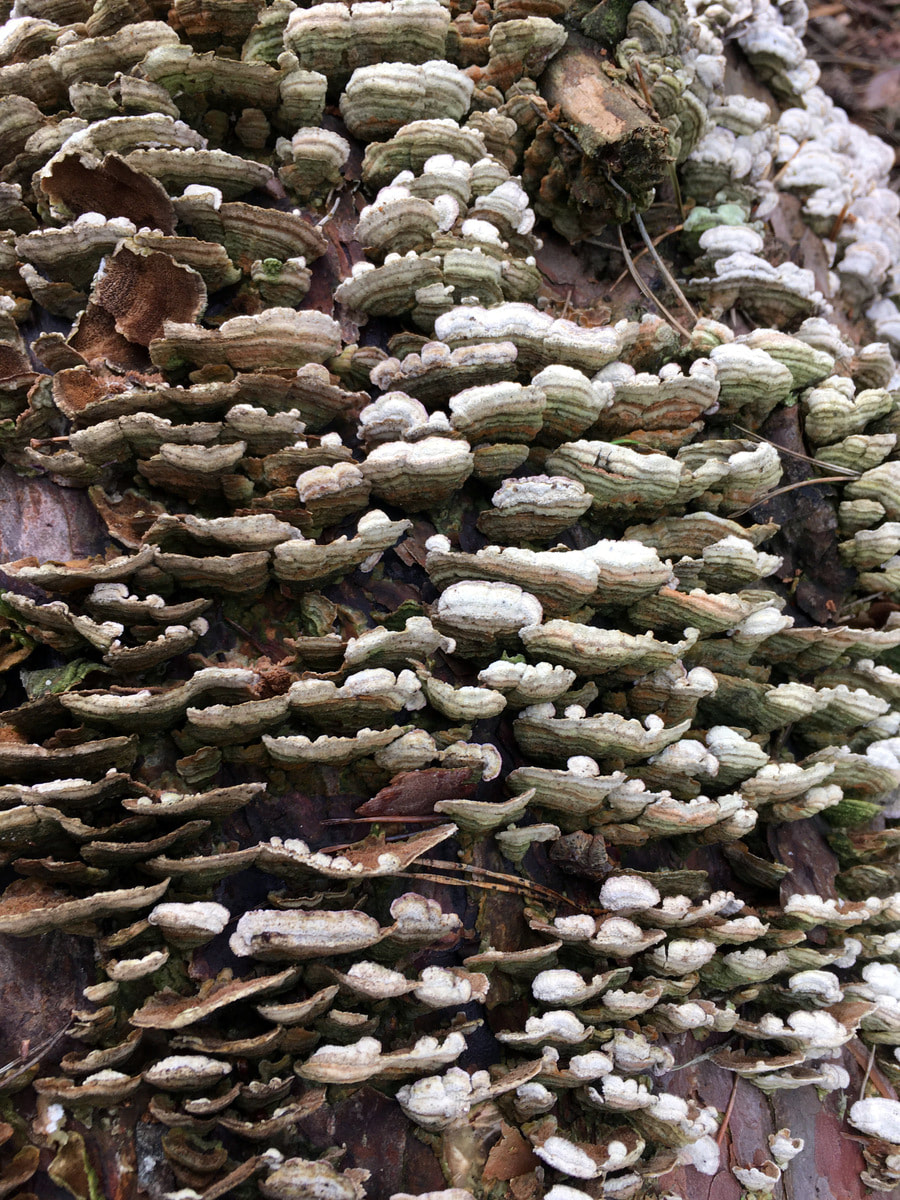
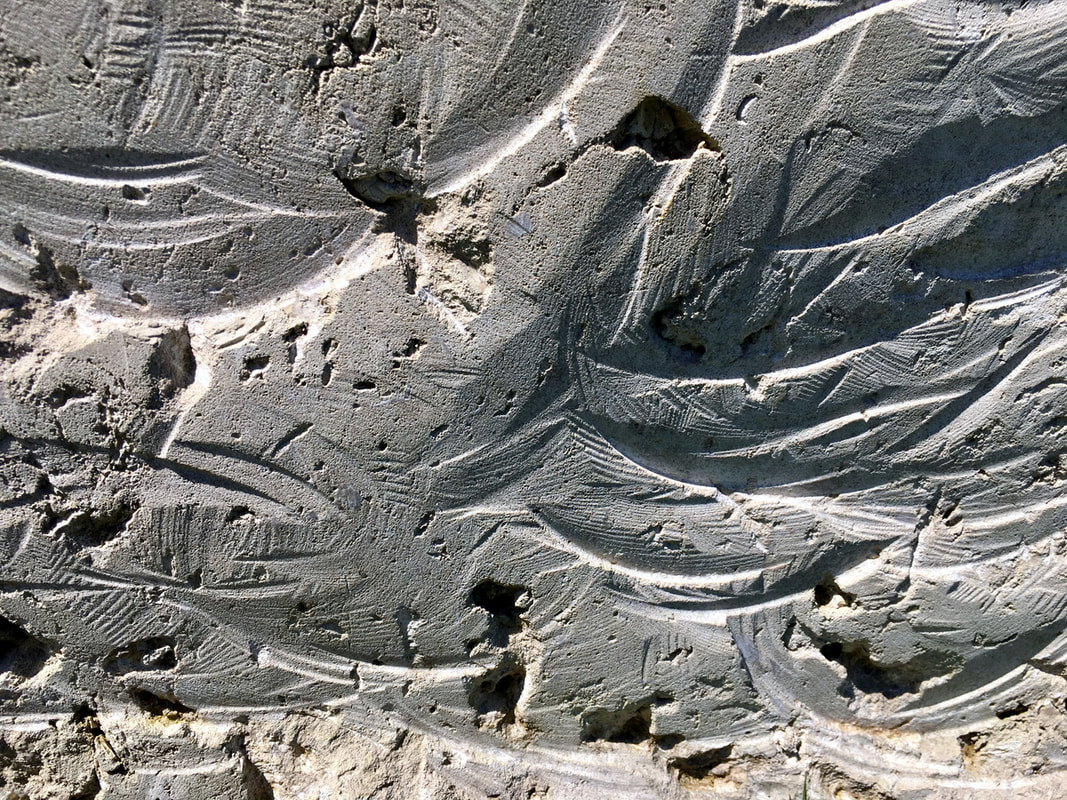
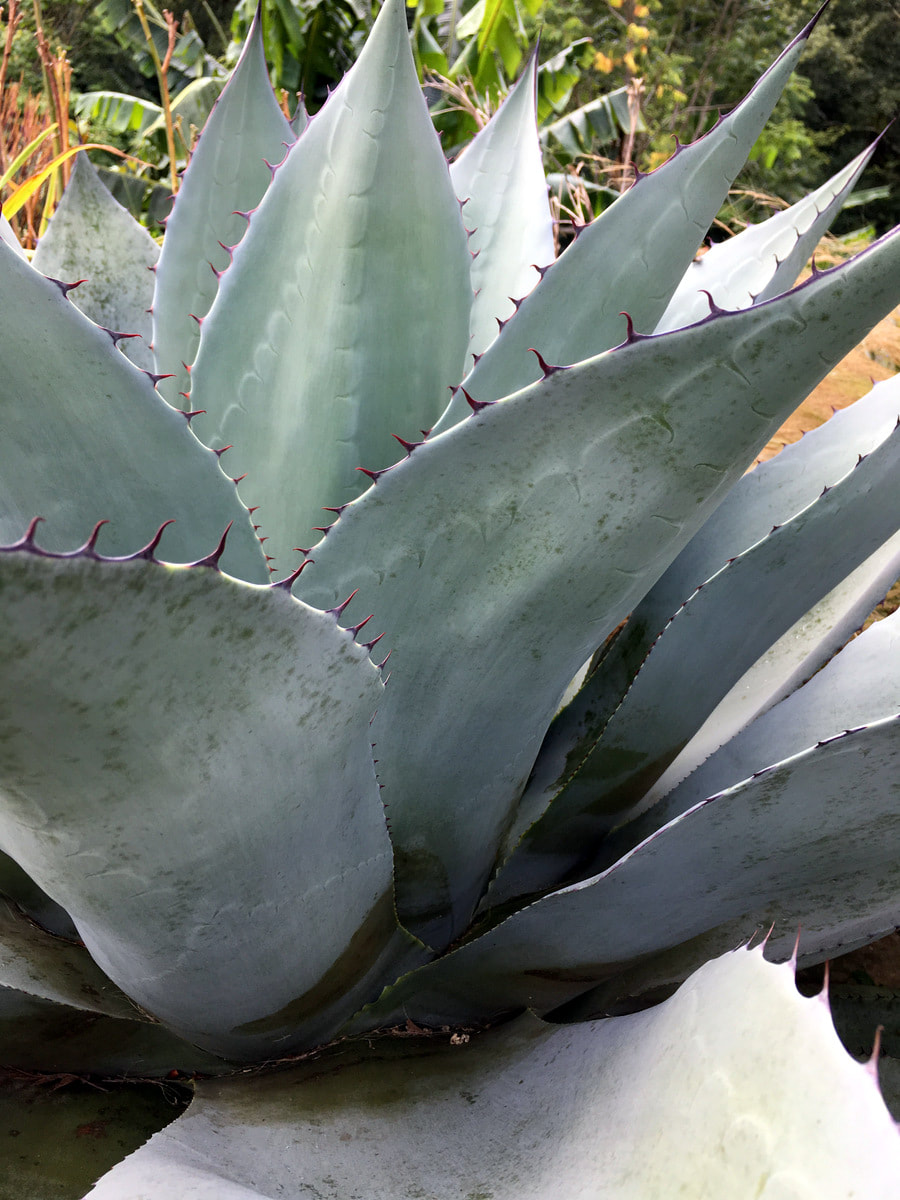
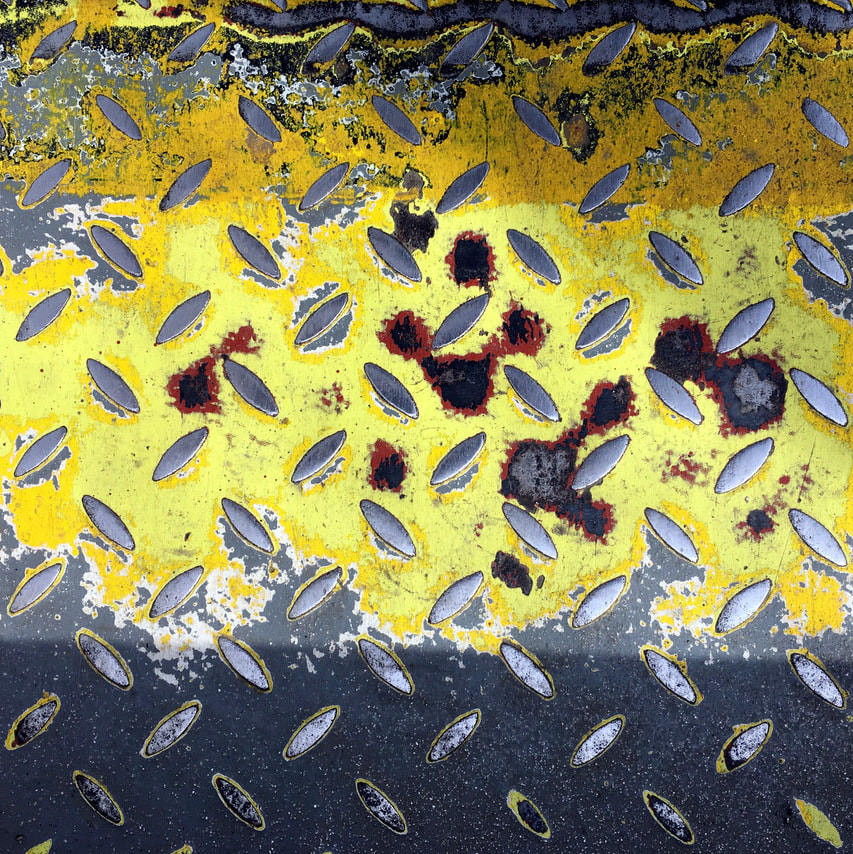
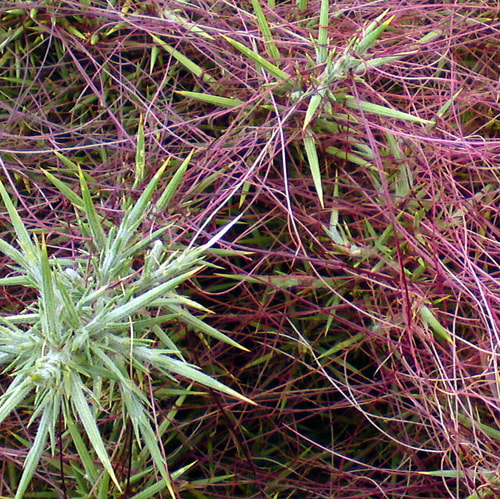
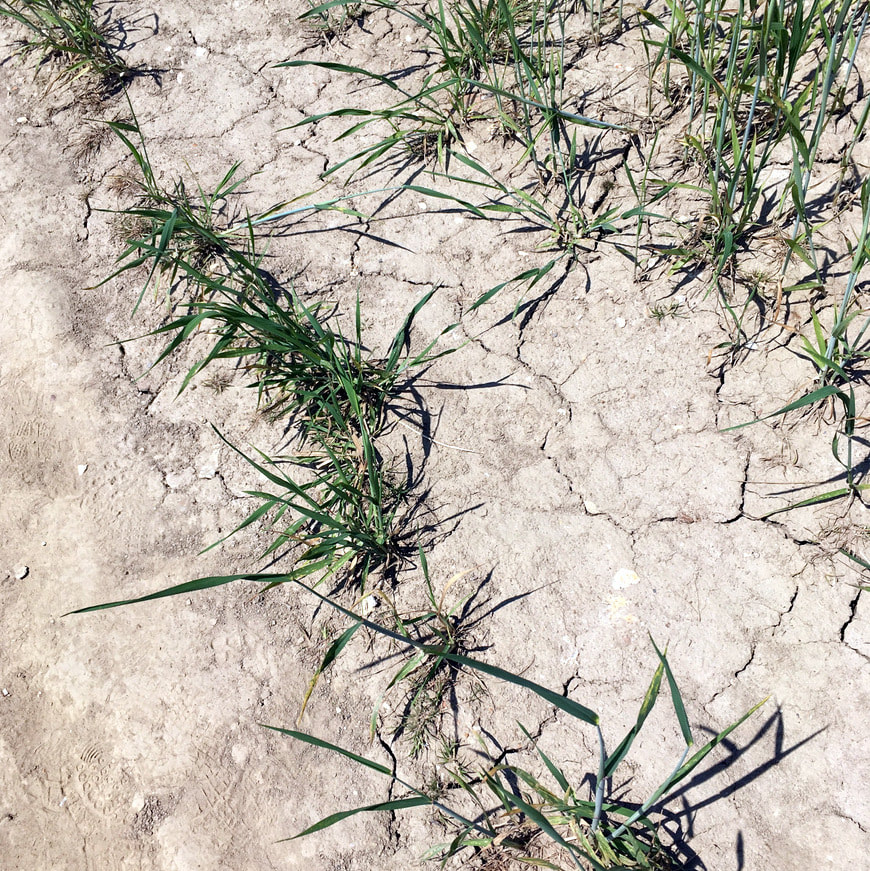
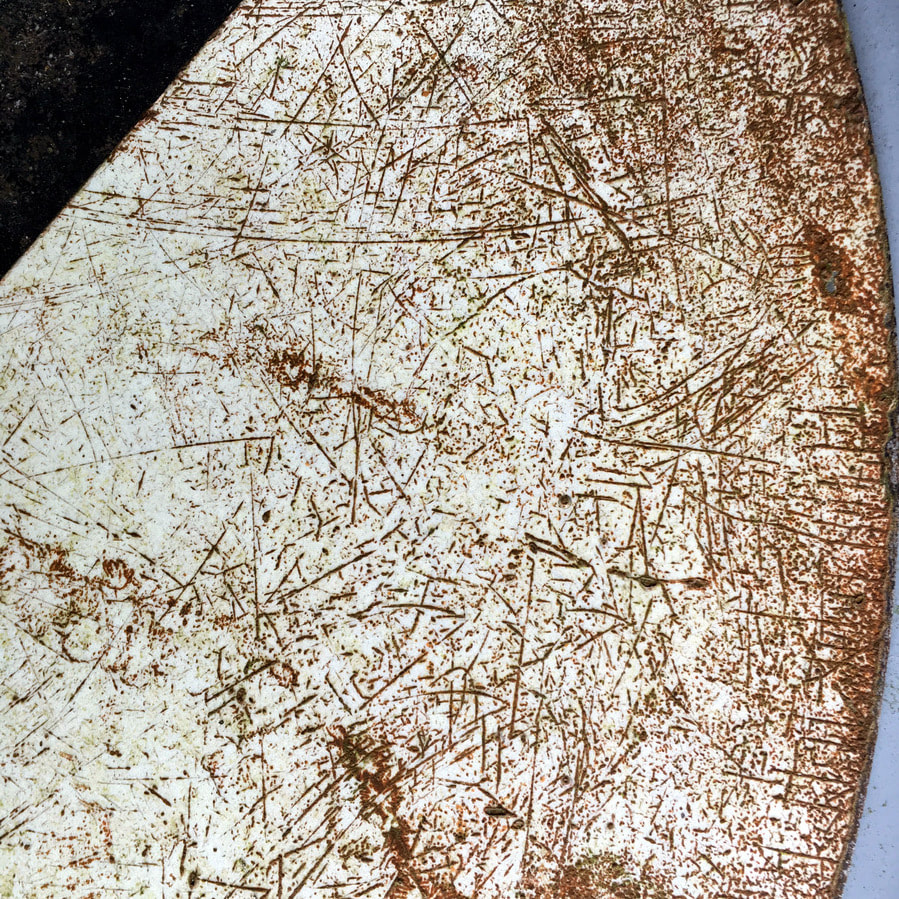
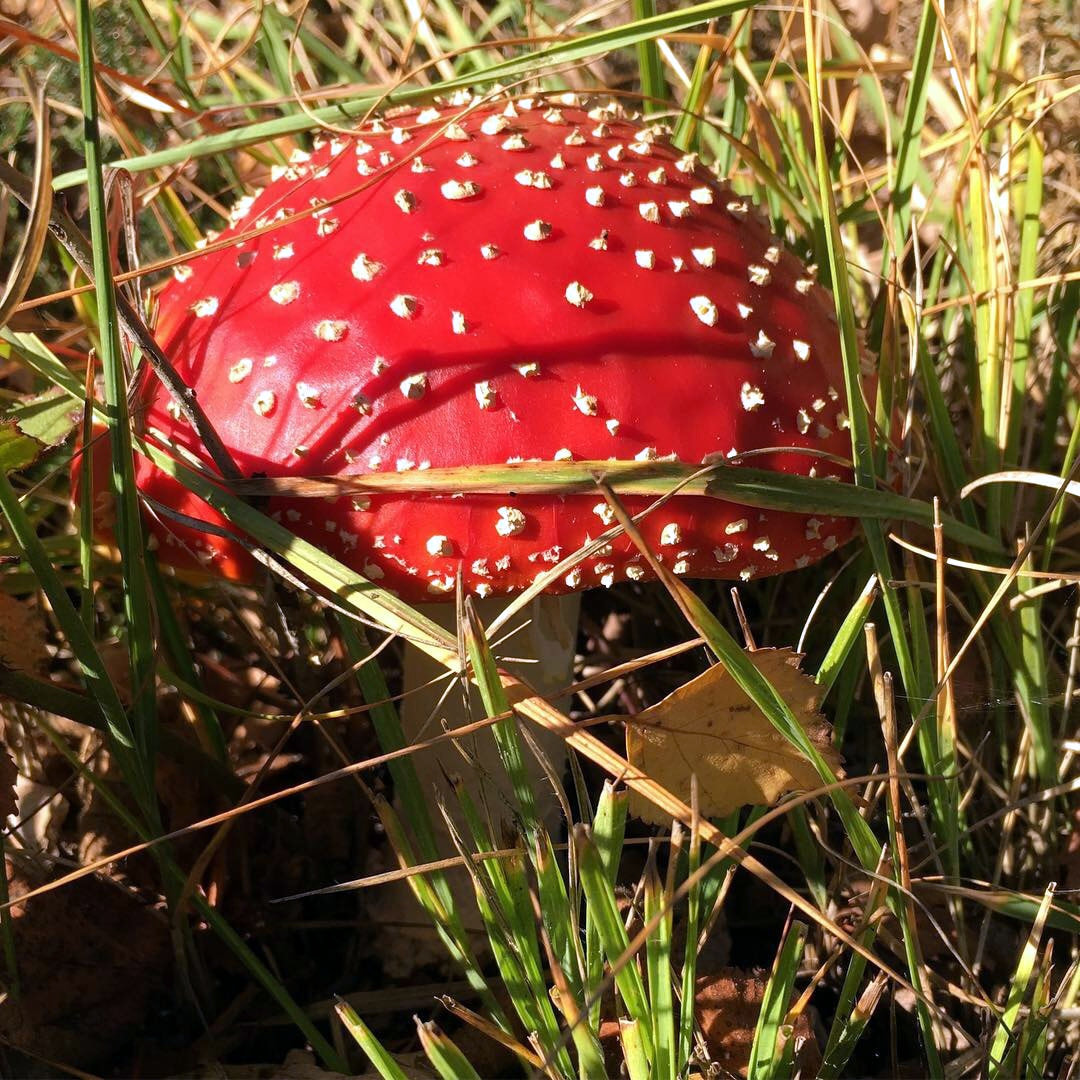
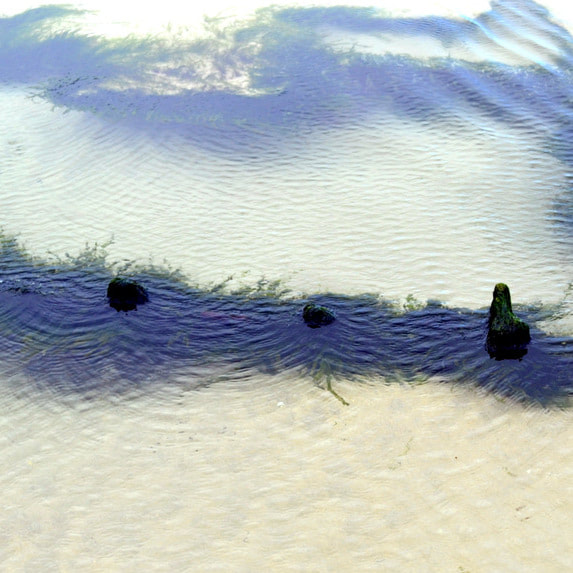
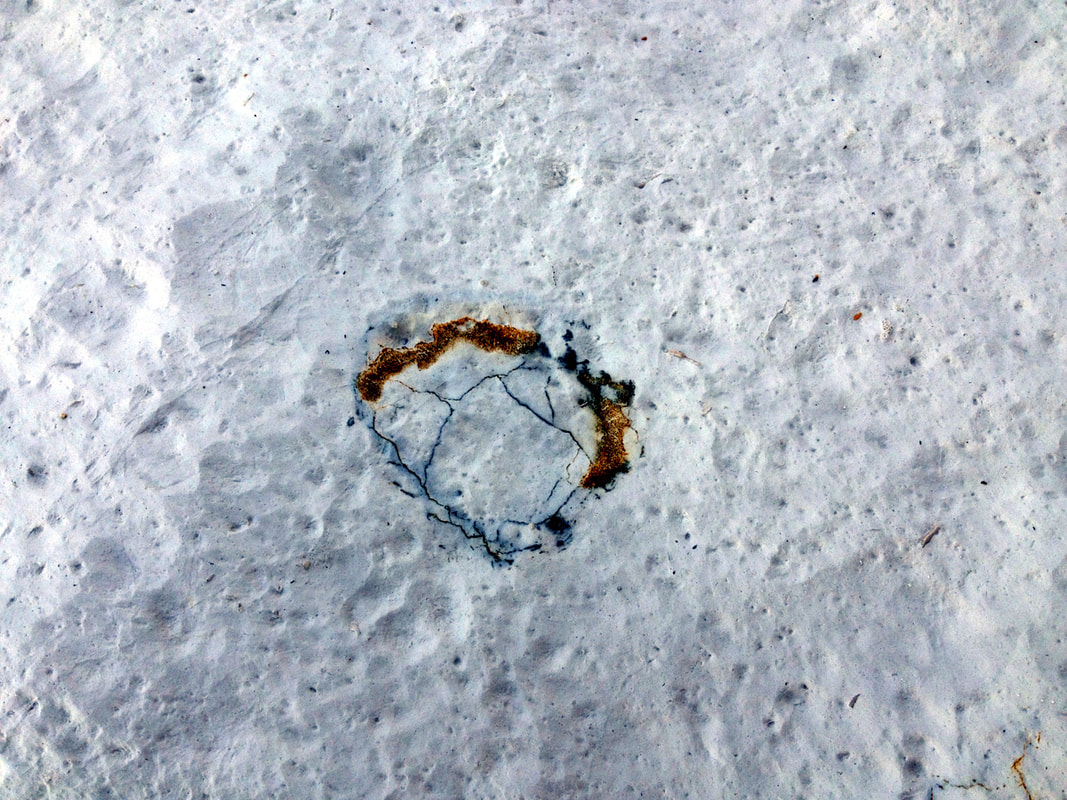
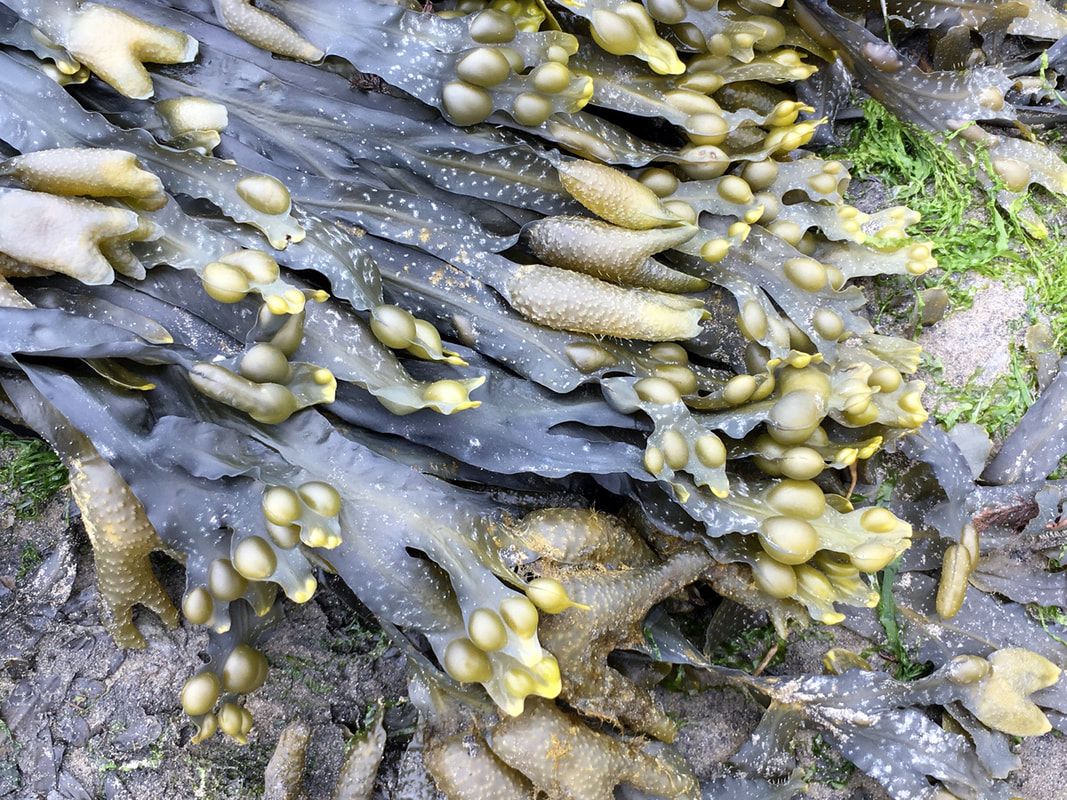
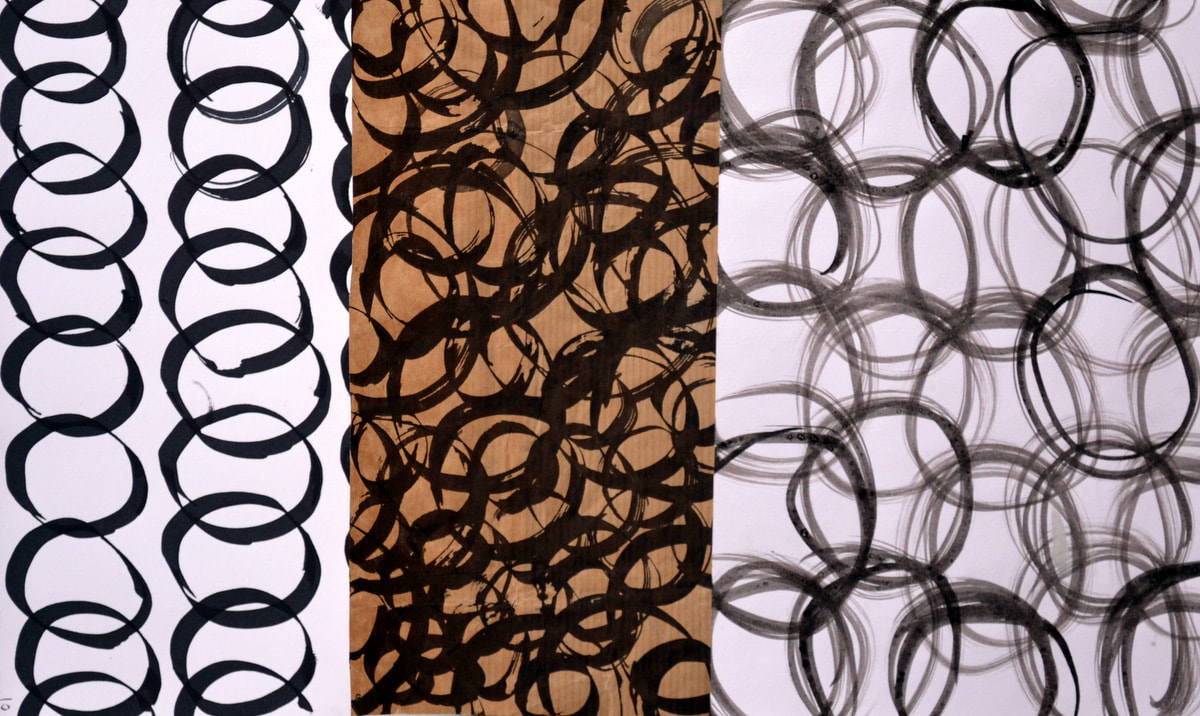
Inspiration for marks is all around us - the variety of shape and arrangements is endless.
Inspiration for marks is all around us - the variety of shape and arrangements is endless.

As I said, there are loads of ways of making marks, and in future weeks we will explore some of the others, but for now we're going to start with a simple mark – a quick, single contact of the tool with the paper. It’s not a drawing or an outline of a complex shape. Simple marks include dot, dash, tick, cross, circle, spiral, squiggle, triangle, splat. The idea is to see what we can do with this mark; how many different ways we can make it.


Multiple marks build to create textures or pattern and can add interest and liveliness to your work.
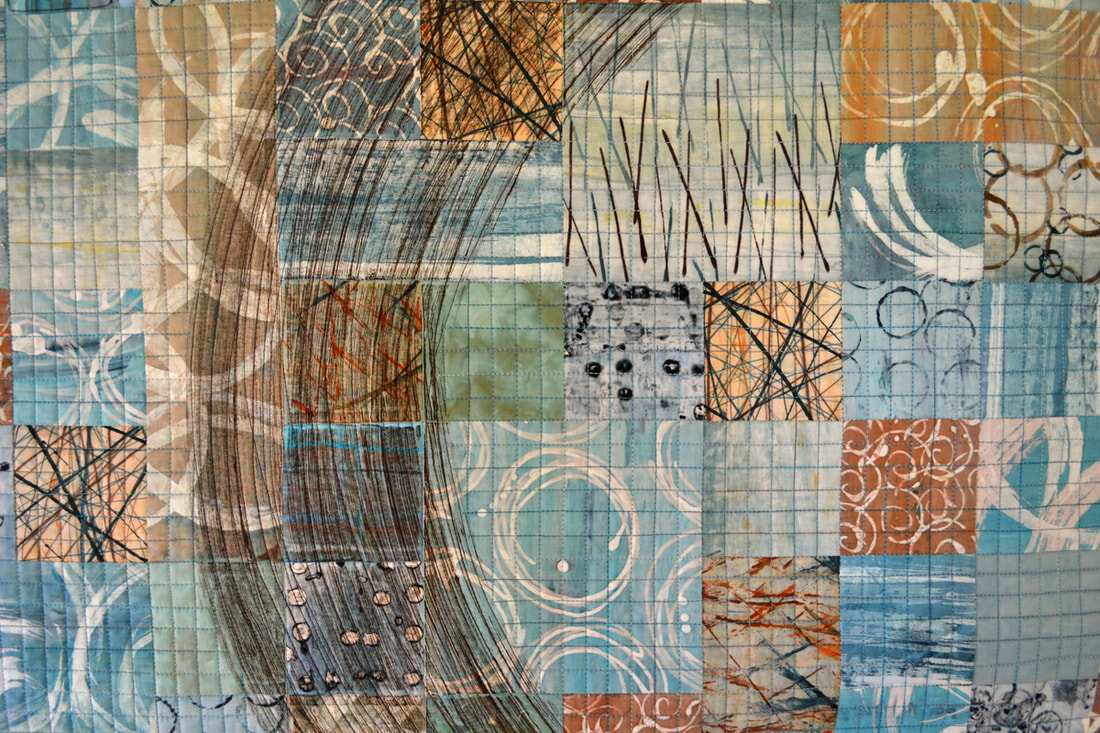
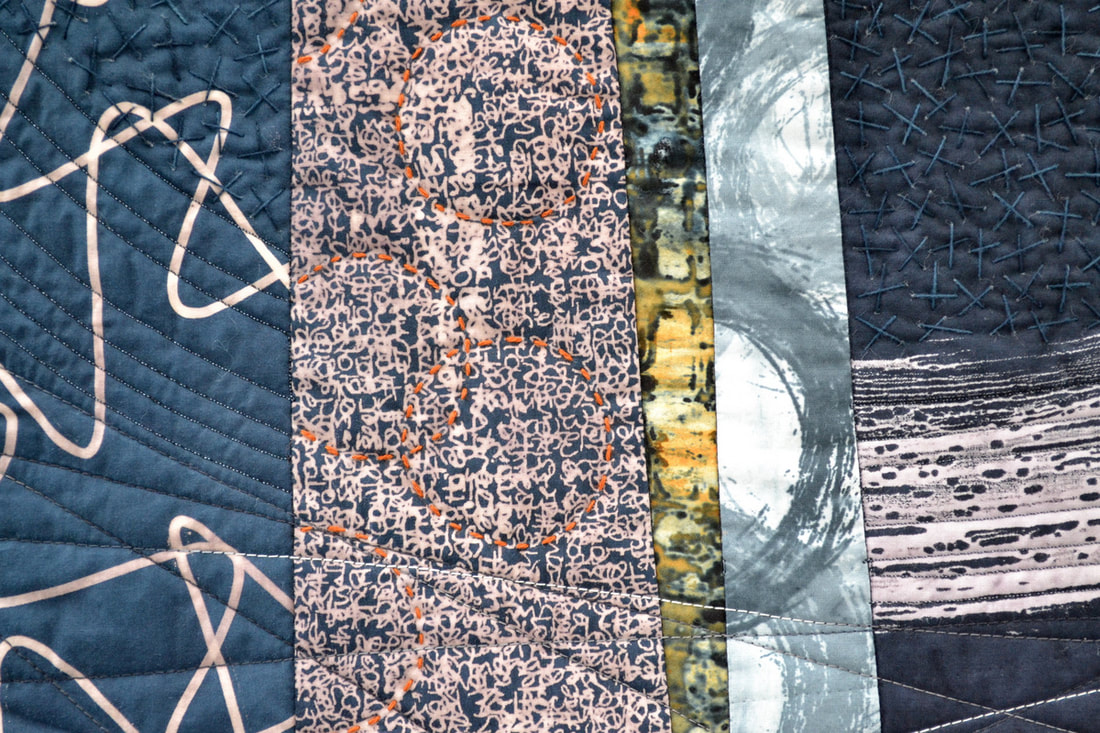
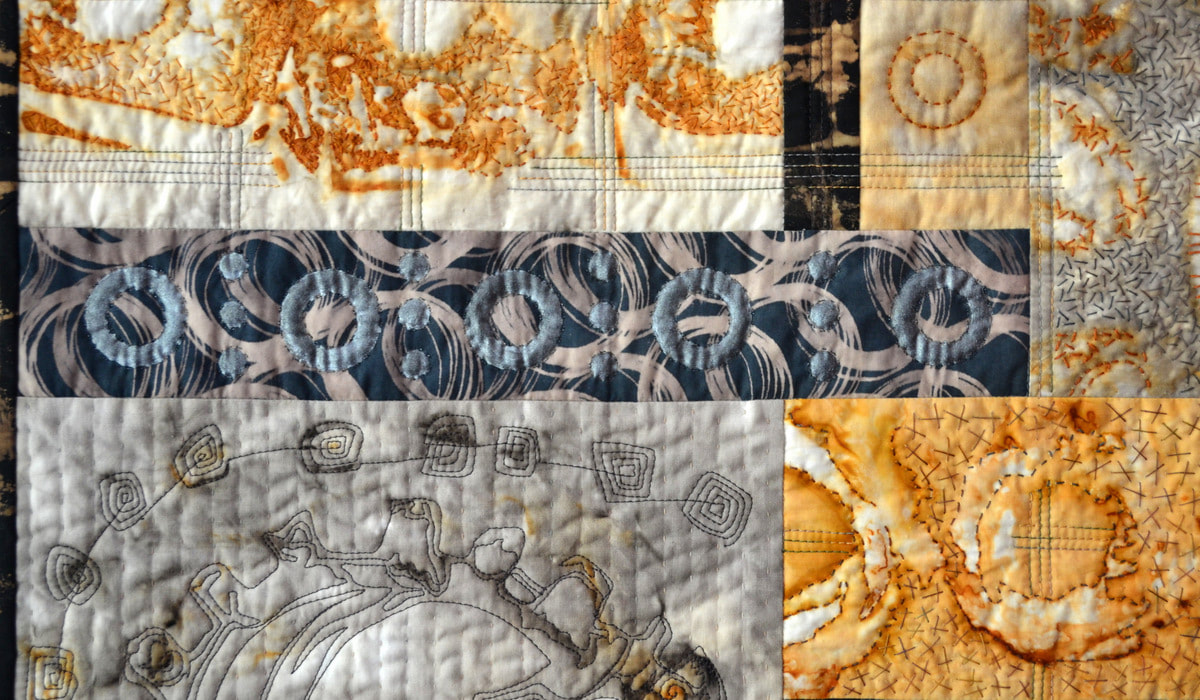
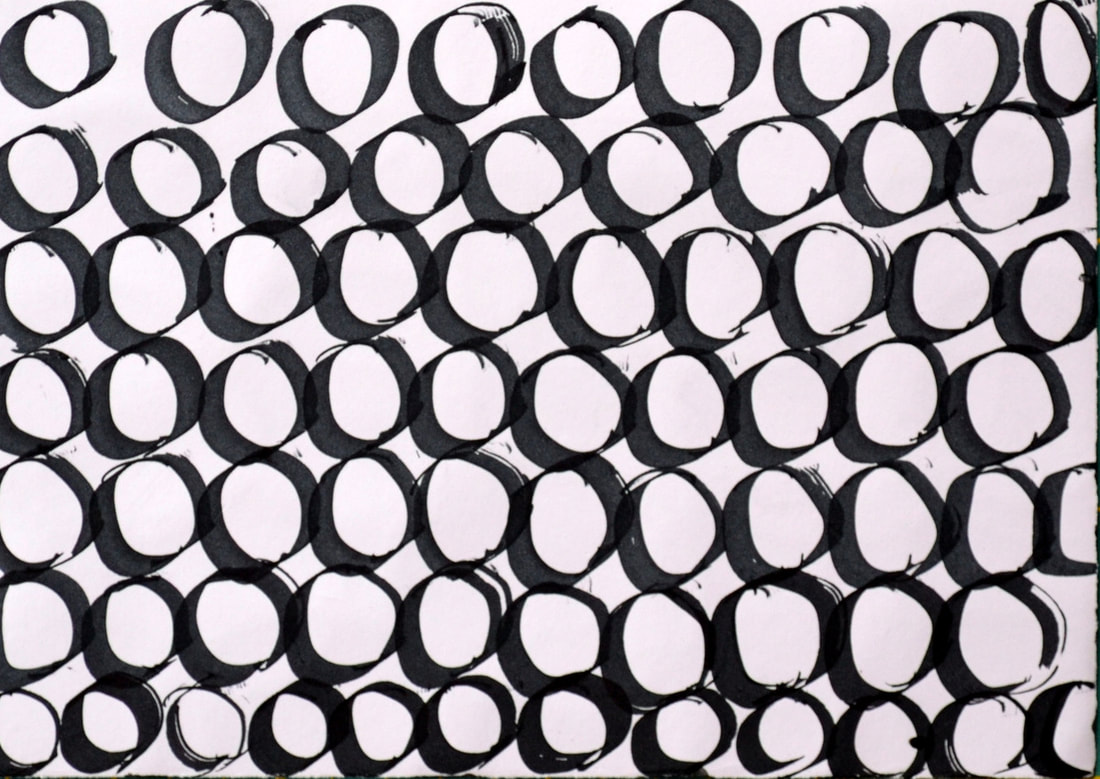
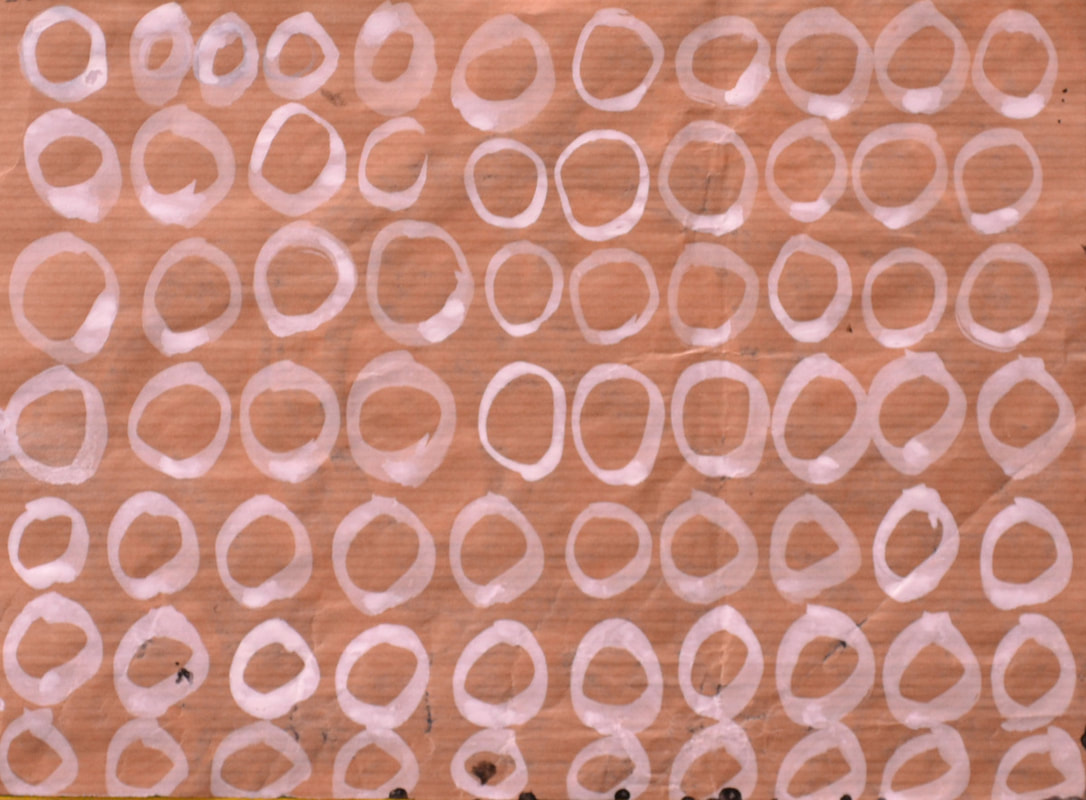
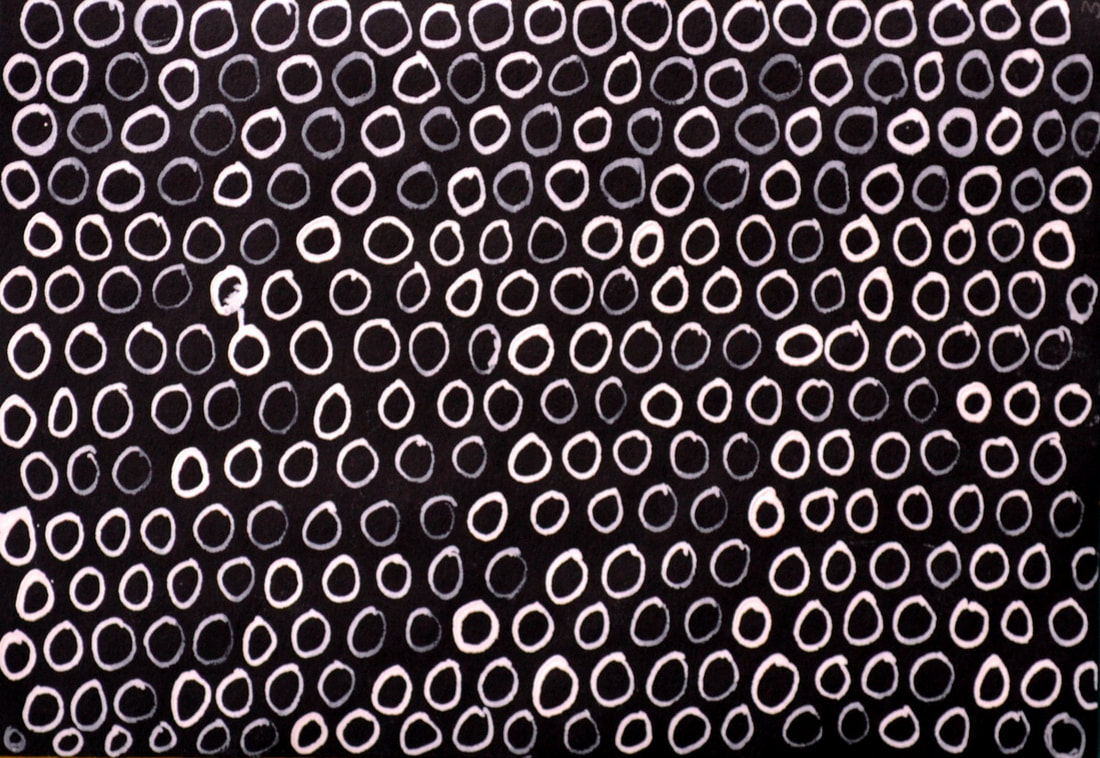
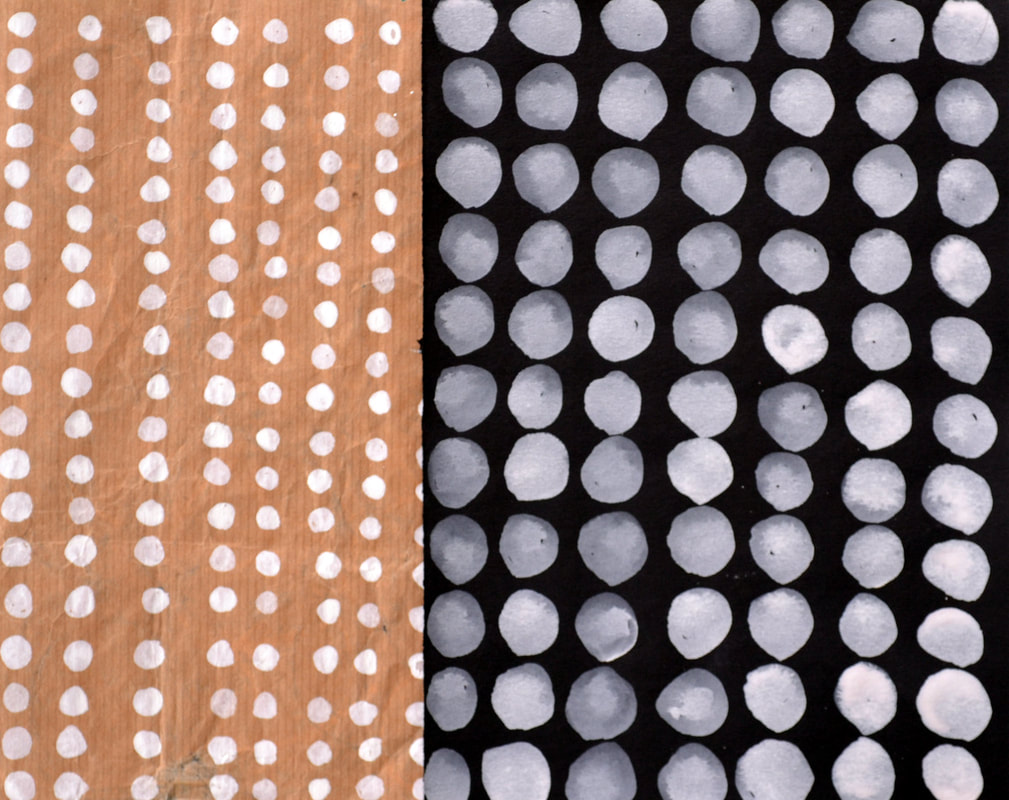
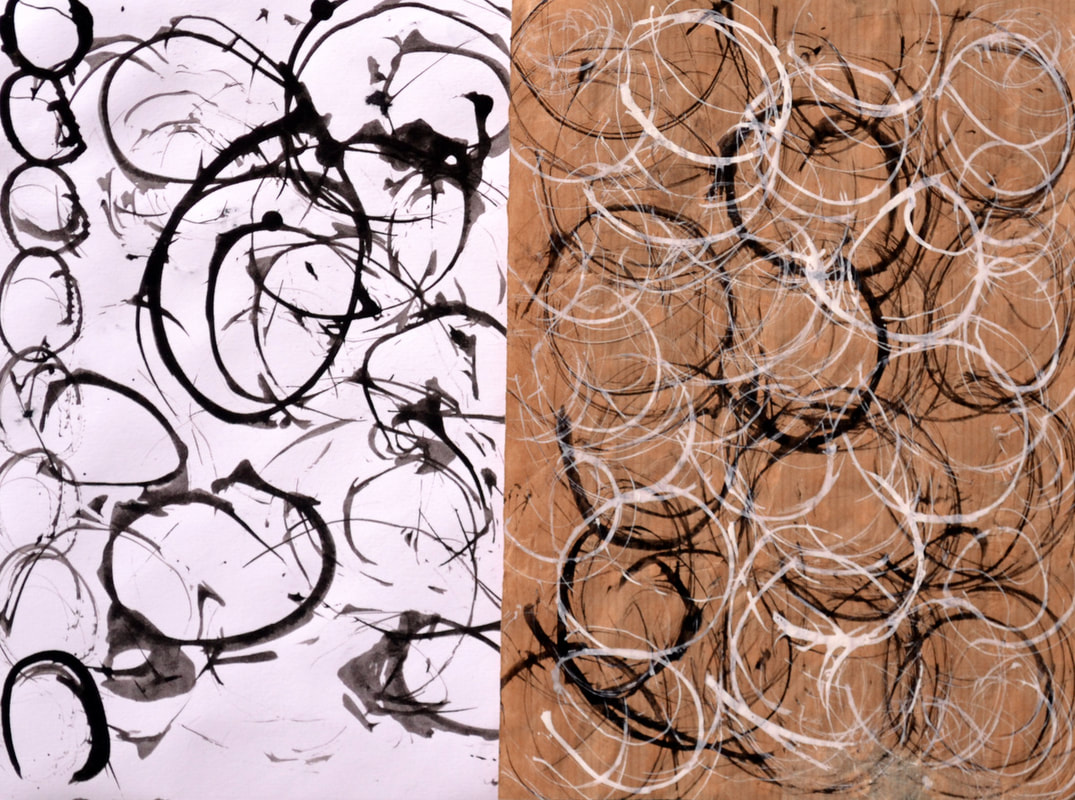
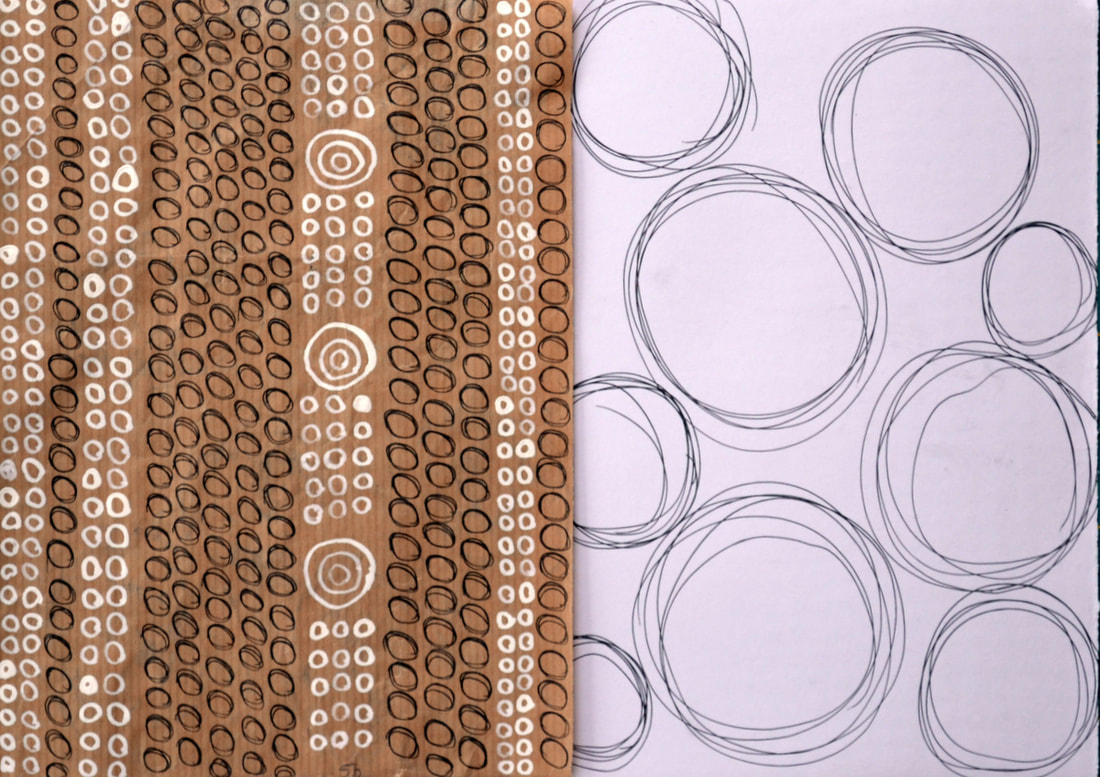
I love circles and you can find them in many of my wallhangings: they can represent ripples on a rock pool, pebbles, bladders in seaweed, small shells, rusty bolts, life-cycles, unity, the earth, wholeness etc. Dashes can represent grasses, seeds, groynes, ripples on sand, birds flying, dressed stone, stitches, thoughts, counting, time passing, music … you get the picture…
I love circles and you can find them in many of my wallhangings: they can represent ripples on a rock pool, pebbles, bladders in seaweed, small shells, rusty bolts, life-cycles, unity, the earth, wholeness etc. Dashes can represent grasses, seeds, groynes, ripples on sand, birds flying, dressed stone, stitches, thoughts, counting, time passing, music … you get the picture…
Today’s approach limits your choices and provides direction when you are stuck for ideas. And most importantly, it’s fun!
What will you need?
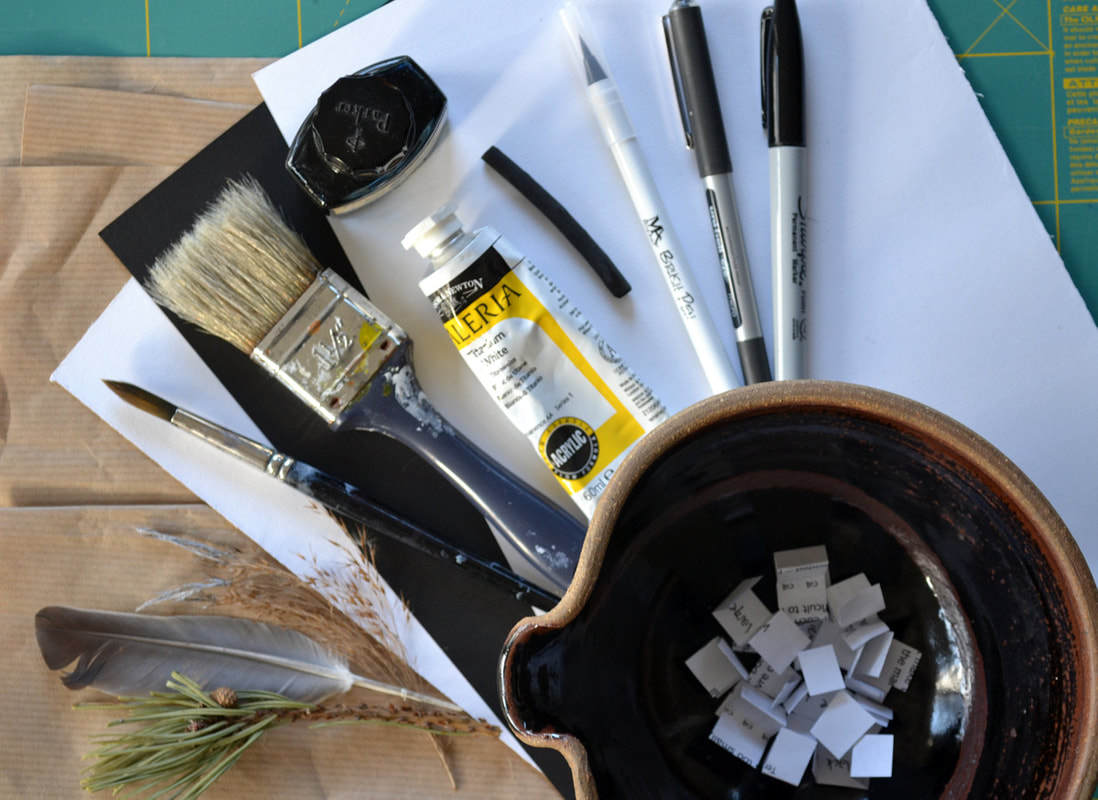
Tools – any or all of the following:
Tools – any or all of the following:
- A couple of black or white pens with different characteristics - eg fineline pen, thick marker pen, fountain pen, biro, gel pen, any other you like
- Something chunky that will make a mark eg charcoal, graphite stick, crayon, pastel
- Two or three brushes – eg artist’s brush (to make fine, precise marks), foam brush, a large scruffy brush (eg an old house painting brush) – the technical term for this is a ‘manky brush’ and we have been known to create them by giving an inexpensive wide brush a jagged haircut!
- A found object that you can make marks with eg a twig, feather, seed pod, feathery grass, pine needles, shell, rag, cotton bud – experiment!
- Black ink – Quink or drawing ink or Indian ink or acrylic ink
- Or thinned black paint (acrylic or gouache mixed to a runny consistency with water)
- White ink or thinned white paint
- Or any other water-based paint you have – even food colouring will work!
- White paper eg cartridge or copy paper
- Black paper (if you have white paint)
- Brown paper – eg parcel or envelope; or coloured paper - again limit to one colour to complement your paint.
If you made a book last week you might like to use that, but I prefer to work on individual sheets and bind them into a book later. That might just be because I’m messy, but it does mean you don’t have to wait for pages to dry before you can move on to the next thing! And some of the prompts (see below) will demand bigger paper!
Prompts – one of the things that prevents us from doing creative stuff is not knowing where to start, or what to do next, or simply having too many options. This is closely linked with a fear of failure. We have put together some random prompts for you to use to bypass that self-doubt. Feel free to add your own...
regular repeat |
make tiny marks |
make black marks |
make solid marks |
random repeat |
make huge marks |
make white marks |
make broken marks |
overlap |
combine different sizes on one page |
combine black and white marks |
make delicate marks |
change to a different tool |
combine different tools on one page |
only recharge tool when the ink runs out |
hold tool differently – change your grip |
What to do
1. Write each prompt on a small piece of paper (adapt them to suit your tools), fold them up so you can’t see the words and place them in a basket or similar, raffle-ticket style.
1. Write each prompt on a small piece of paper (adapt them to suit your tools), fold them up so you can’t see the words and place them in a basket or similar, raffle-ticket style.
2. Shuffle your pile of paper so you get a random selection each time.
3. Choose a tool to start with, eg one of the pens, and take a sheet of white paper. Fill your paper with your chosen mark. If you have plenty of ideas, move on to another sheet (same tool or a different one - you choose). I started with the wide pen and then moved quickly on to the white paint because I wanted to see how that would look on the coloured papers.
3. Choose a tool to start with, eg one of the pens, and take a sheet of white paper. Fill your paper with your chosen mark. If you have plenty of ideas, move on to another sheet (same tool or a different one - you choose). I started with the wide pen and then moved quickly on to the white paint because I wanted to see how that would look on the coloured papers.
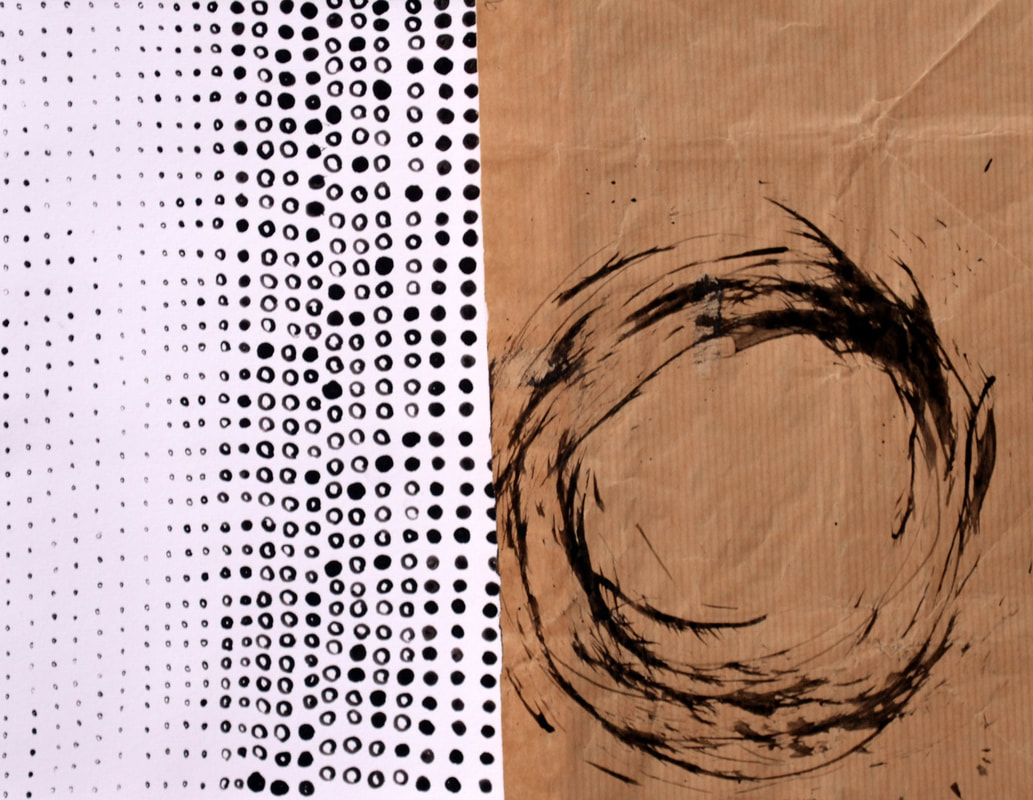
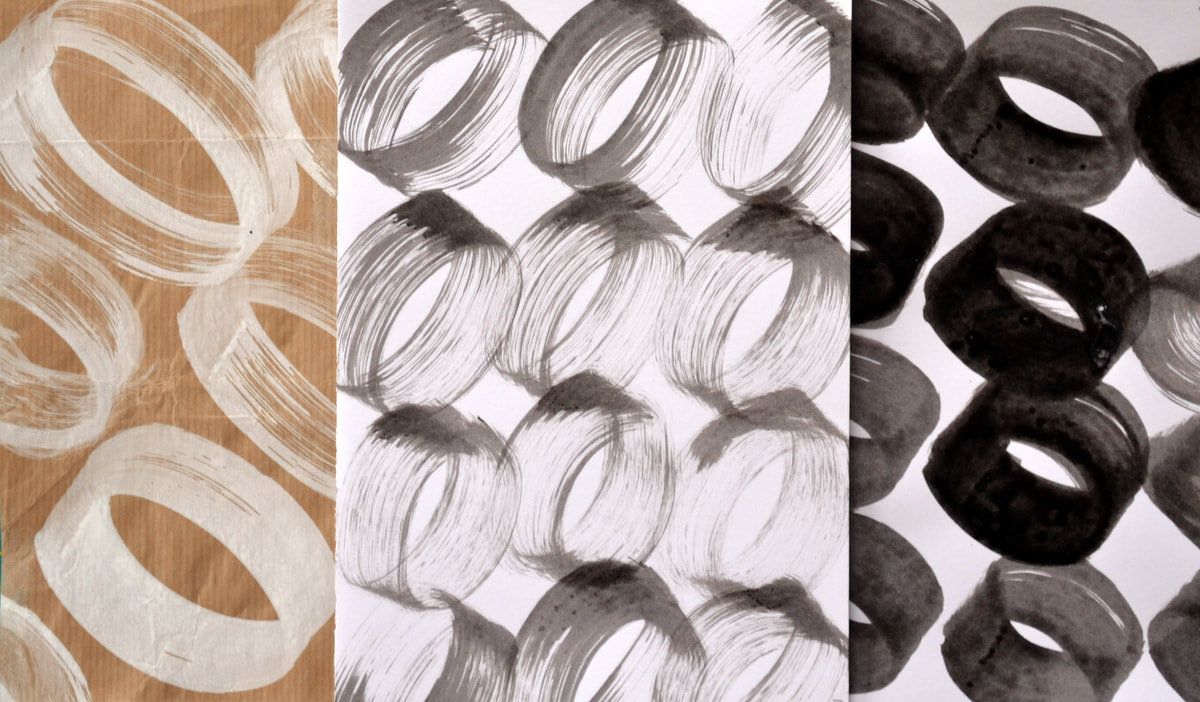
4. Keep on till you run out of ideas. Then draw a prompt and do what it says. You can just start fresh with that instruction or combine it with what you were previously doing. Below you can see tiny and big marks, overlap and solid.
5. Depending on the prompt you might stay with the same tool or change to a different one – it’s much easier to make a solid mark with a foam brush than a feather for example, and you can’t make a white mark with a black pen!
Broken (with a foam brush), manky brush and delicate (with pine needles dipped in paint) below...
Broken (with a foam brush), manky brush and delicate (with pine needles dipped in paint) below...

6. Keep going, try several sheets of each idea (it’s OK to deviate from the prompts if ideas start to flow). Don’t forget the backs of the papers...
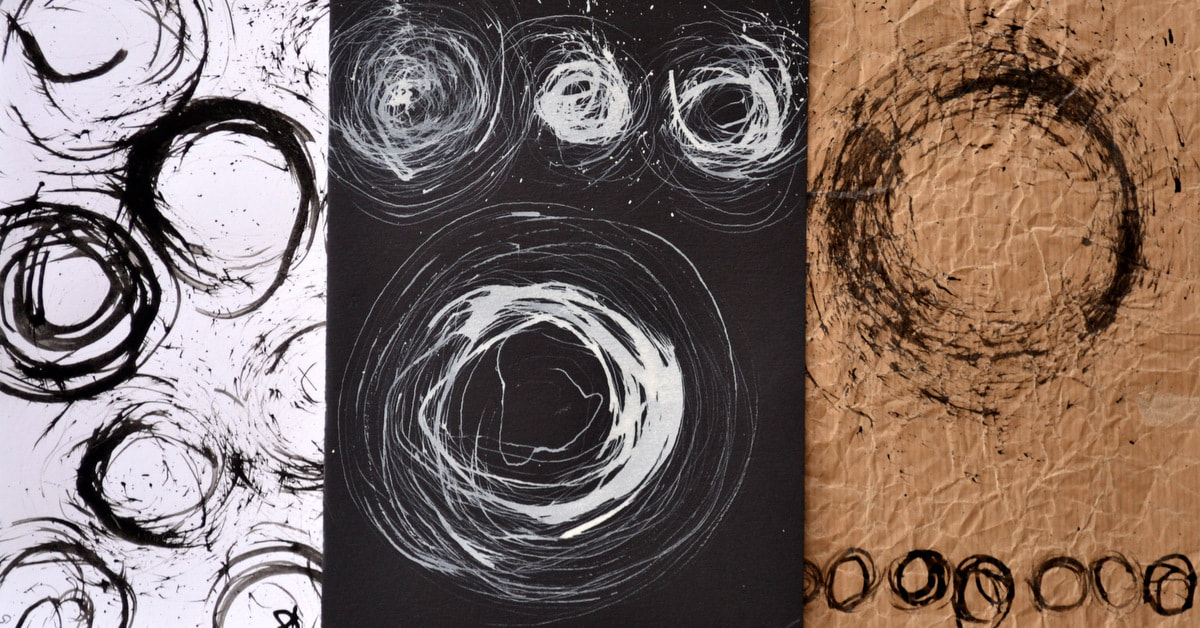
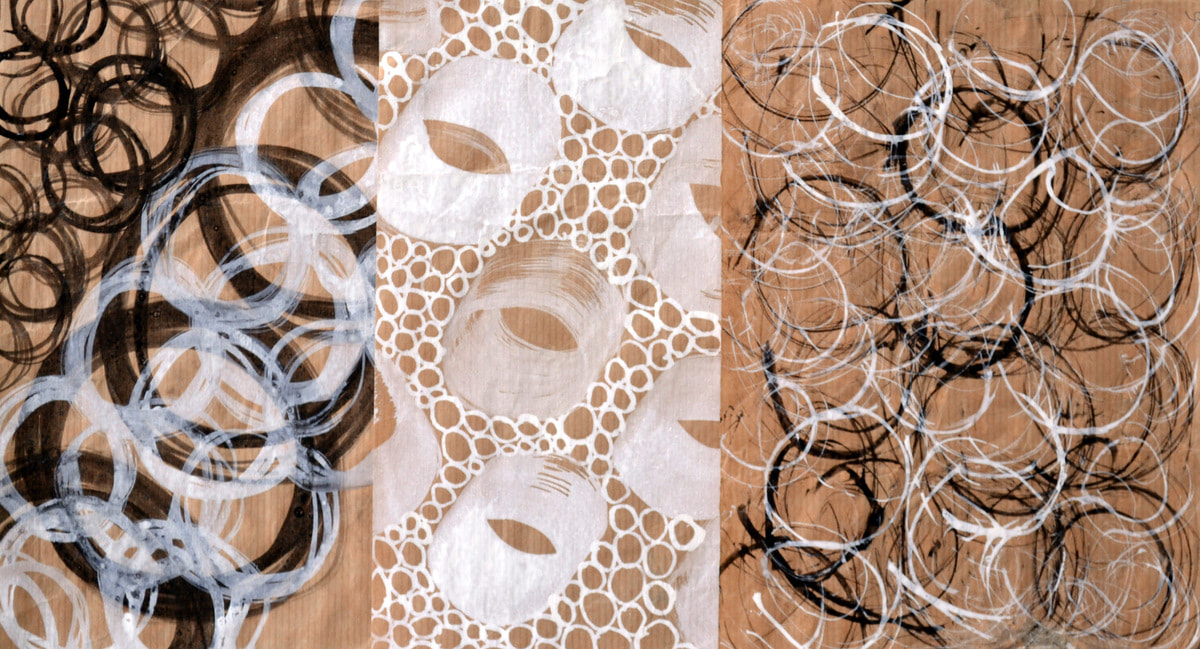
Various combinations below - on the right the large scribbled circles were inspired by the smaller ones on the brown paper.
Various combinations below - on the right the large scribbled circles were inspired by the smaller ones on the brown paper.
7. If you pick a prompt you have already explored, you can ignore it and pick another BUT that’s not an excuse to ignore the ones you don’t like the look of!
More thoughts...
- If you have limited time this is a great exercise to do over several days (or weeks!). Just work on one prompt each day and see where it takes you.
- You will discover that some tools are better suited to some marks than others, but it’s still good to try and push tools to make different kinds of marks.
- You might want to keep a record of which tools combined with which prompt made which marks so you can do it again purposefully, but don’t let that stifle your flow.
- When you’ve finished, review your papers with an eye to future artwork or textile work. They also make great collage papers, or you could bind them into a little book.
Let's build our creative online community, we would really love to see what you are up to. Post to Instagram and use the hash tags: #institchescreative2020 and #institches2013. Don't forget to follow both us and the hashtags to see what everyone else is creating too!
On Facebook reply to the relevant week's post with your comments and images. And don't forget to actually follow InStitches on Facebook to see what everyone else is up to.
On Facebook reply to the relevant week's post with your comments and images. And don't forget to actually follow InStitches on Facebook to see what everyone else is up to.
Until next time - keep the creativity flowing...
Terry & Hazel

 RSS Feed