| Transfer or disperse dyes are used to colour synthetic fabrics like polyester and spun-bonded fabrics such as Lutradur and Evolon. They are available in powder and liquid form from suppliers such as ColourCraft. They are painted onto paper and then ironed with a hot iron to transfer the colour to fabric (a sublimation process). You can paint a design onto your paper and transfer that direct to fabric or, as I have here, colour individual papers and use them for collage and stencil and mask techniques. |
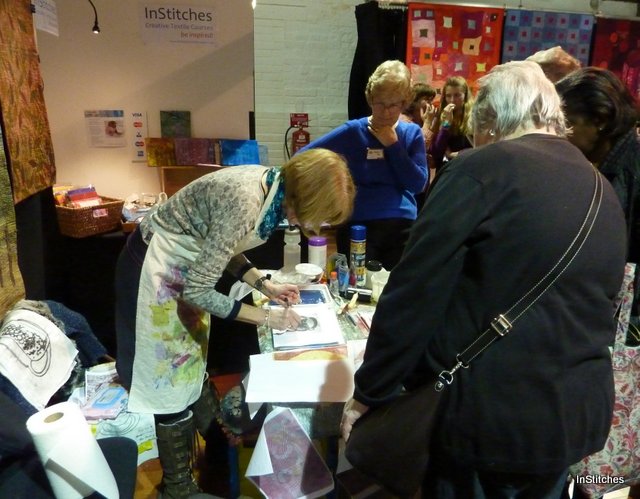
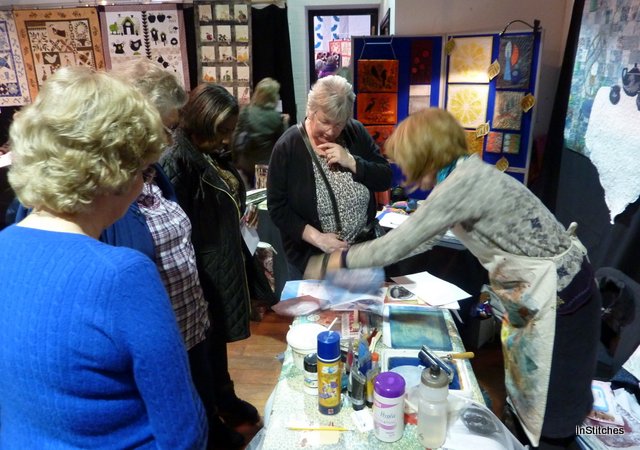
Last week in ITS we were trying out transfer dyes to colour synthetic fabrics. There are loads of ways to use transfer dyes and here is one of my favourites.

The method is really simple and as usual, quite addictive:
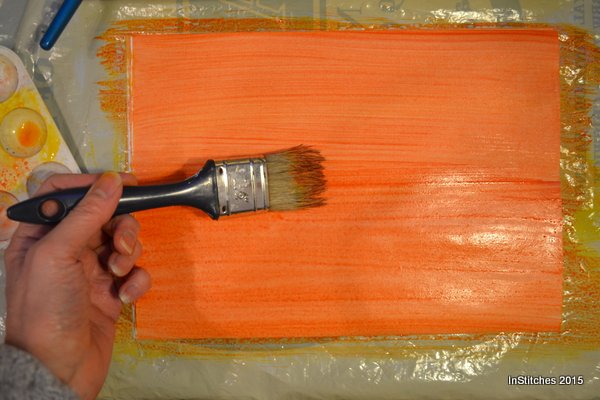
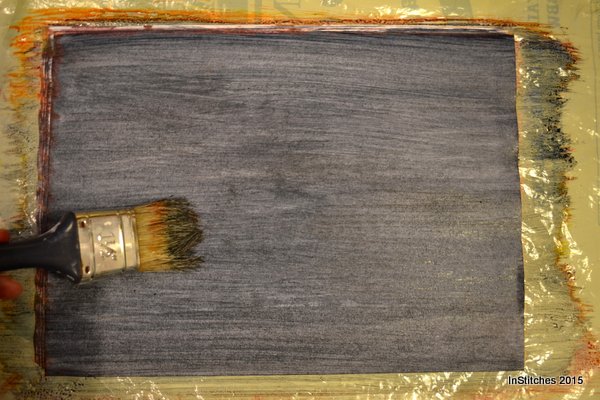
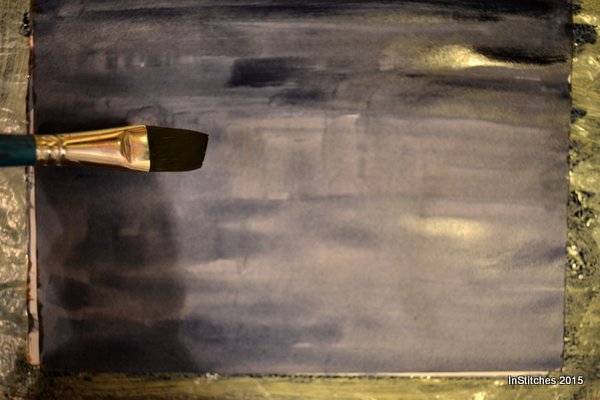
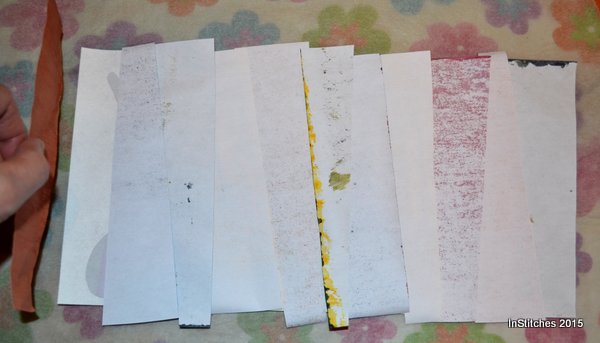
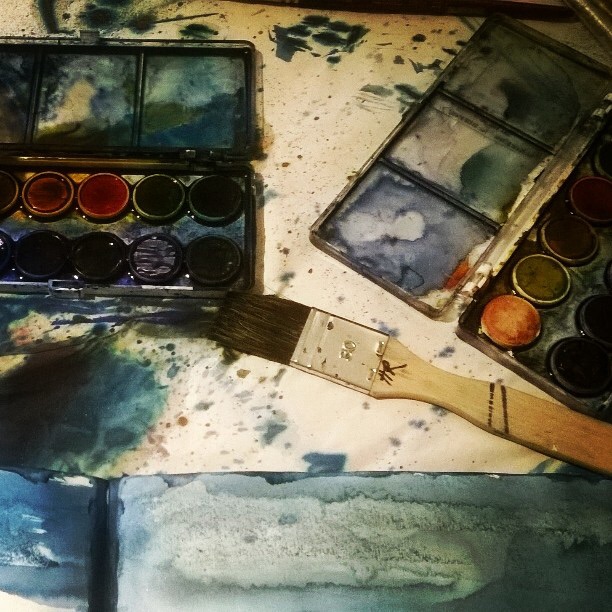
1. Paint your papers with transfer dye. Use a thinnish, non-absorbent paper - if it is too thin it will curl up, which can be frustrating, but if it is too thick it will take ages for the colour to transfer, so a happy medium is needed. I find ordinary printer/copy paper works well.
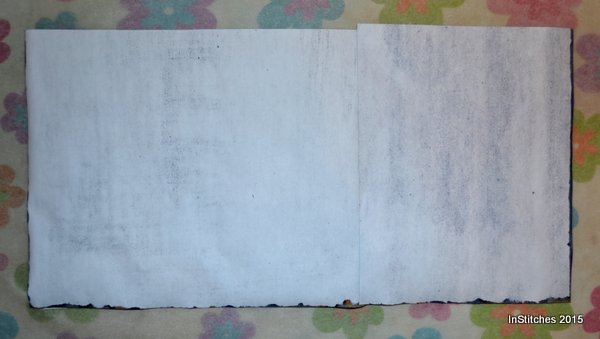
2. Use a fairly thin, even layer of paint, thinning liquid paints with water if they are too thick. Colours will appear dull on paper, and not at all like the vibrant colours they will be on fabric, so it is worth doing some test swatches and making a note of the colour on the back of the paper. Hard to believe, but the two 'greys' above will be bright violet and turquoise!
3. Let your papers dry thoroughly and you are ready to go.
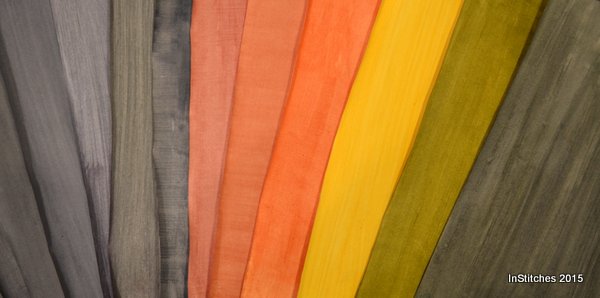
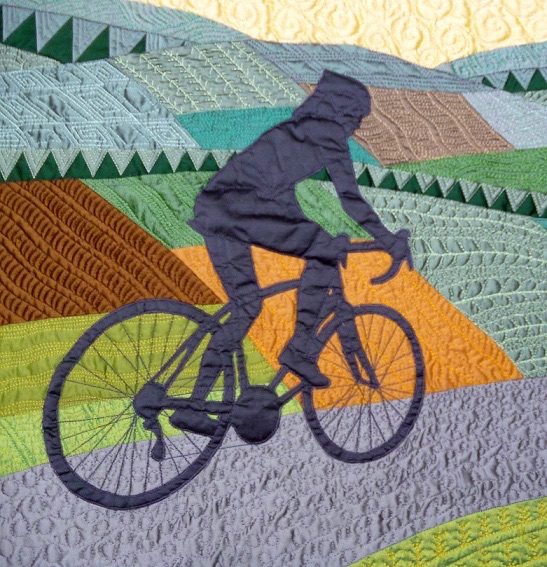
4. Any synthetic fabric will work, including blends with cotton, but the higher the proportion of synthetic, the brighter the colours will be. I have chosen Evolon, which is a spun-bonded mix of polyester and nylon, with a peached surface and good drape. It doesn't tear or fray and is great for quilting. For more information visit Spunart.co.uk.
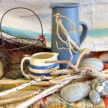
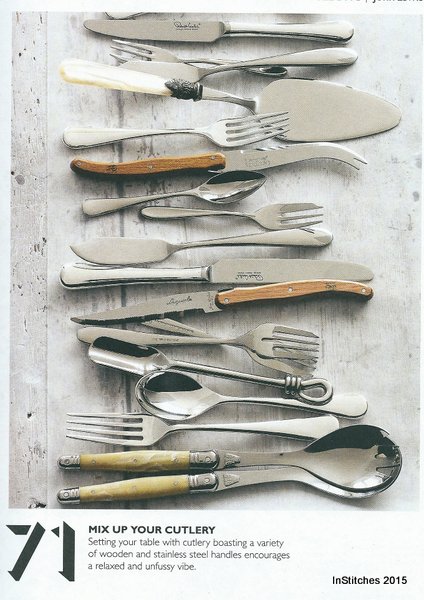
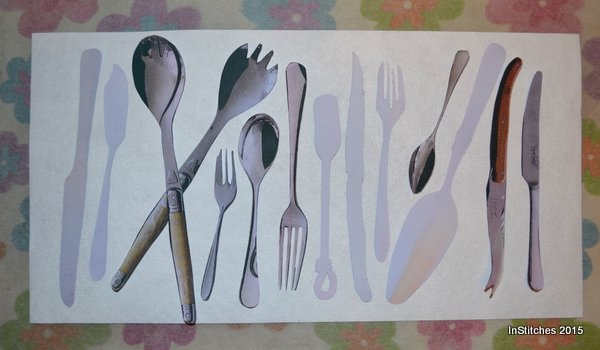
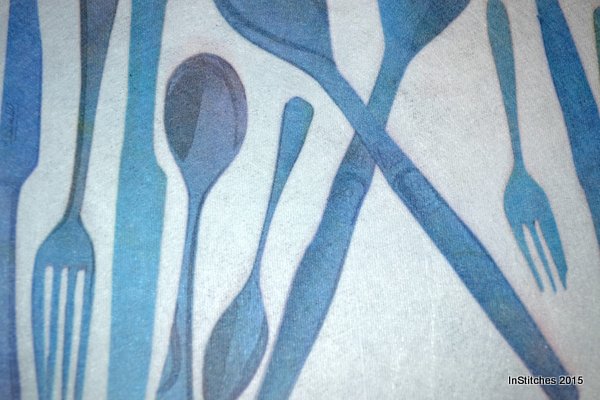
I'm working on some small journal quilts, and for my inspiration I've used a great picture found in a well known department store's (!) home catalogue. I love the random collection of cutlery, and thought they would be wonderful shapes to work with. I enlarged the picture and made several copies of it so that I could cut out the individual shapes to use as masks. Here's what to do next:
1. Paint your papers with transfer dye. Use a thinnish, non-absorbent paper - if it is too thin it will curl up, which can be frustrating, but if it is too thick it will take ages for the colour to transfer, so a happy medium is needed. I find ordinary printer/copy paper works well.
2. Use a fairly thin, even layer of paint, thinning liquid paints with water if they are too thick. Colours will appear dull on paper, and not at all like the vibrant colours they will be on fabric, so it is worth doing some test swatches and making a note of the colour on the back of the paper. Hard to believe, but the two 'greys' above will be bright violet and turquoise!
3. Let your papers dry thoroughly and you are ready to go.
4. Any synthetic fabric will work, including blends with cotton, but the higher the proportion of synthetic, the brighter the colours will be. I have chosen Evolon, which is a spun-bonded mix of polyester and nylon, with a peached surface and good drape. It doesn't tear or fray and is great for quilting. For more information visit Spunart.co.uk.
I'm working on some small journal quilts, and for my inspiration I've used a great picture found in a well known department store's (!) home catalogue. I love the random collection of cutlery, and thought they would be wonderful shapes to work with. I enlarged the picture and made several copies of it so that I could cut out the individual shapes to use as masks. Here's what to do next:
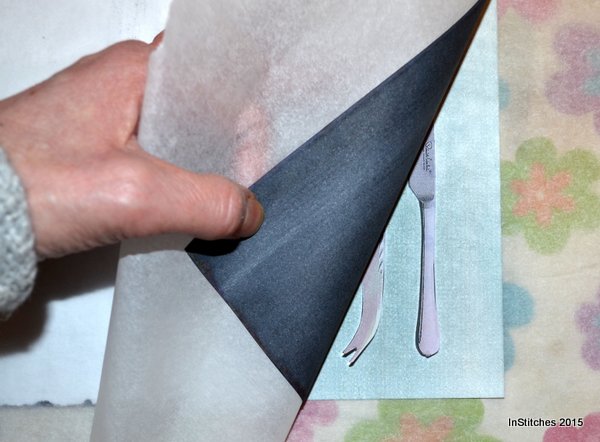
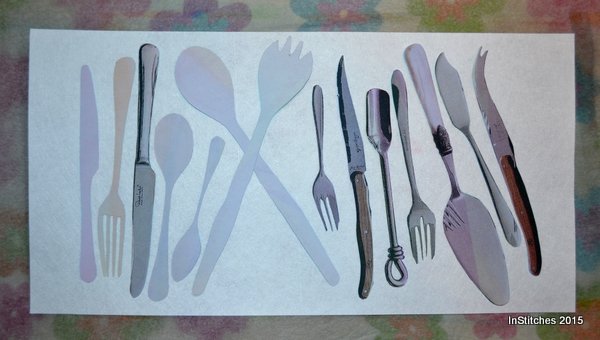
5. Protect your ironing board with baking parchment and lay your fabric on top. Arrange your mask shapes on top and, when you are happy with the arrangement, carefully place painted paper in your background colour face down on top. I'm using charcoal grey.
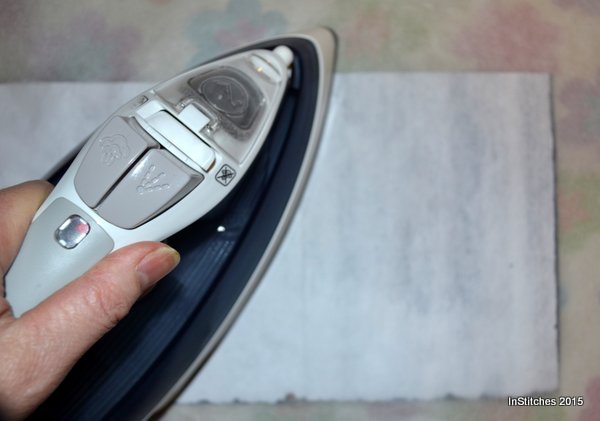
6. Cover with another piece of baking parchment and iron with a hot dry iron (as hot as the fabric will allow: beware - synthetics scorch!) to transfer the dye, paying particular attention to edges and corners. Keep the iron moving, or you will get a perfect image of the sole-plate, holes and all! This process takes about five minutes; you can check on progress by carefully lifting a corner - take care not to move the masks or the image will be blurred.
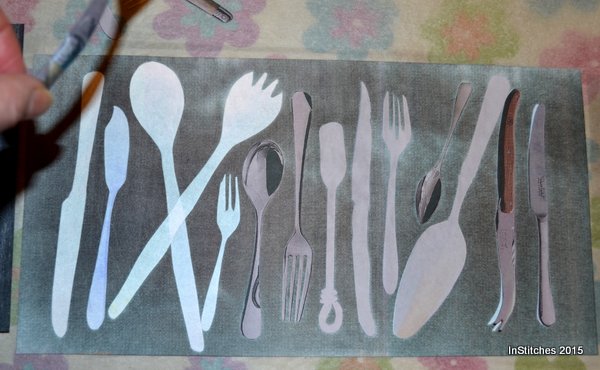
7. Once you are happy with the colour remove the transfer paper and the masks to reveal your fabric with a voided image and coloured background.
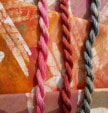
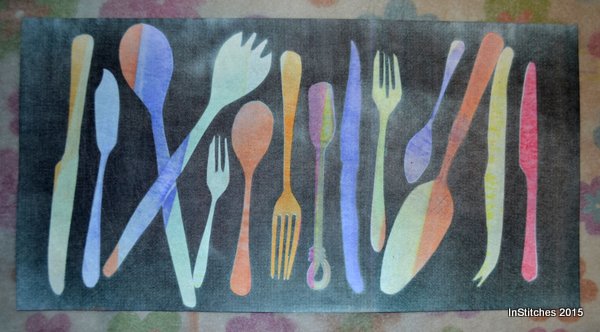
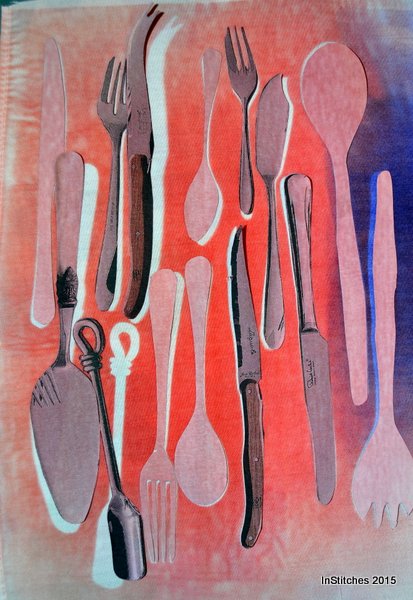
And now the fun starts! Because the masks were in contact with the paper, dye will have transferred to the back of them too. This means that they can be used to produce a positive image. Flip them over onto a new piece of fabric, cover them with another piece of painted paper and repeat the ironing process. In the example below I have used strips cut from several colours to make a striped background . . .
6. Cover with another piece of baking parchment and iron with a hot dry iron (as hot as the fabric will allow: beware - synthetics scorch!) to transfer the dye, paying particular attention to edges and corners. Keep the iron moving, or you will get a perfect image of the sole-plate, holes and all! This process takes about five minutes; you can check on progress by carefully lifting a corner - take care not to move the masks or the image will be blurred.
7. Once you are happy with the colour remove the transfer paper and the masks to reveal your fabric with a voided image and coloured background.
And now the fun starts! Because the masks were in contact with the paper, dye will have transferred to the back of them too. This means that they can be used to produce a positive image. Flip them over onto a new piece of fabric, cover them with another piece of painted paper and repeat the ironing process. In the example below I have used strips cut from several colours to make a striped background . . .


The result is a striped background with grey cutlery on it.
Now the backs of the masks will have coloured stripes. They can be flipped over and used as the start of a new design . . . or placed back onto the original design to colour the voided shapes.
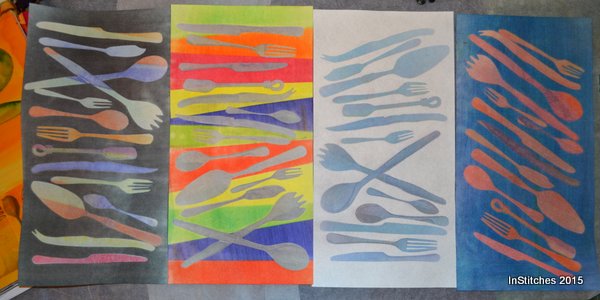
The papers can be re-used several times before the dye is exhausted. In the pictures below I first used them to colour the white shapes on the grey background, and then started a new piece with them, using a turquoise background this time.
Now the backs of the masks will have coloured stripes. They can be flipped over and used as the start of a new design . . . or placed back onto the original design to colour the voided shapes.
The papers can be re-used several times before the dye is exhausted. In the pictures below I first used them to colour the white shapes on the grey background, and then started a new piece with them, using a turquoise background this time.


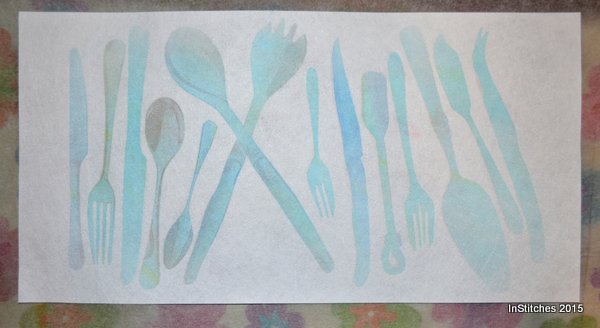
And as the backs of the masks were now turquoise, I thought they would look good against a plain white background (I did say this was addictive!)
I think I was getting a bit impatient with the ironing though, and I felt that the two turquoise pieces were a bit insipid, and I'm not keen on the combination of turquoise with the pale multi-coloured cutlery. But all is not lost, as with this technique it is easy to layer up colour to achieve more depth and interest. Here's how I resolved that:
I think I was getting a bit impatient with the ironing though, and I felt that the two turquoise pieces were a bit insipid, and I'm not keen on the combination of turquoise with the pale multi-coloured cutlery. But all is not lost, as with this technique it is easy to layer up colour to achieve more depth and interest. Here's how I resolved that:
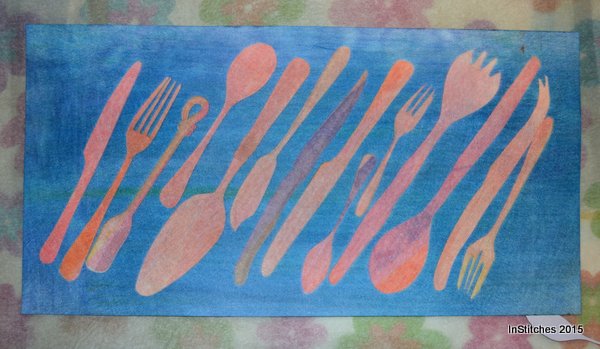

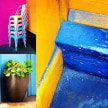
First I coloured the backs of the masks red, making sure I had them the right way up to fit back into their original space on the turquoise piece. Then I replaced them on the turquoise piece, covered them with a navy piece of paper and ironed to transfer the colour.
Finally, I used the now blue side of the mask to deepen the colour of the cutlery on the blue and white piece. If you look closely, you will see that some of the inkjet ink from the masks has also transferred, giving extra detail - a happy accident!
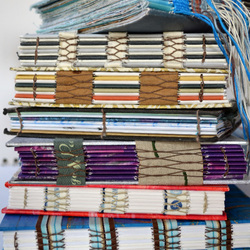
So there we have it - four journal quilts ready to be quilted. I'll post a picture when they are finished.
Finally, I used the now blue side of the mask to deepen the colour of the cutlery on the blue and white piece. If you look closely, you will see that some of the inkjet ink from the masks has also transferred, giving extra detail - a happy accident!
So there we have it - four journal quilts ready to be quilted. I'll post a picture when they are finished.
I hope you enjoyed reading this post, and are inspired to have a go at this great technique yourself. Do comment and tell us what you made.


 RSS Feed