Whether you are an experienced stitcher or picking up a needle for the very first time, welcome to the beginning of our Cloth Project blog.
Go put the kettle on and brew your favourite drink (or if it's after 6pm, mine's a G&T please!), gather your supplies and join us as we embrace a slower pace of life, discover the joy of creating, and hopefully in these troubled times, find some inner peace and fulfilment as well as a creative voice.
Go put the kettle on and brew your favourite drink (or if it's after 6pm, mine's a G&T please!), gather your supplies and join us as we embrace a slower pace of life, discover the joy of creating, and hopefully in these troubled times, find some inner peace and fulfilment as well as a creative voice.
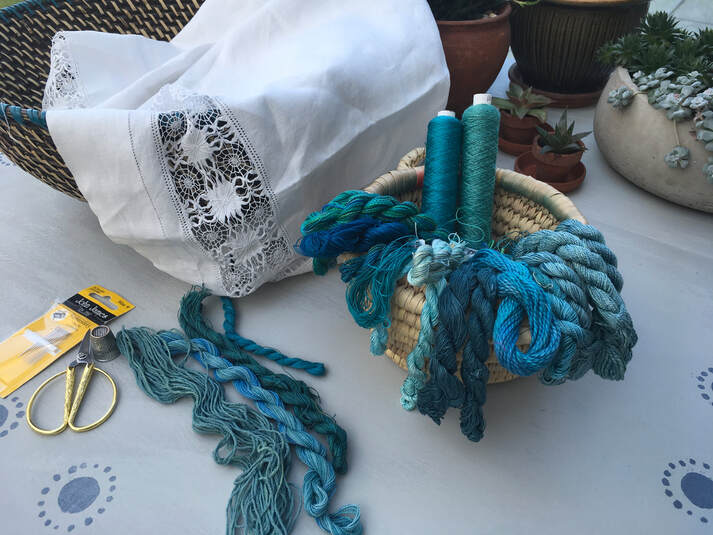
Here's a recap of the supplies you will need:
- Fabric - anything you can sew on, be creative here! It doesn't need to be a new piece of fabric, I'm planning on using an old small linen table cloth but an old (or perhaps not so old!) shirt/top would be great. A pillow case, cotton napkin or what ever you have to hand, they'd all work fine.
- Wadding & backing fabric - optional, but if you do want to make up a quilt 'sandwich' you may find it easier to hand tack or micro stitch the layers together
- Thread - whatever you have to hand. Cotton machine or universal sewing thread will work just as well as fancy hand dyed threads or commercial embroidery floss. All the stitches we are going to be introducing over the next few weeks can be worked in different weights and colours.
- Needles - need to be ones you can see to thread! Embroidery, quilting or something from the supermarket!
- Thimble, if you use one
- Small sharp scissors
- Embroidery or quilting hoop - optional
- Something to keep all your project in - note: baskets make tempting beds for cats!
- Any stitch books you may have. Don't worry if you haven't got any as I'll pointing you to some inspirational websites and blogs along the way.
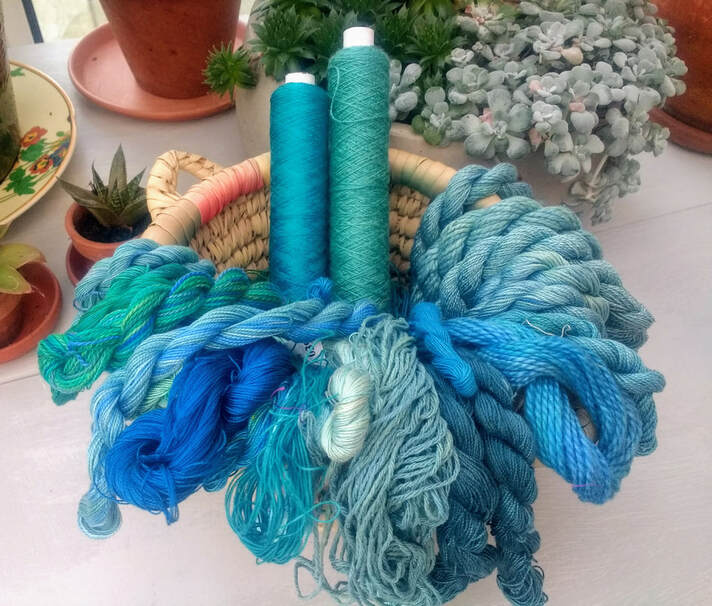
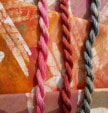
For this project I have chosen an aqua colour palette. In shades of green-blue, it reminds me of a beautiful Mediterranean sea. Blue is often used to symbolise calmness and green for growth; which I thought quite apt for life just now. It's also such an uplifting colour - just what the doctor ordered for the creative spirit! What colours have you chosen?
| If you can't see the video click this link to download it: |
| ||
Despite being taught to start and stop my stitching with 3 little stitches, these days I always put a little knot at the end of my thread when I start stitching. It's just a free-form French knot and is really easy to do, although you wouldn't think so if you saw how many little videos I had to make. Also, if I had known all this was going to happen and my hands feature so closely I would have applied lashings of hand cream and had a manicure!
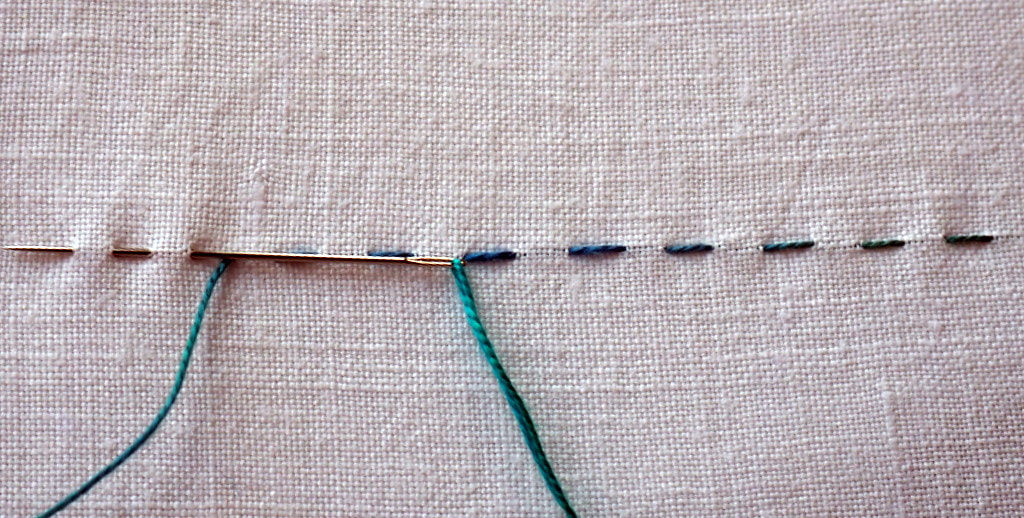
The first stitch we are going to do is a simple running stitch , the easiest stitch ever, and our favourite! This versatile stitch is used for hand sewing and quilting. From simple lines to outlines, it is also the basis for many other stitches.
Start by bringing the needle to the surface of the work (don't forget that little knot to anchor the thread!) then take two or three stitches forward along a line. Pull the thread through until it lies on top of the fabric, without being too loose or too tight. To begin with you may only make one stitch at a time, but with practice you'll be able to take several stitches onto your needle.
Told you it was simple!
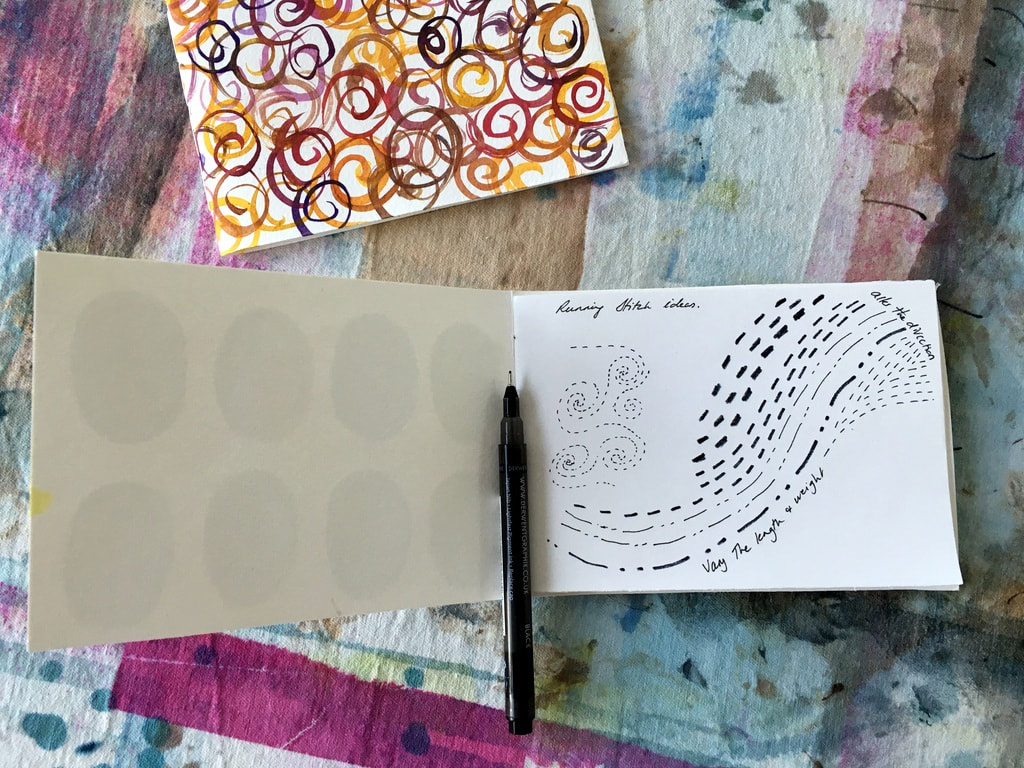
And you don't just have to stitch in a straight line, once you've got the knack of making several stitches at a time you can really begin to play and see what you can do with this stitch. Here are some things you may like to try to get you started:
Start by bringing the needle to the surface of the work (don't forget that little knot to anchor the thread!) then take two or three stitches forward along a line. Pull the thread through until it lies on top of the fabric, without being too loose or too tight. To begin with you may only make one stitch at a time, but with practice you'll be able to take several stitches onto your needle.
Told you it was simple!
And you don't just have to stitch in a straight line, once you've got the knack of making several stitches at a time you can really begin to play and see what you can do with this stitch. Here are some things you may like to try to get you started:

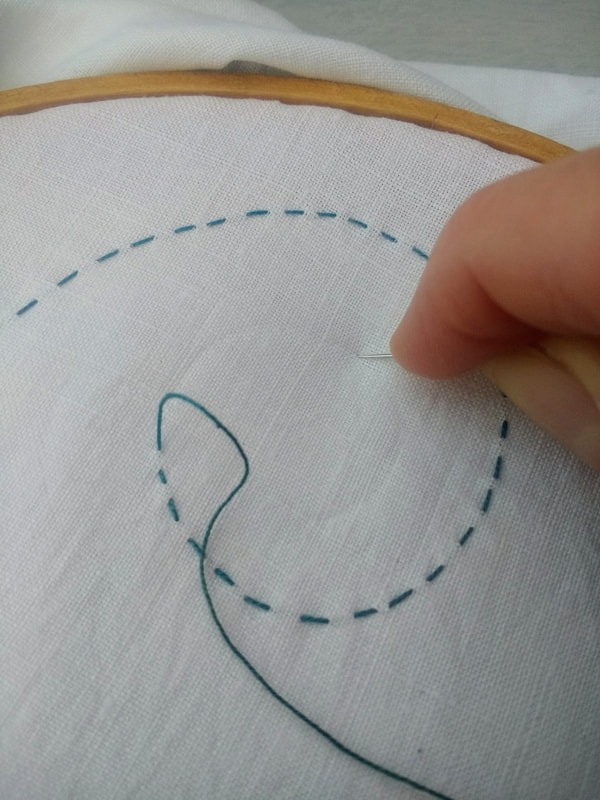
Embrace the curve:
If you are feeling confident just go for it, but I suspect most of you will be like me and want some sort of line to follow. In the photo on the right I am using the old fashioned technique of needle scoring - taking the tip of my needle to carefully mark a line for me to follow (squint closely and you'll see the faint line).
However if you want something a little more visible then use a regular sharp pointed/propelling pencil or any of other removable fabric marking pencil/pen you may have already. Use the lightest possible touch and don't forget to test to make sure you are able to remove it easily. However, don't be tempted to use a dressmaker's or tailor's pencil as this may not be removable; ask me how I know!
How tight can you spiral? What about stitching two parallel curves or even three, perhaps in various shades of the same colour?
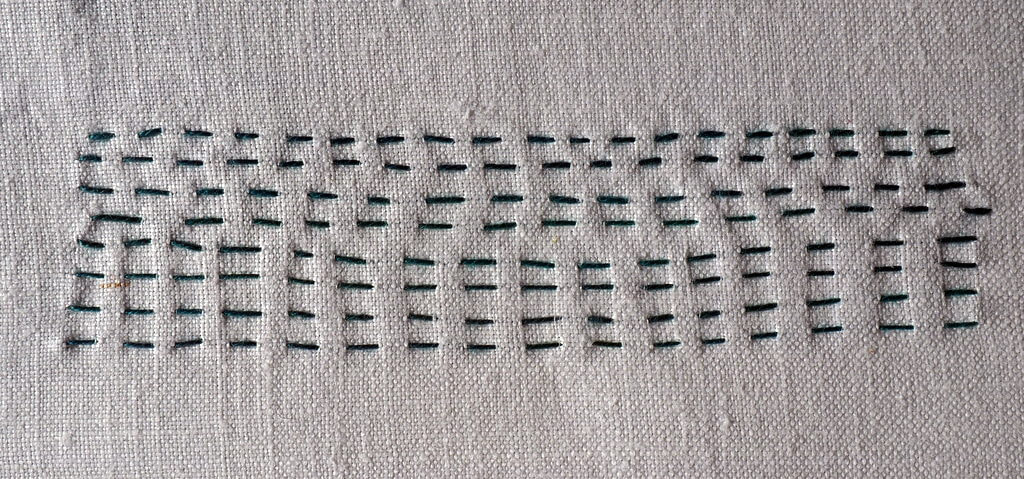
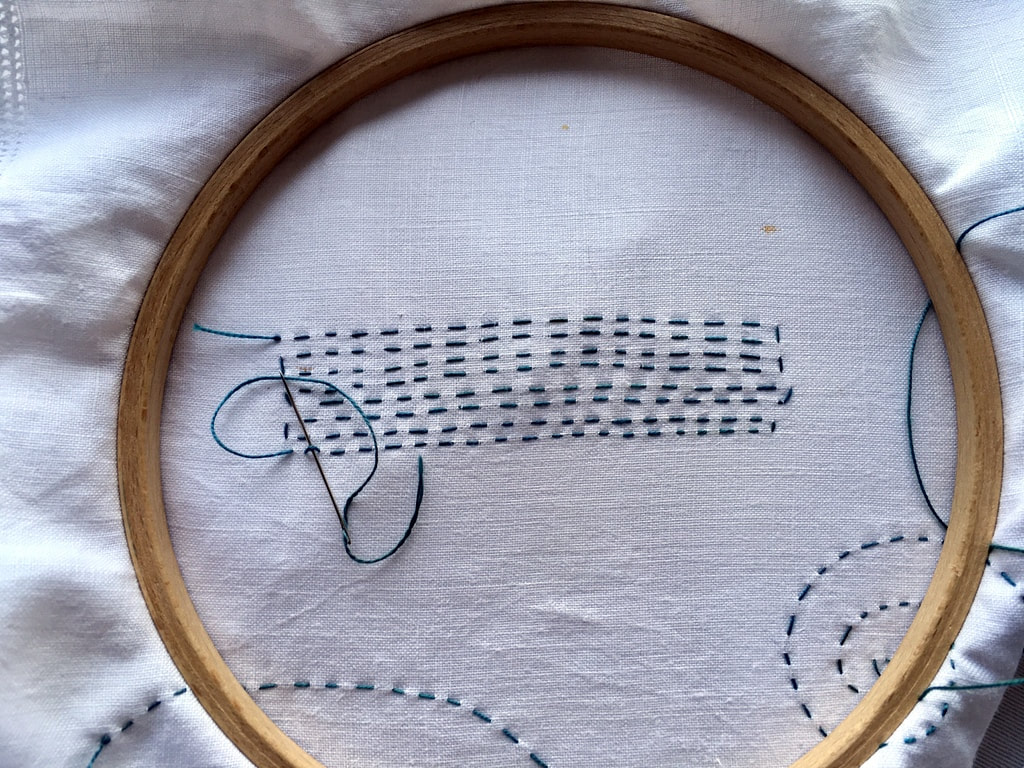
Stack it up 1:
Work parallel lines of stitching across the surface, Kantha Style. There's lots of Kantha work images out there on the web and also take a look at the works of textile artist Angela Daymond .
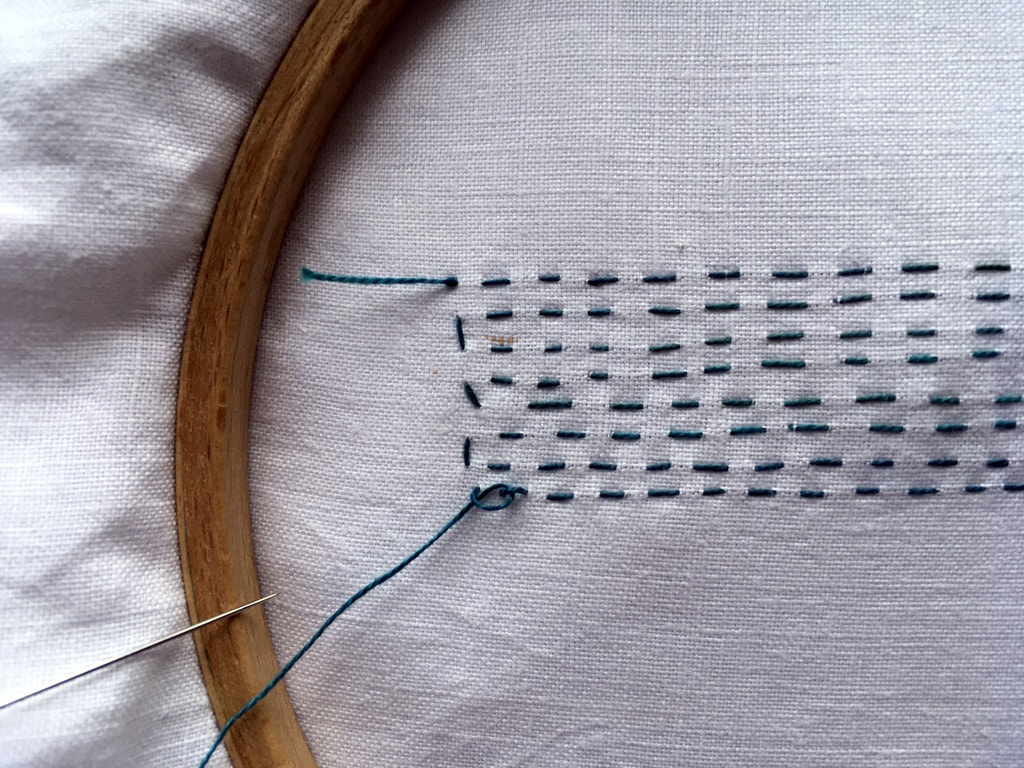
I have stitched the bottom 4 rows so the stitches stack up one on top of the other. Can you see a slight ridge appearing? It's more noticeable when it is done as a quilting stitch.
The top 4 rows have a more chaotic stitch spacing, arguably easier to do, especially with your feet up in front of the telly! Spot the difference? Instead of raised columns, a ripple effect is created, which is great for sea and sand.
Work parallel lines of stitching across the surface, Kantha Style. There's lots of Kantha work images out there on the web and also take a look at the works of textile artist Angela Daymond .
I have stitched the bottom 4 rows so the stitches stack up one on top of the other. Can you see a slight ridge appearing? It's more noticeable when it is done as a quilting stitch.
The top 4 rows have a more chaotic stitch spacing, arguably easier to do, especially with your feet up in front of the telly! Spot the difference? Instead of raised columns, a ripple effect is created, which is great for sea and sand.
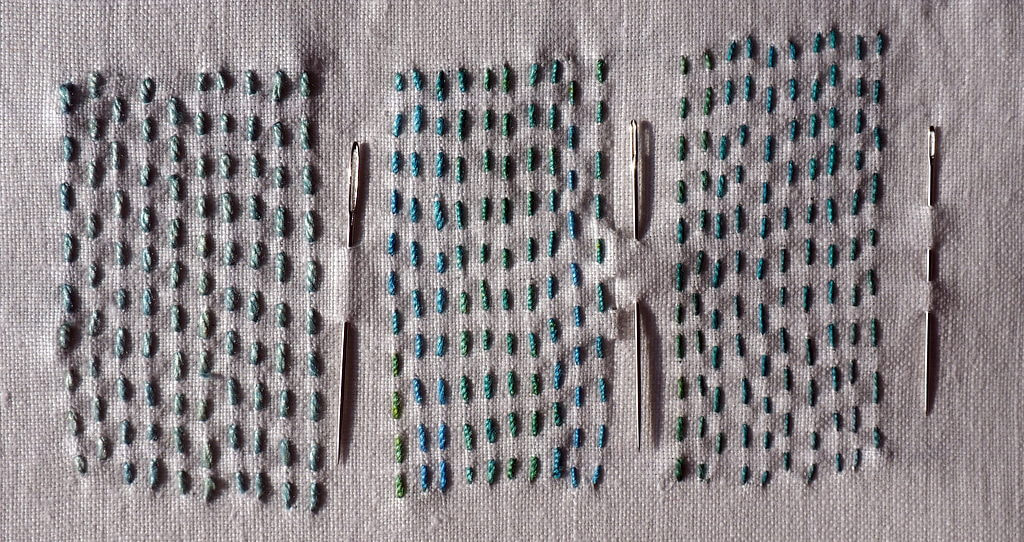
Stack it up 2:
In this sample I have used 3 different weights of thread and as the thread became thicker I switched needle sizes. It is important that you match the size of needle and eye to the weight of thread. If you try to use too small a needle for the size of thread it will make it very difficult for you to pull the thread through the fabric, causing it to wear more quickly and even rip the fabric as you tug on the needle. Conversely, if your needle is too big you will find the thread constantly slipping out of the eye and the hole left in the fabric may not close up resulting in a crooked looking stitch.
In this sample I have used 3 different weights of thread and as the thread became thicker I switched needle sizes. It is important that you match the size of needle and eye to the weight of thread. If you try to use too small a needle for the size of thread it will make it very difficult for you to pull the thread through the fabric, causing it to wear more quickly and even rip the fabric as you tug on the needle. Conversely, if your needle is too big you will find the thread constantly slipping out of the eye and the hole left in the fabric may not close up resulting in a crooked looking stitch.
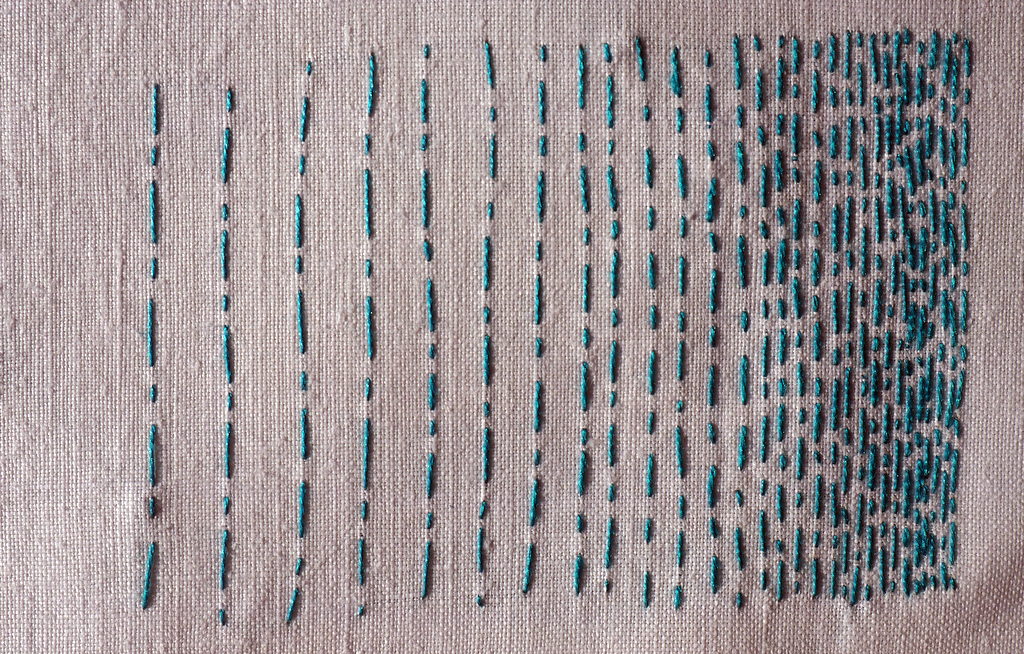
Stack it up 3:
All your stitches don't have to be the same length either; here I have alternated between a long and short stitch. I have also played about with the line spacings too. Notice how the closer together the lines are the darker the thread appears. In fact it is the same thread throughout.
All your stitches don't have to be the same length either; here I have alternated between a long and short stitch. I have also played about with the line spacings too. Notice how the closer together the lines are the darker the thread appears. In fact it is the same thread throughout.


Finishing off:
I've told you how to start stitching but you will also need to anchor the thread when you want to change colours or have come to an end of the pattern. On the wrong side of the work I take my needle under the last stitch and through a loop of thread, pulling gently to ease the knot down towards the fabric. I do two of these and then snip the needle end off, leaving a short tail.
I've told you how to start stitching but you will also need to anchor the thread when you want to change colours or have come to an end of the pattern. On the wrong side of the work I take my needle under the last stitch and through a loop of thread, pulling gently to ease the knot down towards the fabric. I do two of these and then snip the needle end off, leaving a short tail.
Did you know?
If you find that your thread is constantly twisting and becoming tangled it often helps to thread your needle from the other end! It's all to do with the twist and if you want to find out more take a look at this blog from CraftyPod
If you find that your thread is constantly twisting and becoming tangled it often helps to thread your needle from the other end! It's all to do with the twist and if you want to find out more take a look at this blog from CraftyPod
By the way...
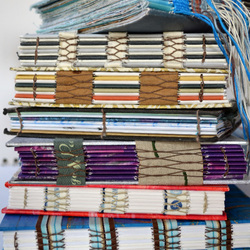
...did you make one of the pamphlet books earlier in the week? They make a great place to collect stitch ideas and inspiration. Perfect for fitting into your pocket for your one walk a day, and as you'll be socially distancing you'll have no one moaning when you stop to jot down ideas!
...did you make one of the pamphlet books earlier in the week? They make a great place to collect stitch ideas and inspiration. Perfect for fitting into your pocket for your one walk a day, and as you'll be socially distancing you'll have no one moaning when you stop to jot down ideas!
Also take a look at:
There's lots of creative places to search out on the web, but how about starting at Textile Artist? They have lots and lots of creative content from a wide range of stitched textile artists. Like us, they are also running a free to access community challenge. Running over 5 weeks they will be featuring several of the guest tutors who have been or are coming to InStitches. The first week features Sue Stone and like us she kicks off with straight stitch, take a look here.
There's lots of creative places to search out on the web, but how about starting at Textile Artist? They have lots and lots of creative content from a wide range of stitched textile artists. Like us, they are also running a free to access community challenge. Running over 5 weeks they will be featuring several of the guest tutors who have been or are coming to InStitches. The first week features Sue Stone and like us she kicks off with straight stitch, take a look here.
We hope you have enjoyed our first stitch project and feel inspired to have a go. Let's build our creative online community: we would really love to see what you are stitching. Don't forget to post to Instagram and use the hashtags: #institchescreative2020 and #institches2013. If you follow both us and the hashtags you will also get to see what everyone else is creating too!
On Facebook reply to the relevant week's post with your comments and images. And don't forget to actually follow InStitches on Facebook to see what everyone else is up to.
Until next time, stay safe, keep well, and don't forget to wash those hands!
Hazel & Terry
PS:
On Facebook reply to the relevant week's post with your comments and images. And don't forget to actually follow InStitches on Facebook to see what everyone else is up to.
Until next time, stay safe, keep well, and don't forget to wash those hands!
Hazel & Terry
PS:
Don't say I didn't warn you about cats and baskets...

 RSS Feed