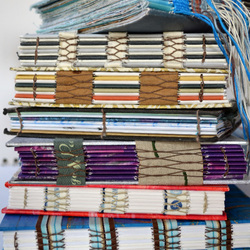
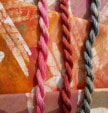
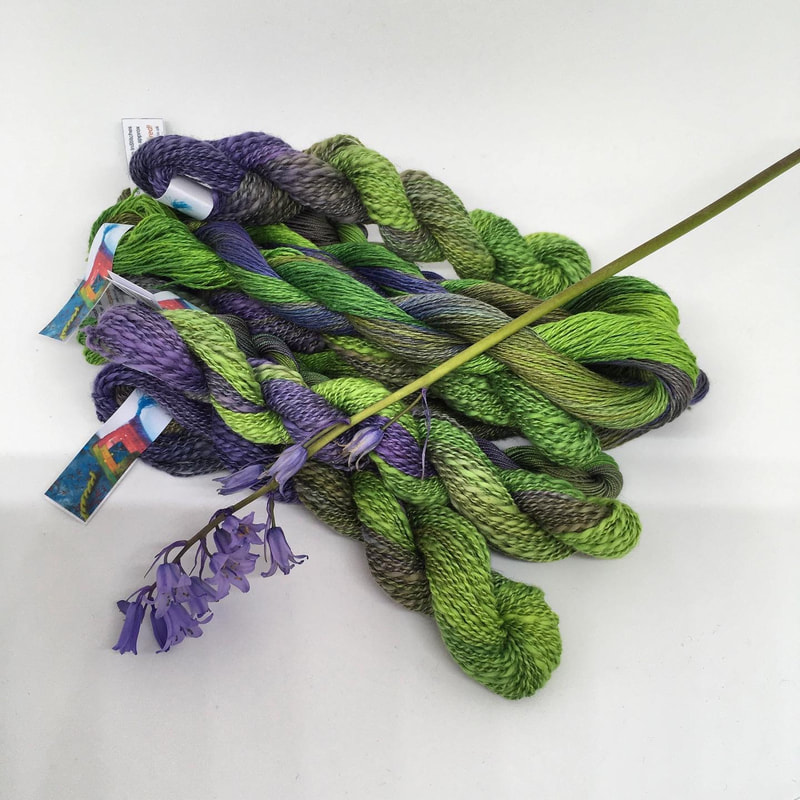
Welcome to our now weekly #institchescreative2020 blog. We are still planning to alternate paper and stitch, so this week is a quick paper-based project. Meanwhile exciting things are happening behind the scenes in the studio: we’ve been dyeing threads and, as Hazel mentioned last week, learning how to set up an online shop so we can bring them direct to you in your sewing room.
Negative space drawing
I realise this sounds technical, and indeed this exercise is often done by serious artists wanting to learn how to make better drawings, but today we are just going to use it as a different way of drawing. You may remember that I told you about our brains’ shorthand back in April when we were drawing without looking:
I realise this sounds technical, and indeed this exercise is often done by serious artists wanting to learn how to make better drawings, but today we are just going to use it as a different way of drawing. You may remember that I told you about our brains’ shorthand back in April when we were drawing without looking:
By slowing right down and forcing our eyes to follow the outline of the object we are drawing, we actually begin to see the details. The shape of the top of the mug, the angle of the sides, how the handle joins at the top, and the bottom, how wide the handle is and does it taper. All of these details usually just disappear in your brain’s shorthand: '
Mug = circular thing with a handle for tea'. It’s your brain’s way of getting through the day without overwhelming you. You don’t need all that detail to make a cuppa!
Well, this is another exercise in looking. This time we are trying to shut the analytical side of our brain up by confusing it. We are not attempting to draw an object that the left side of the brain can classify and describe, so it cannot take over and stop us from seeing what is really there. Instead we are trying to draw the spaces around that object, and if we want, with practice that can make us better at drawing complex things accurately.
Or we can just ignore all that, have fun and have a go at drawing voided shapes to fill with detail or pattern later.
Or we can just ignore all that, have fun and have a go at drawing voided shapes to fill with detail or pattern later.
You will need
- Fine pen – biro/ drawing pen/ felt tip
- Several sheets of paper or a sketchbook (copier paper will do fine)
- Viewing window (see below)
- Marker pen or coloured pencils
- Patterned or coloured paper – either commercial or your own decorated paper (optional)
A viewing window
Making a viewing window is really easy. These instructions make one in the same proportions as your drawing sheet, but you could skip steps 1-4 and draw a frame any size.
Making a viewing window is really easy. These instructions make one in the same proportions as your drawing sheet, but you could skip steps 1-4 and draw a frame any size.


- Take a piece of card (cereal box is ideal) or paper the same size as the sheet you are going to draw on.
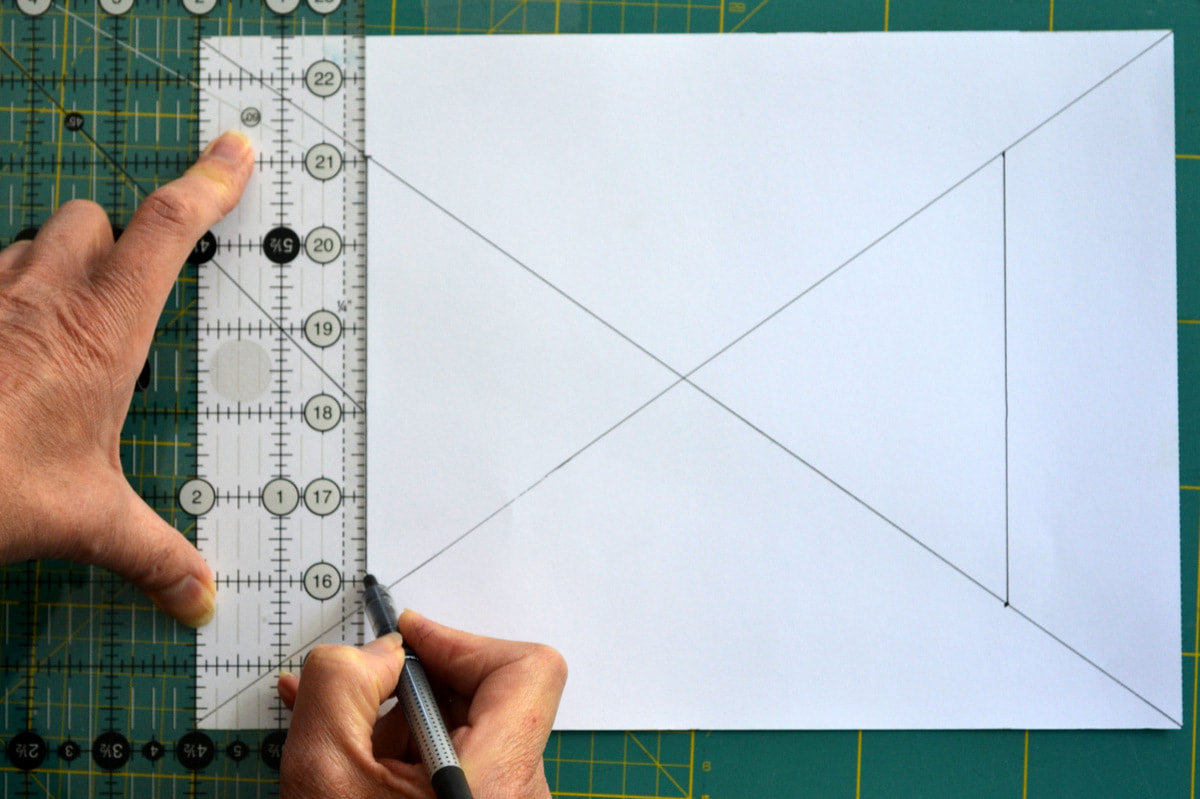
- Draw in both diagonal lines.
- Measure from the top and the bottom of the piece of card to the desired size and draw the horizontal lines eg if your paper is 28cm tall and you want your window to be 18cm tall, draw horizontal lines 5cm from the top and 5cm from the bottom, till they intersect with the diagonals.
- Draw the verticals to connect up the sides. The window you have created will have the same proportions as the original paper.
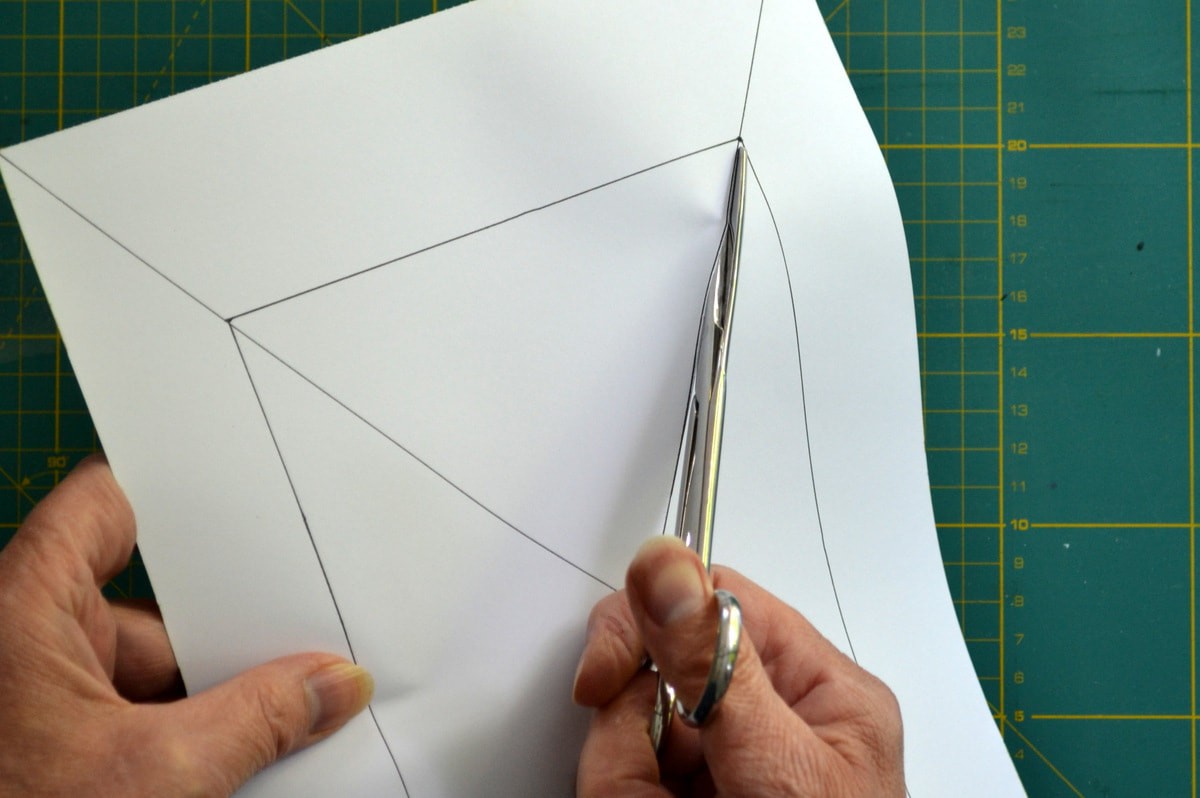
- Cut along the diagonals in the centre to the intersection with the horizontal/vertical lines.
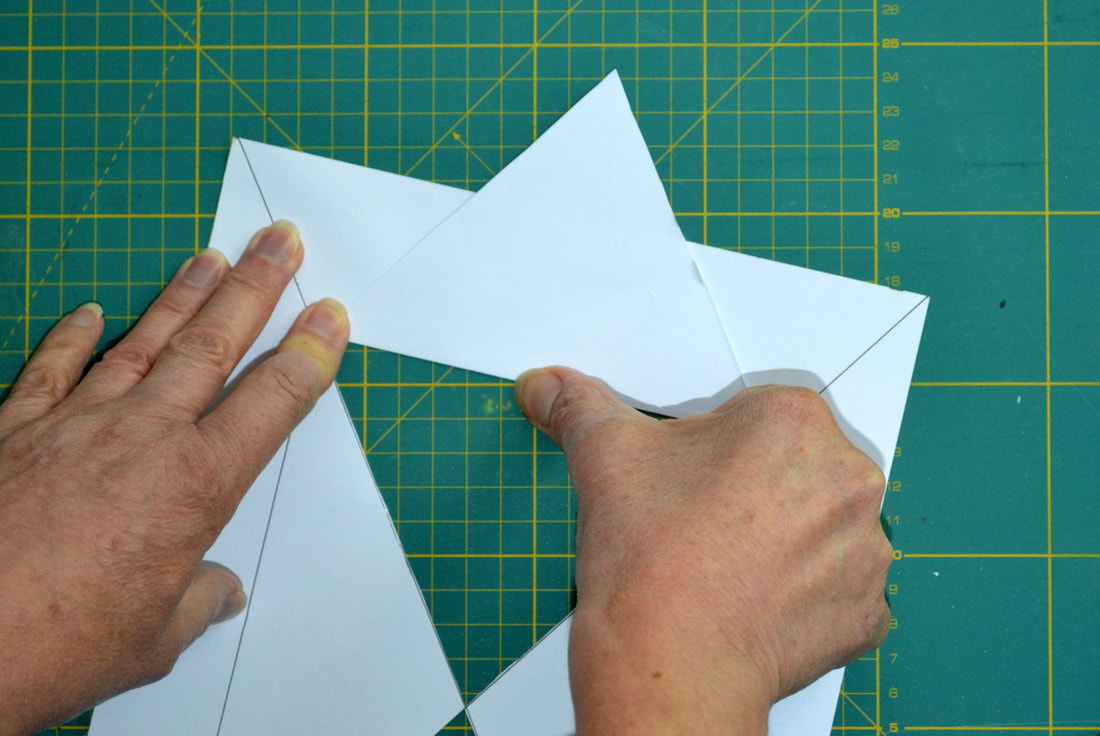
- To strengthen a paper window, fold the triangular flaps round the frame, securing with sticky tape or a dab of glue.
- For a card window, remove the triangular flaps completely.
I’m going to do the exercise on paper to start with, but it is a great one to do in any drawing app you have on your tablet or PC, especially if you also have a stylus which allows you to draw accurate lines. There's a bit more detail about drawing apps at the end of the blog.
1. Arrange group of objects with interesting shapes or select an object such as scissors, or a chair or a watering can which has negative spaces within it.
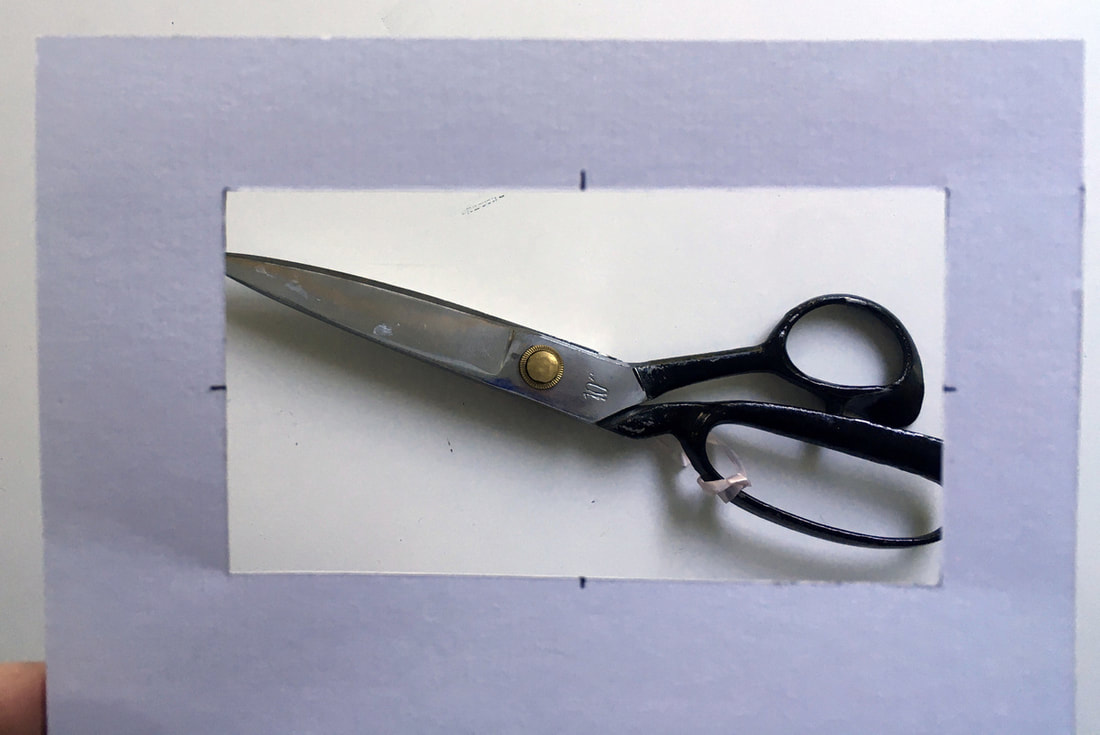
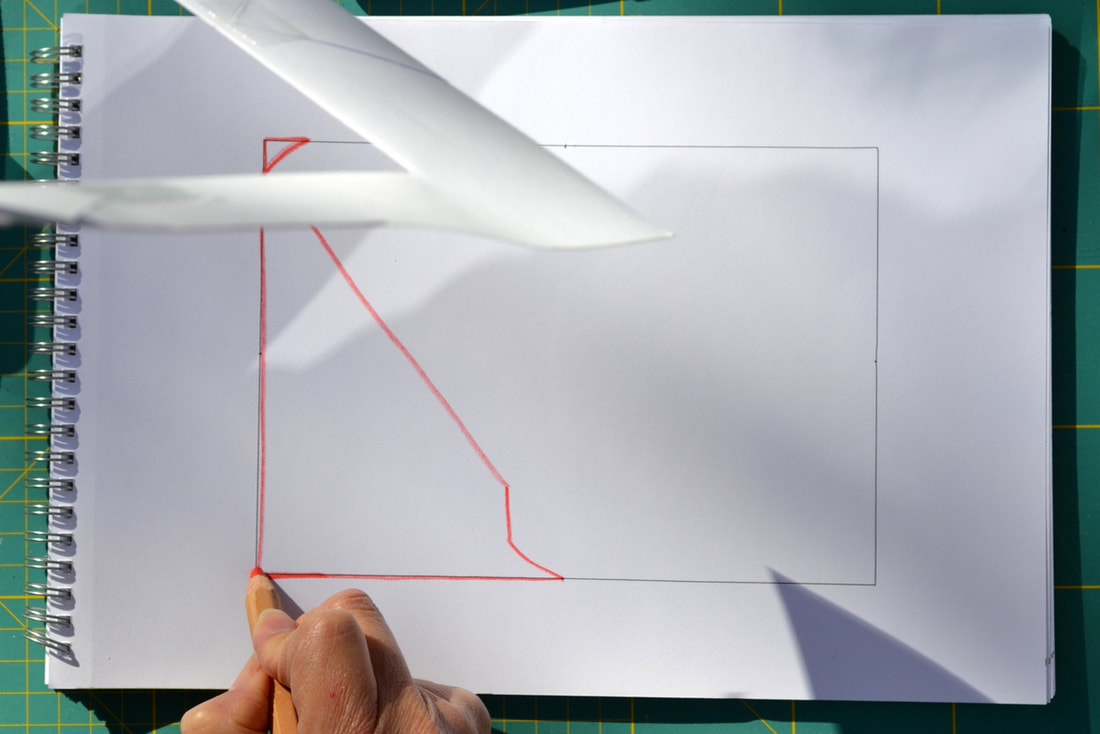
2. Use a viewing window the same proportions as your drawing paper (see box for how to make one). Prop the window so that you can see the object through it and some of its edges ‘touch’ the sides of the frame. This is easier said than done when you have decided to do this in the garden on a windy day, but we do like a challenge!
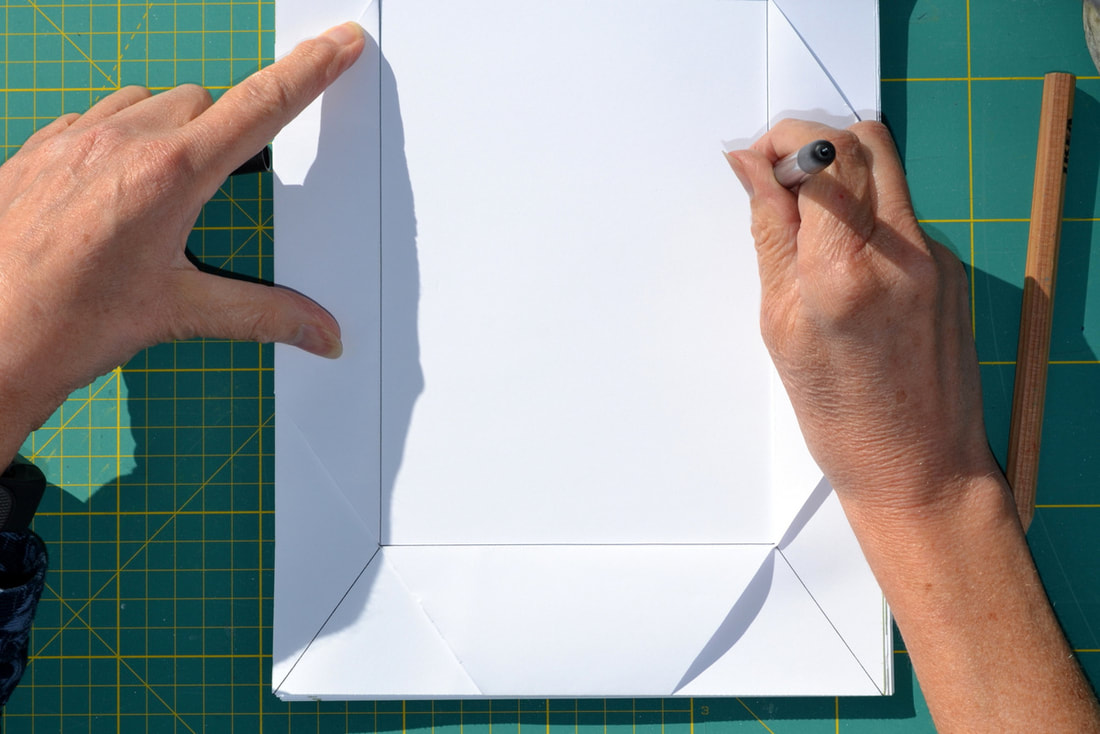
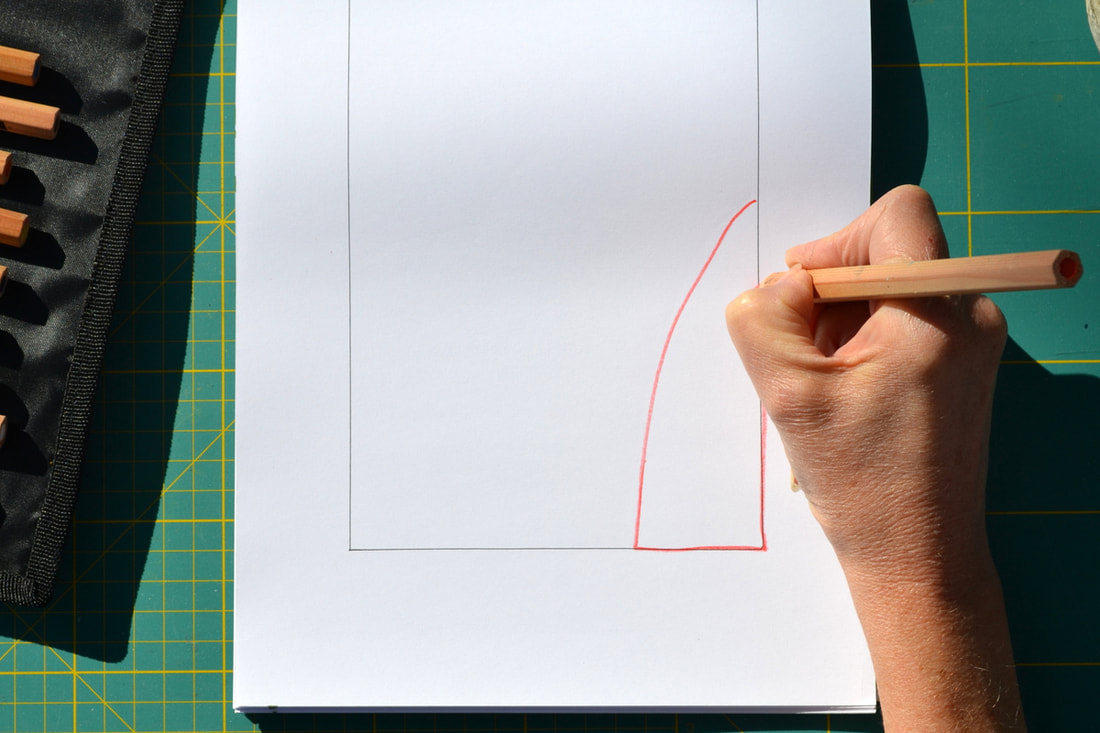
If you don't want to use the whole sheet of paper or have a different shaped window, draw around the inside of your window onto your paper so you have a frame to work within.
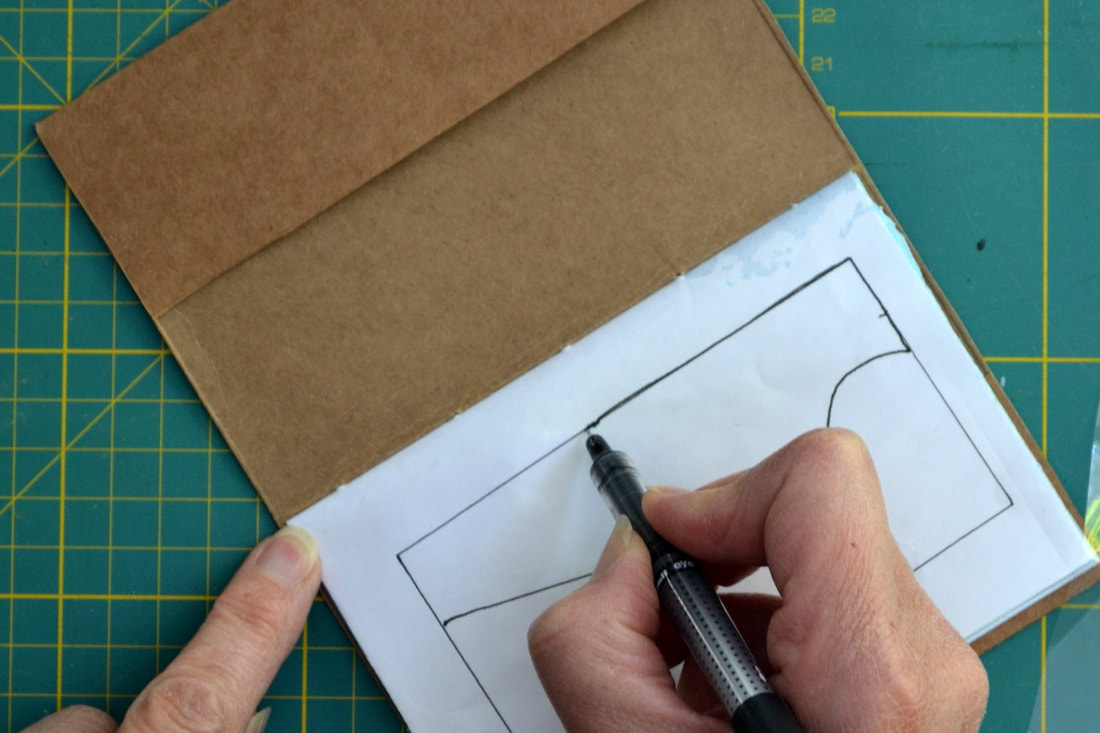

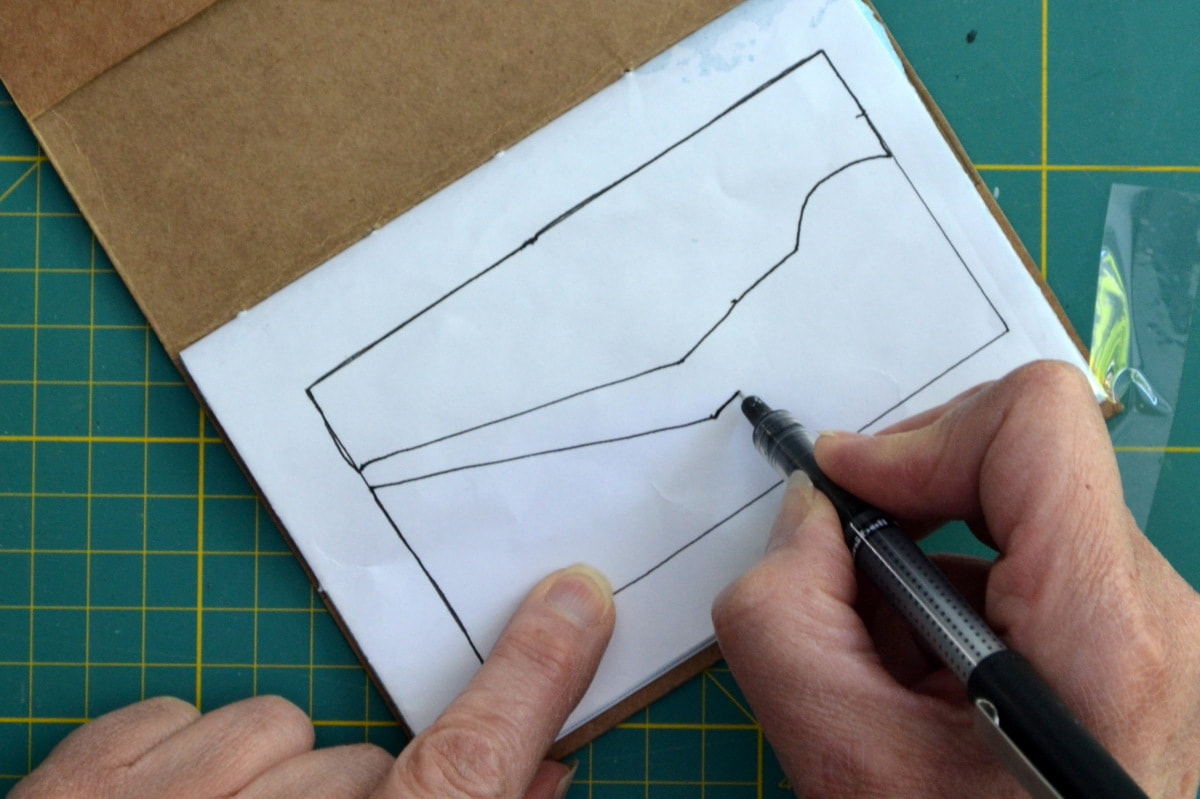
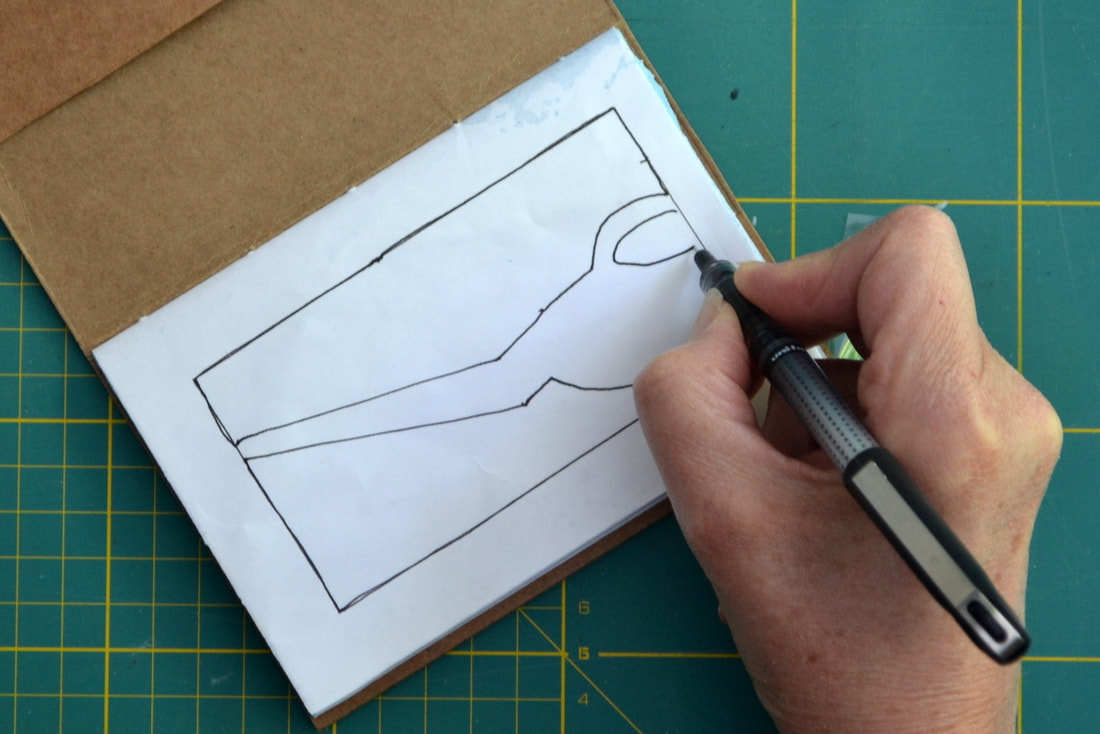


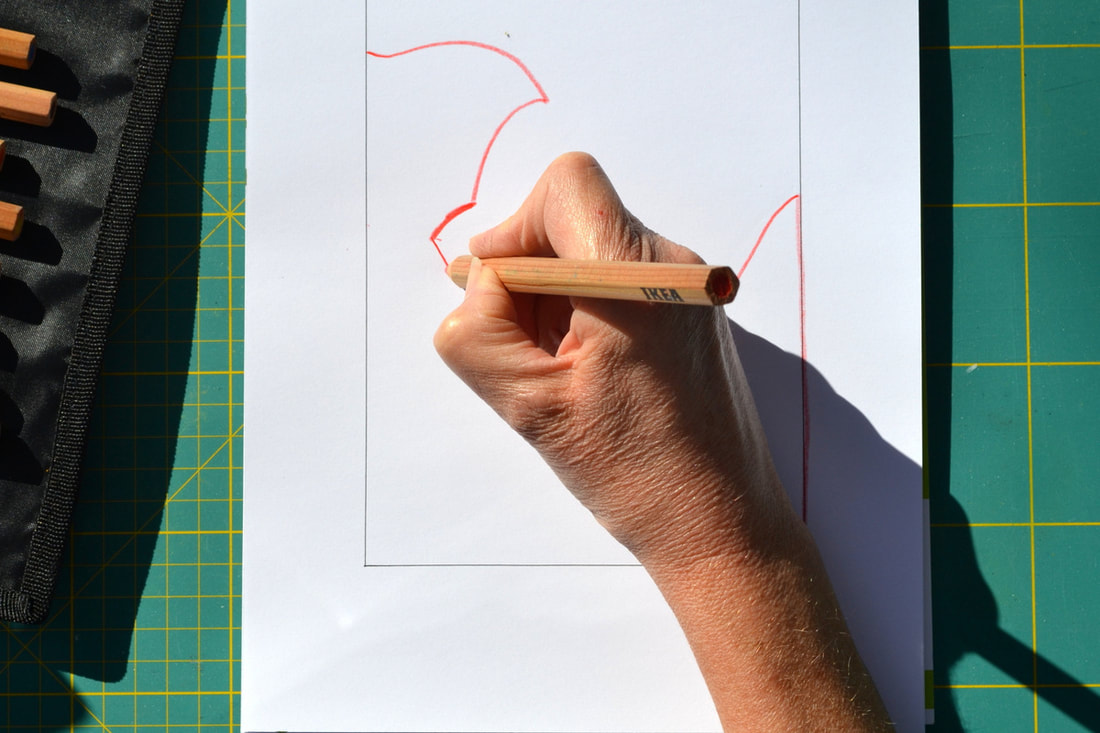
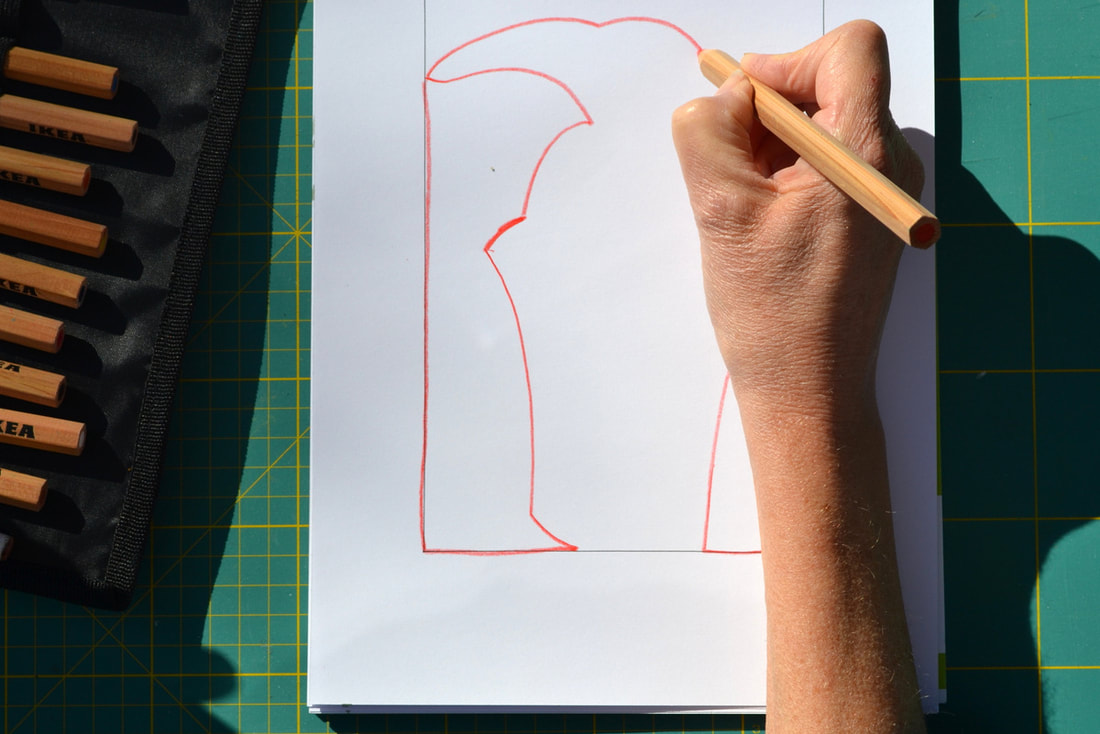
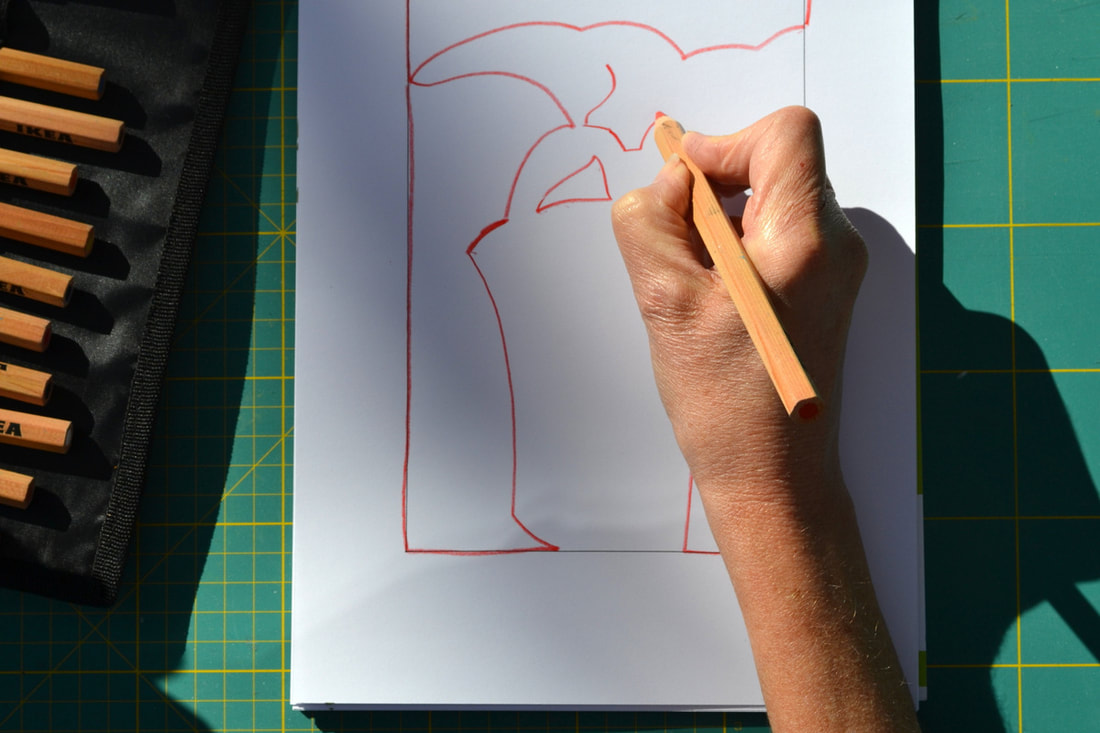
3. Using a continuous line drawing technique draw the negative space around, between or within the object/s as a series of shapes, connecting them to the edge of the frame as necessary.
I love the shape of scissors, and have dozens of pairs of all shapes, sizes and uses; one day I'm going to fill a sketchbook with drawings of all of them, one per page .... one day! Anyway, I started with my dressmaking shears. I'm judging the approximate distance from the top and bottom of the frame to start my lines - you might be able to see that I marked the half-way points on the window for guidance. Just six simple shapes to draw and they look quite realistic.
I love the shape of scissors, and have dozens of pairs of all shapes, sizes and uses; one day I'm going to fill a sketchbook with drawings of all of them, one per page .... one day! Anyway, I started with my dressmaking shears. I'm judging the approximate distance from the top and bottom of the frame to start my lines - you might be able to see that I marked the half-way points on the window for guidance. Just six simple shapes to draw and they look quite realistic.


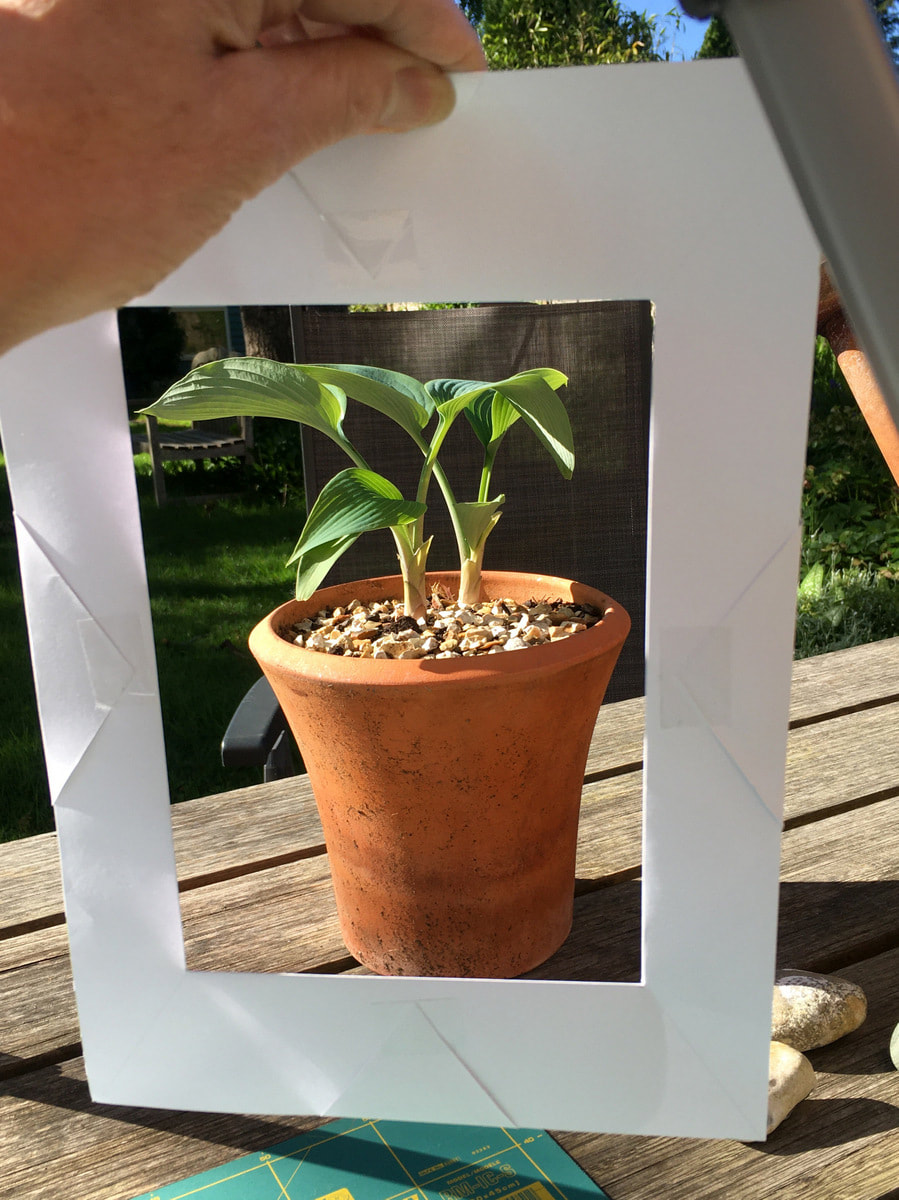
Here I've moved out into the garden to draw a plant in a pot. I'm still trying to judge where lines should start and finish in relation to other reference points. It's much harder to draw because the shapes and their relationship to each other is more complex, but I don't think the plant is going to complain that it's not a good likeness!
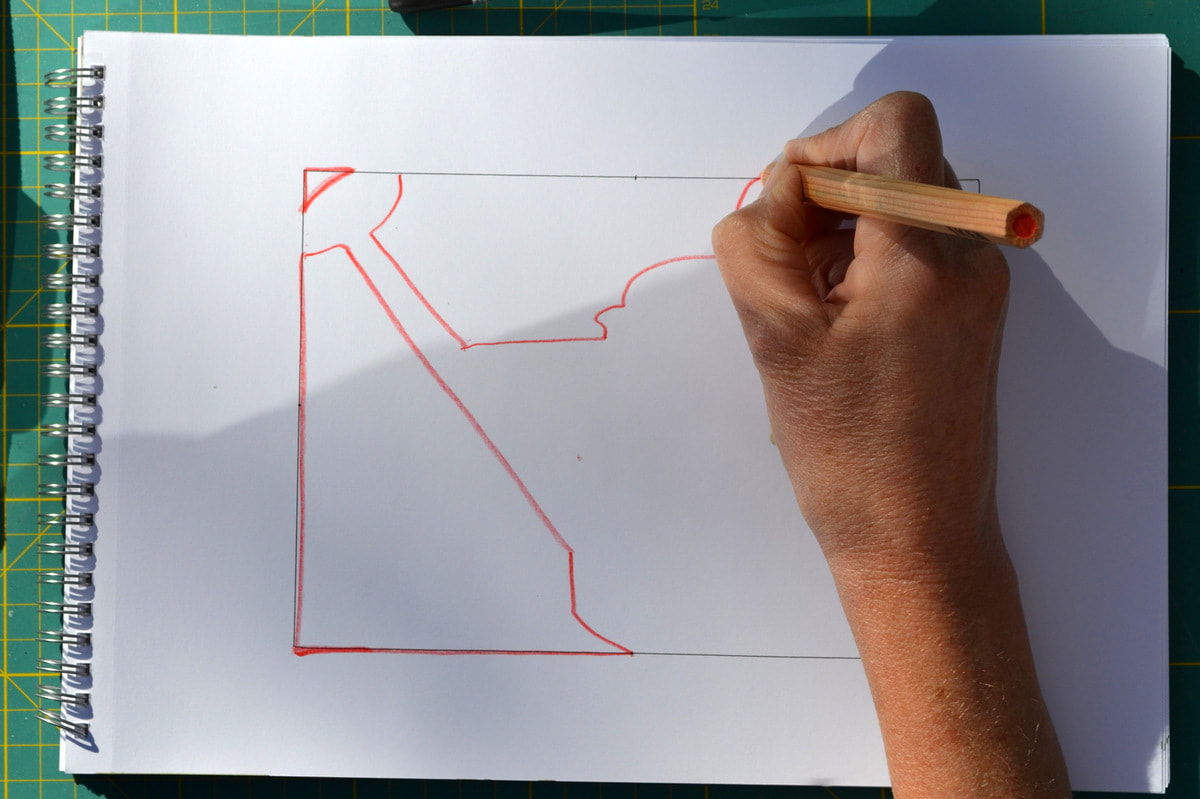
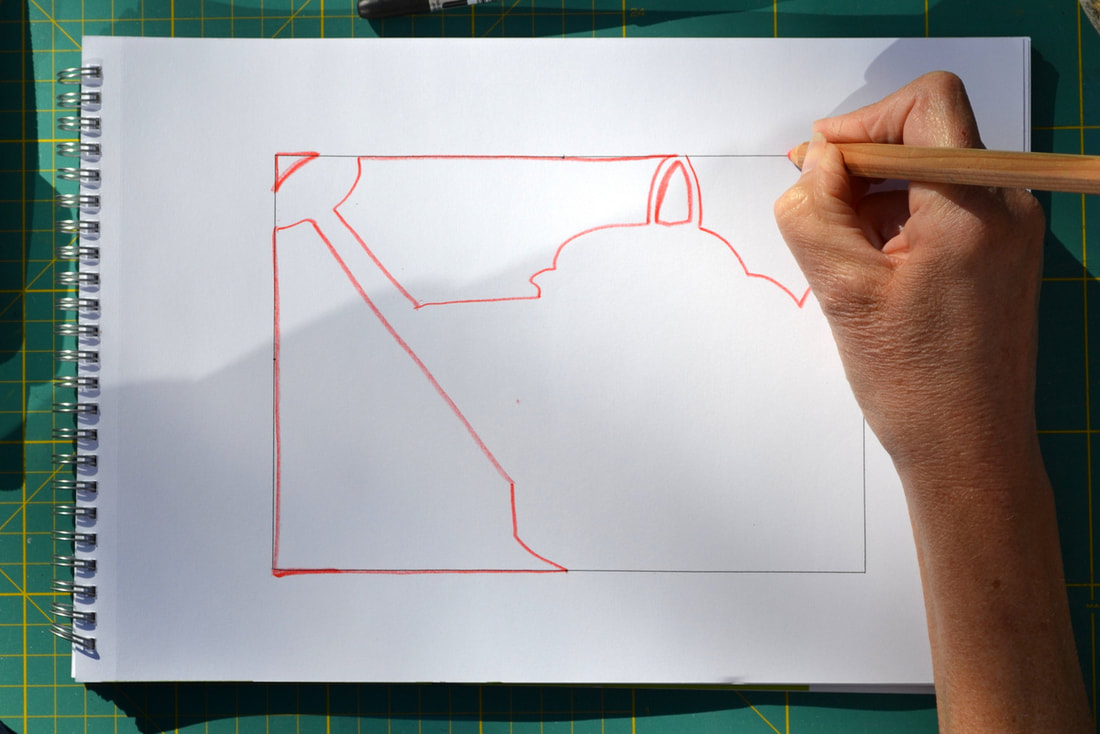

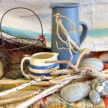
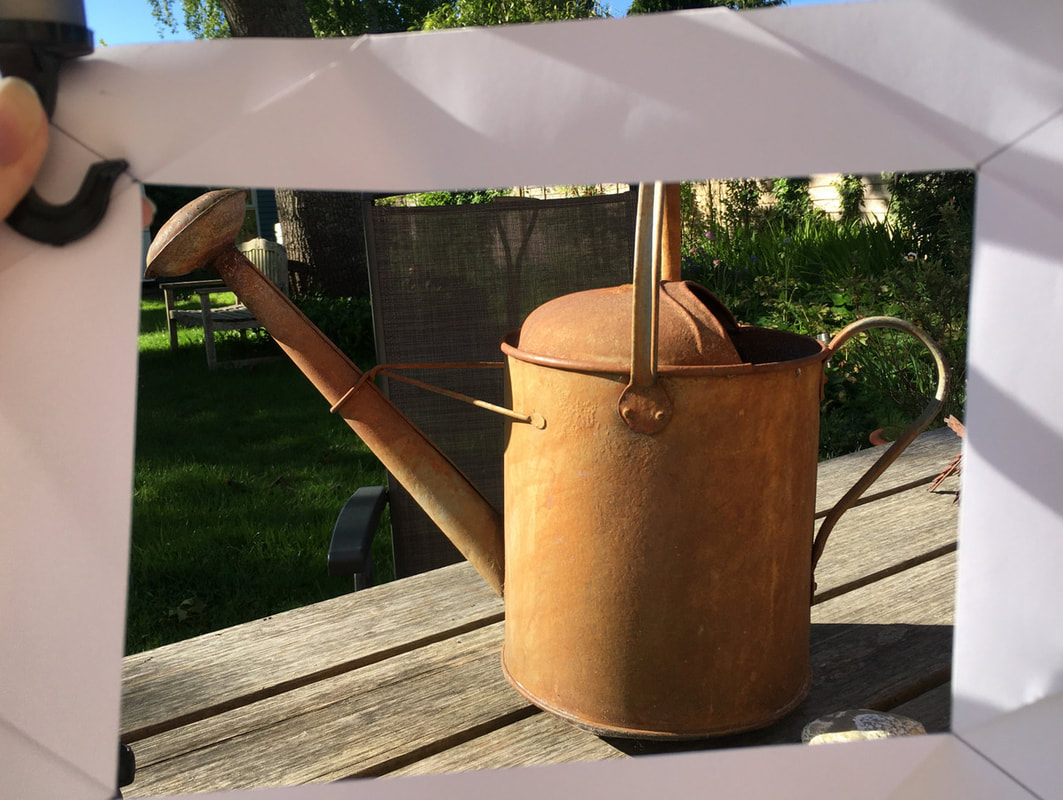
Now I'm being really brave and trying the beautiful rusty watering can. Again, it's more complex, but take your time and really observe the abstract shapes you are drawing, where they start and finish, and what angles there are.
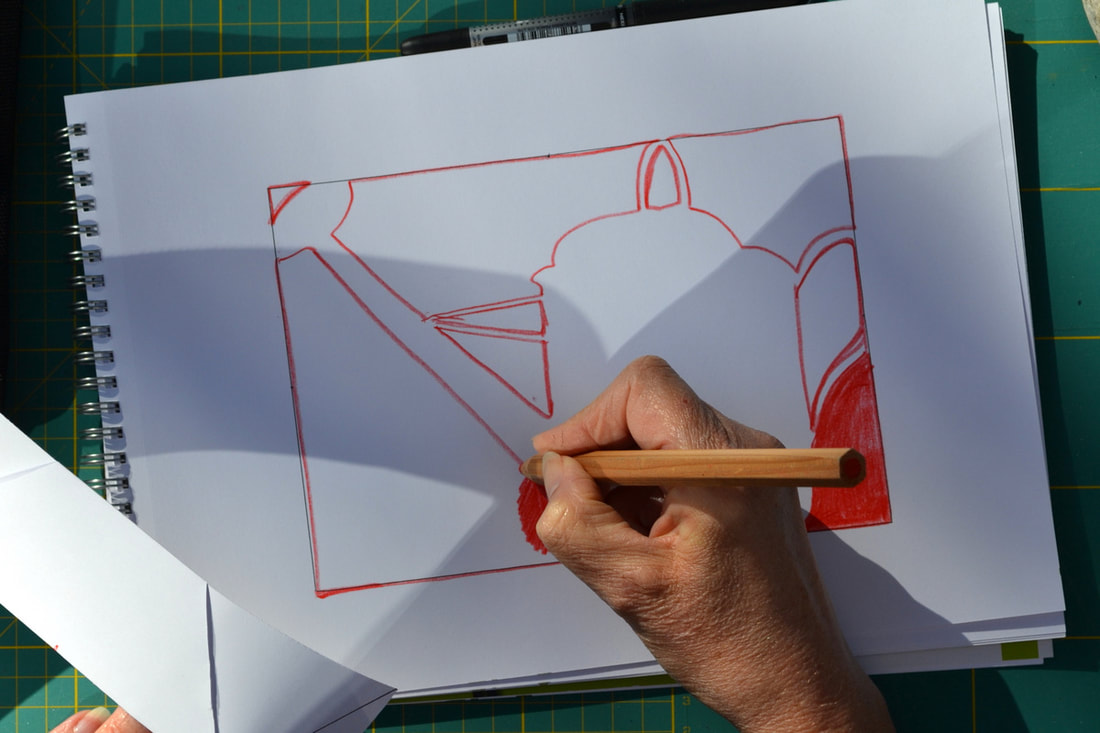
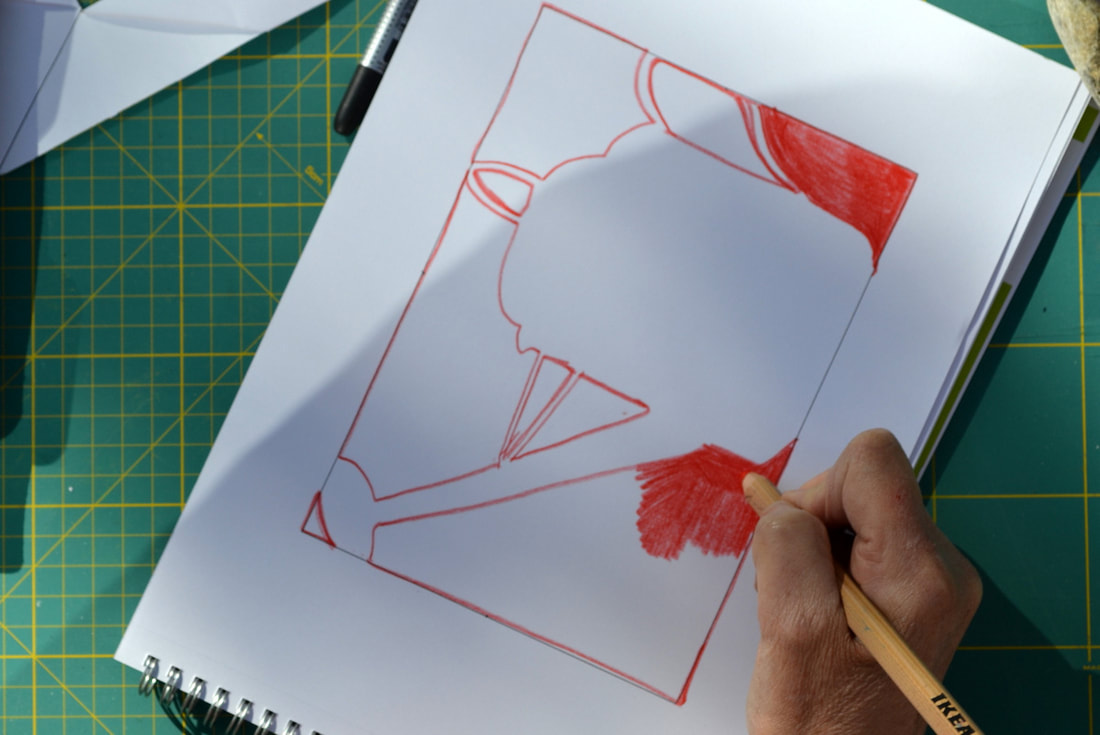
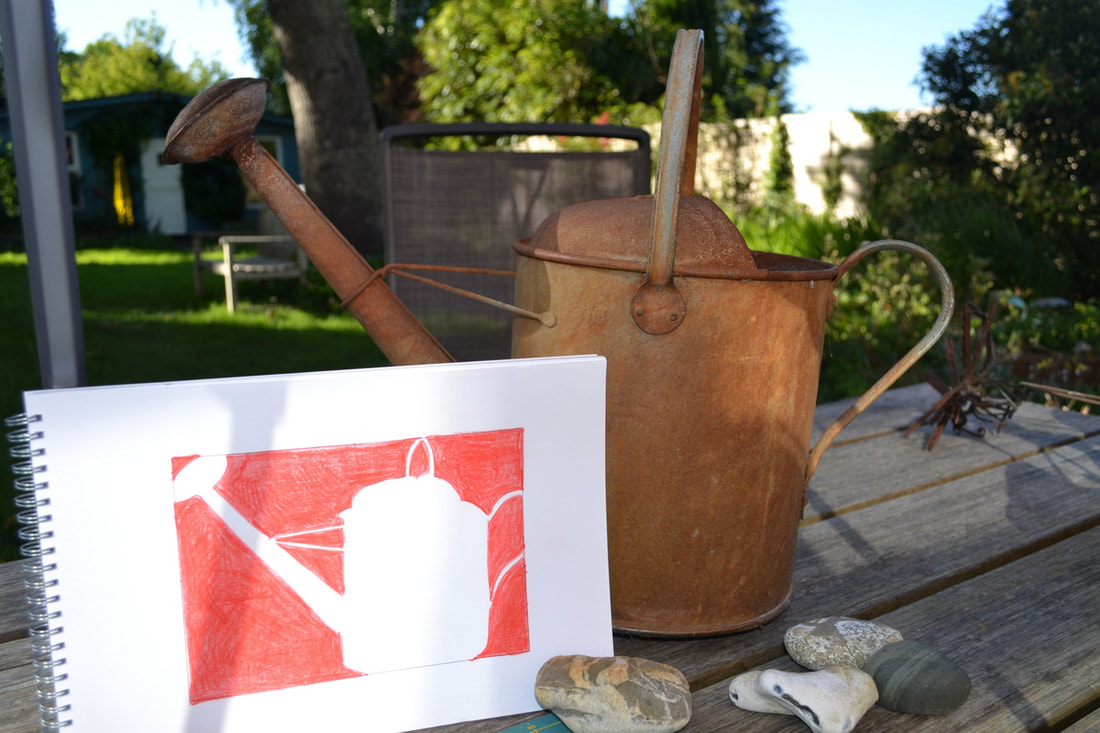
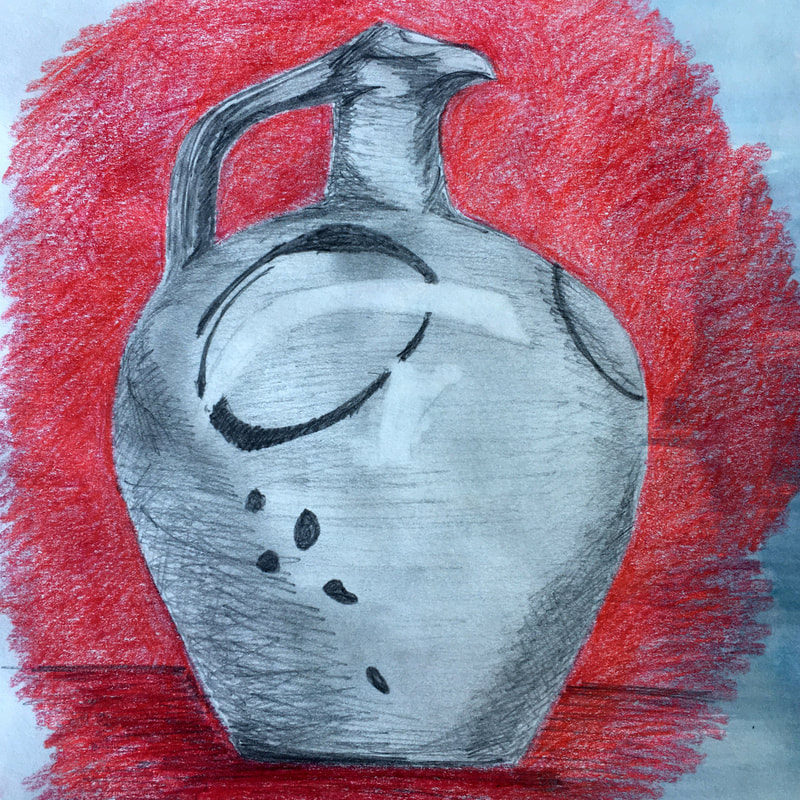
4. Shade in the negative spaces and watch as the object(s) emerge from the background.
You don’t need to stick to black and white for this – why not use coloured pencils or crayons to fill the background. I’ve just used cheap chunky Ikea ones which the boys had when they were little; neither of them was really into drawing or craft – music is their form of creative expression. The secret (note to self!) is to keep them sharp for the drawing bit, and then make the most of their luscious wide ‘leads’ for the colouring part.
Keep exploring...
Well that's the basic exercise, but there is so much more you can do. Here are some suggestions:
Well that's the basic exercise, but there is so much more you can do. Here are some suggestions:
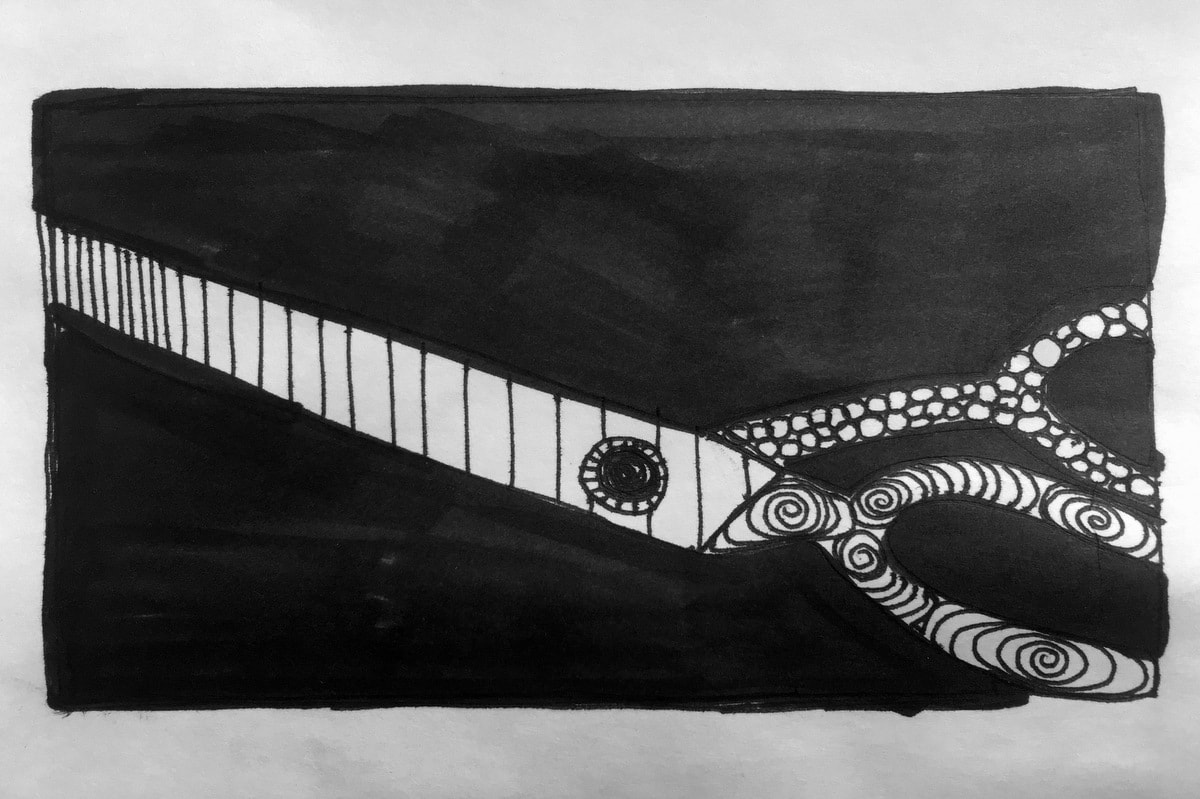
1. You could start to draw in the details of your subject – either as a line drawing or using realistic shading. Or you could simply fill the voided shape with Zentangle-like patterns (not much space in a pair of scissors!)

2. You can jazz it up a bit by drawing on patterned paper.
Any patterned paper will do; you could choose a pattern that is sympathetic to your subject, or something completely unexpected. It’s a great way of transforming existing pages in your sketchbook which maybe weren’t successful, which is exactly what I did for the pebbles on the left below.
Any patterned paper will do; you could choose a pattern that is sympathetic to your subject, or something completely unexpected. It’s a great way of transforming existing pages in your sketchbook which maybe weren’t successful, which is exactly what I did for the pebbles on the left below.
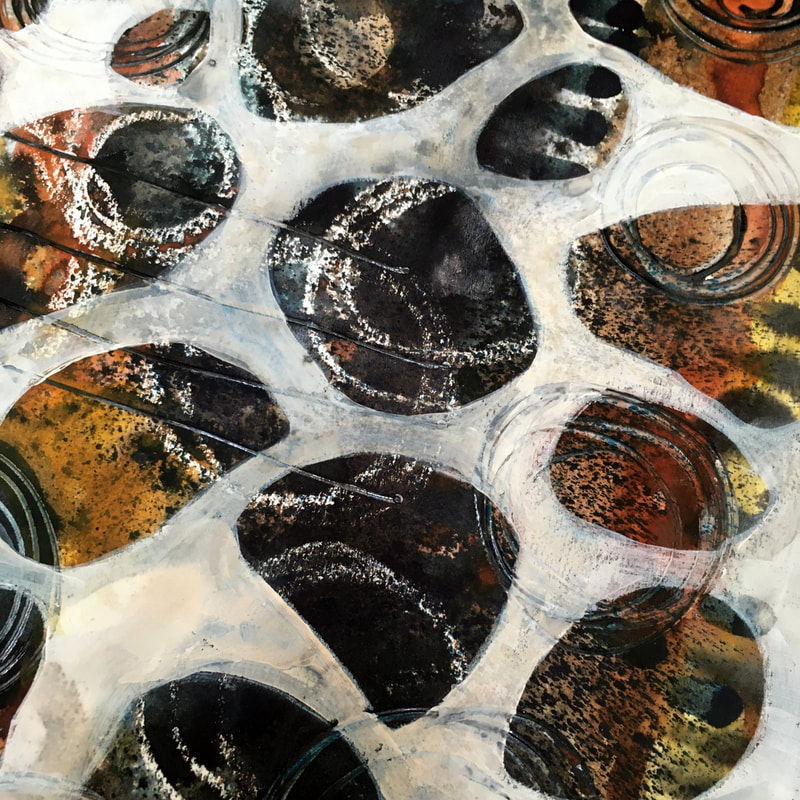
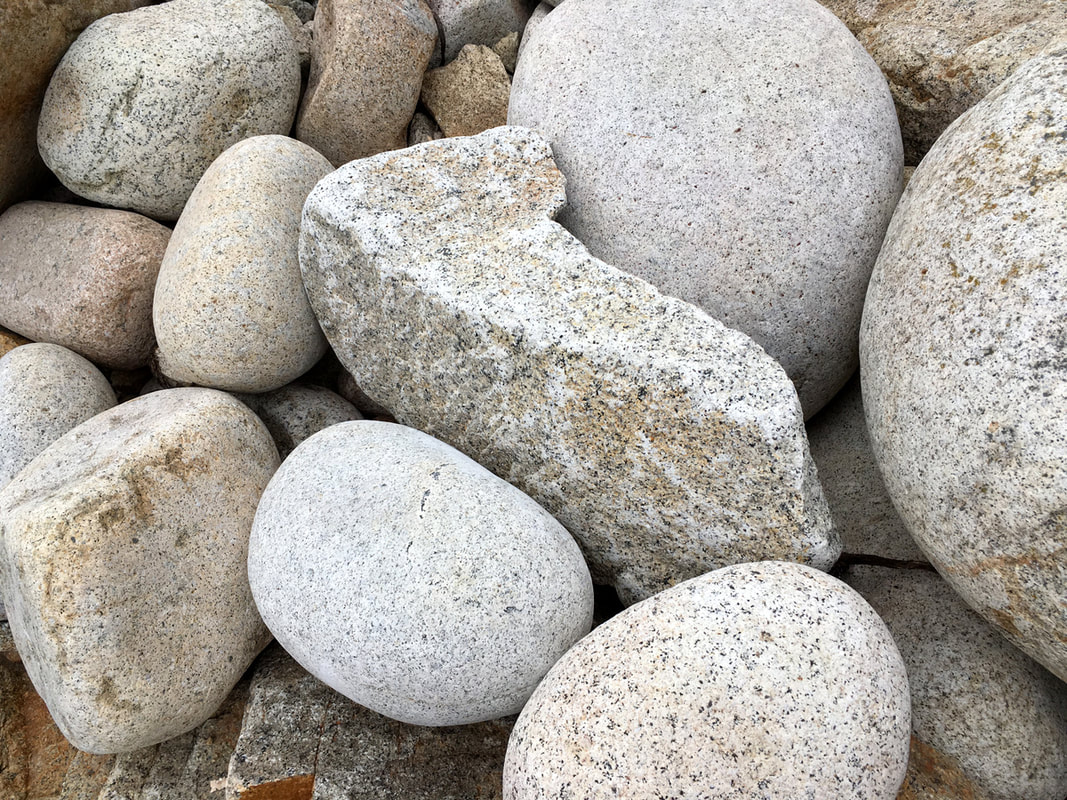
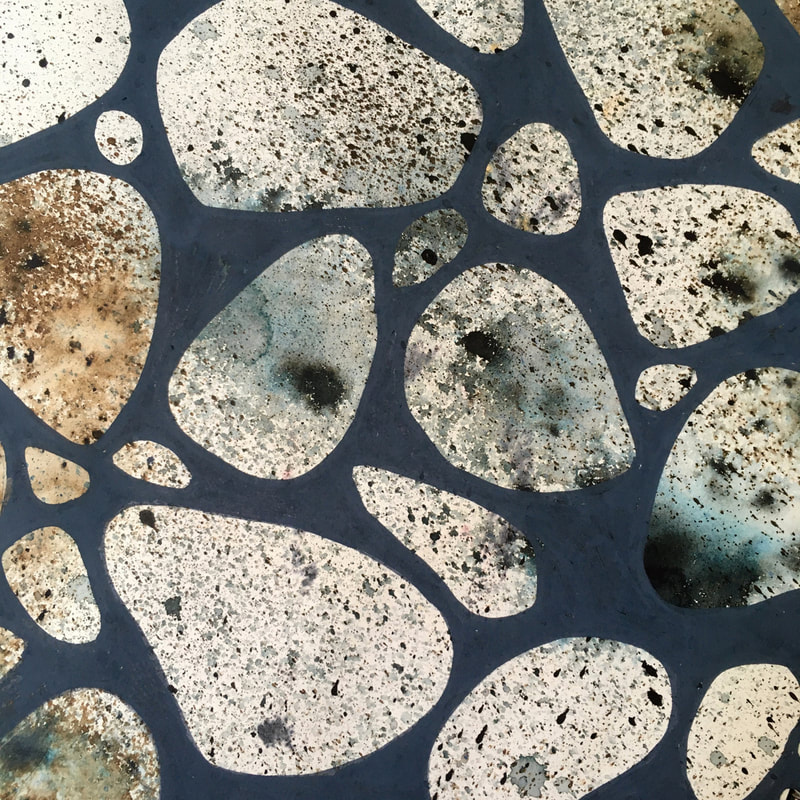
Our students will know that at InStitches we love of a sacrificial piece of paper (or fabric if we’re dyeing). Don’t be alarmed, that’s simply the piece of paper that goes underneath your working paper to save your work-surface and collects all the incidental marks when you paint or draw off the edge of a piece of paper; in time it becomes richly patterned with accidental marks and colour you couldn’t have thought up deliberately. These make great backgrounds for negative space drawings - on the right above I have done simple pebble shapes over a piece of paper that got spattered with ink when I was spaying paper for book covers. But I think they look just like the granite pebbles at Porth Nanven in West Penwith in the centre.
3. Maybe if you draw the negative space and colour in with chunky graphite, you could use this as the first steps for a ‘proper' drawing. Use an eraser to smudge the edges. Add back in the detail with pencil...
Go digital
Another way to do this exercise initially is to work from photographs, either with tracing paper or maybe in a drawing app on your tablet. This helps to flatten three dimensional objects and helps you see the shapes more easily.
If you have the digital equipment but have never tried drawing with it, this could be a good way to get started. Free apps include Adobe Fresco (and the older Adobe Sketch and Adobe Draw if you have an older tablet), Paper and Autodesk Sketchbook) – there are loads out there. Some drawing apps allow you to have layers. This means you can open a photograph in the app then add a layer over it like a piece of tracing paper. All your drawing goes on this layer. Trace the outlines of the negative spaces, ‘switch off’ the photograph, then add another layer to fill them with colour.
| In your app you can just add a patterned layer underneath your drawing, then you can save it, or even save a time-lapse video of the whole process in some apps, which never fails to fascinate me. The one above shows the process in Adobe Draw, and it's a bit rough and ready because the stylus I have is not very fine, and its a bit old so its not supported any more, although it does still connect to the app so you can prevent accidental palm drawing. |  |
One last thing...
Have you been watching Gayson's Art Club on Channel 4? If not, it's well worth seeking out on catch-up. He, like us, believes that art is important to get us through this crisis. I love that he says that to be creative we need to be relaxed - I actually think it works both ways - the more we do the more we relax into it. And he says that to make art you need to make yourself vulnerable, by which he means you need to be open to possibilities, and be prepared to fail. In other words, just have a go, and don't worry about what the outcome will be.
So with that in mind, do have a go at this week's creative ideas. We’d love to hear how you got on … take a quick snap and post it over on Instagram using the hash tags: #institchescreative2020 and #institches2013. Don't forget to follow both us and the hashtags to see what everyone else is creating too!
On Facebook reply to the relevant week's post with your comments and images. And don't forget to actually follow InStitches on Facebook to see what everyone else is up to.
Until next time - keep the creativity flowing...
Terry & Hazel

 RSS Feed