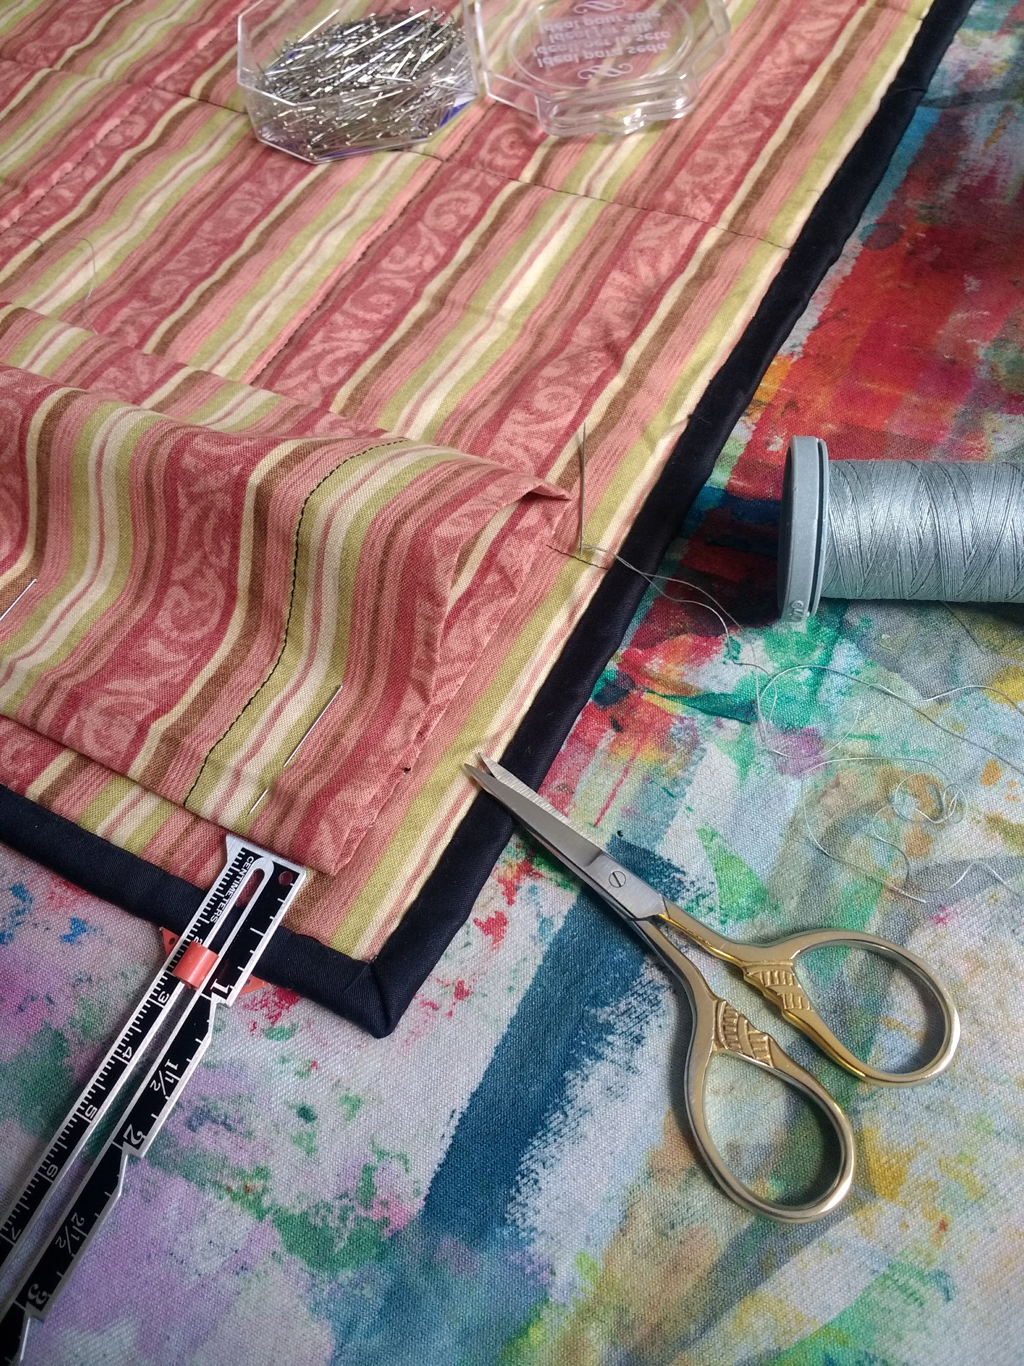
It’s not the most enticing of blog titles is it? But nevertheless it’s an important one if you are finishing a quilt ready to enter into one of this summer’s quilt competitions, hang it in an exhibition or on your wall at home. It never ceases to amaze me when I walk round a quilt show such as the Festival of Quilts, how badly some quilts are hanging. Very often it isn’t the fault of the show’s hanging system but the quilt itself. So here’s the InStitches method of hanging a quilt and preparing it for an exhibition!
First things first, make sure you’ve given your quilt a good press and sewn your binding in place. Now you are ready to attach a hanging sleeve. A hanging sleeve is just a simple tube of fabric attached to the back of the quilt which needs to be generous enough to accomadate the width of the pole without distorting the quilt top. Finished size is 4 - 5inches.
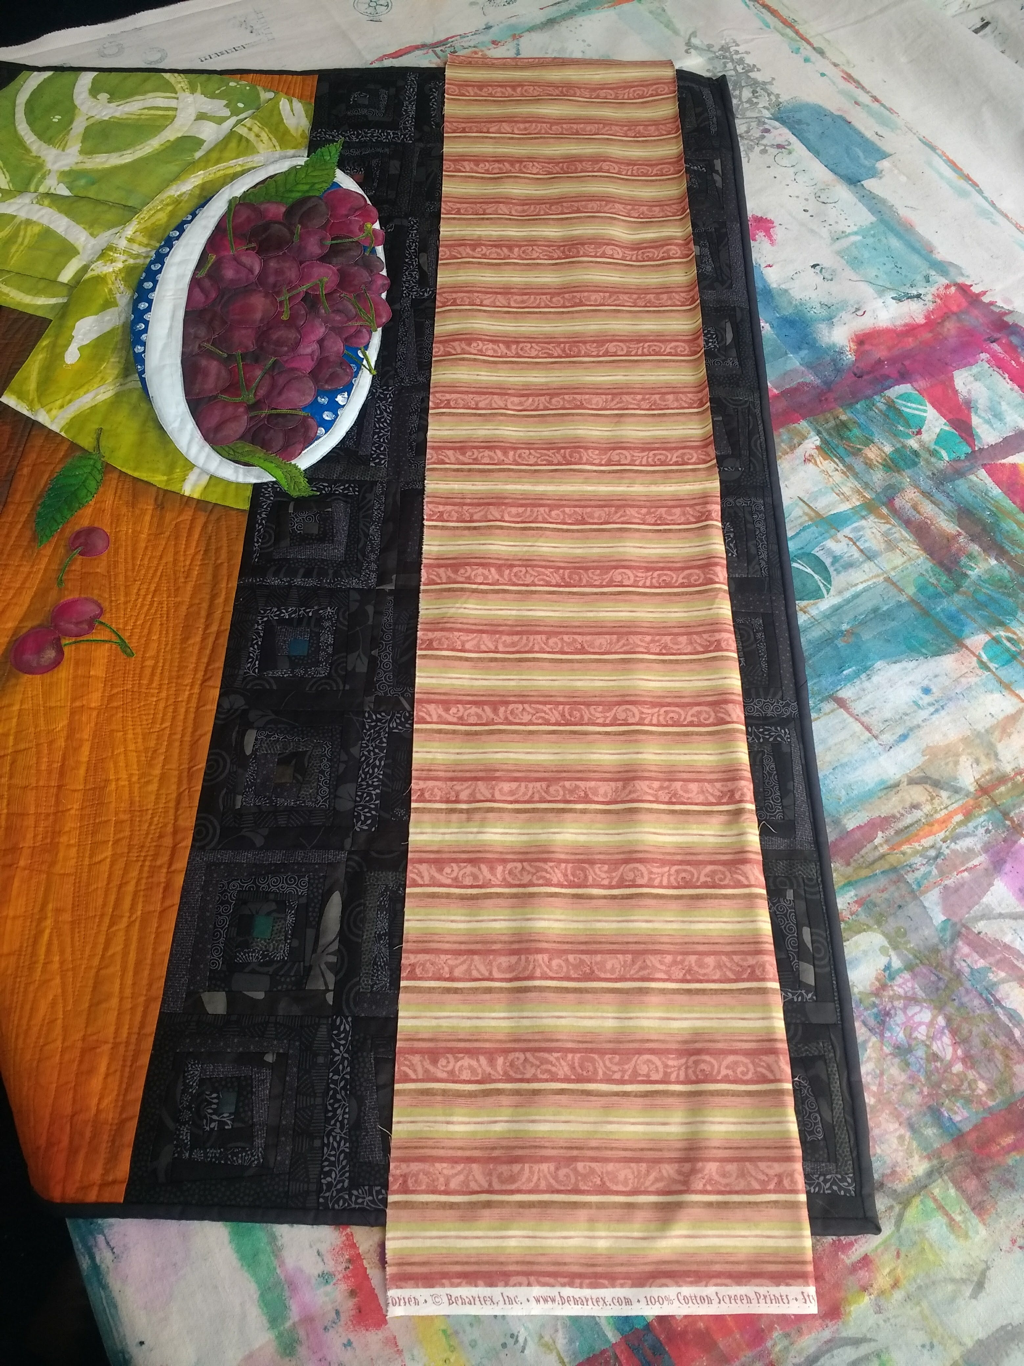
Cut fabric 9-10 inches wide and at least the same length as the width of the quilt.
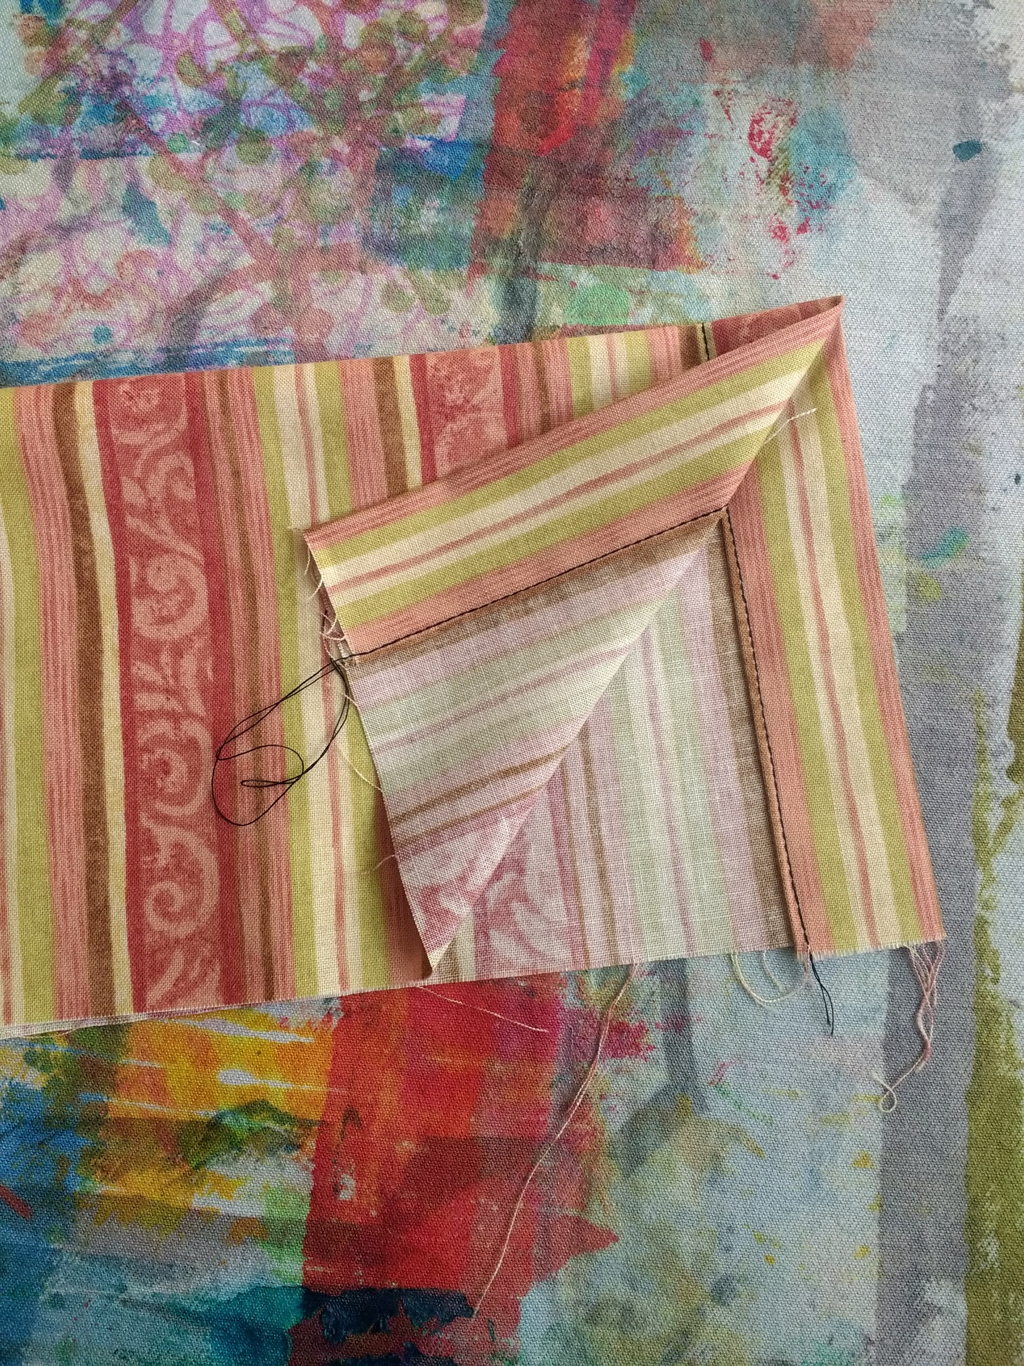
Fold in half an inch twice on the short edges and machine stitch the hem close to the inside folded edge. Some people (Terry!) prefer to make the hem on the right side, to minimise the pole snagging on it when inserted. Hazel can never remember.
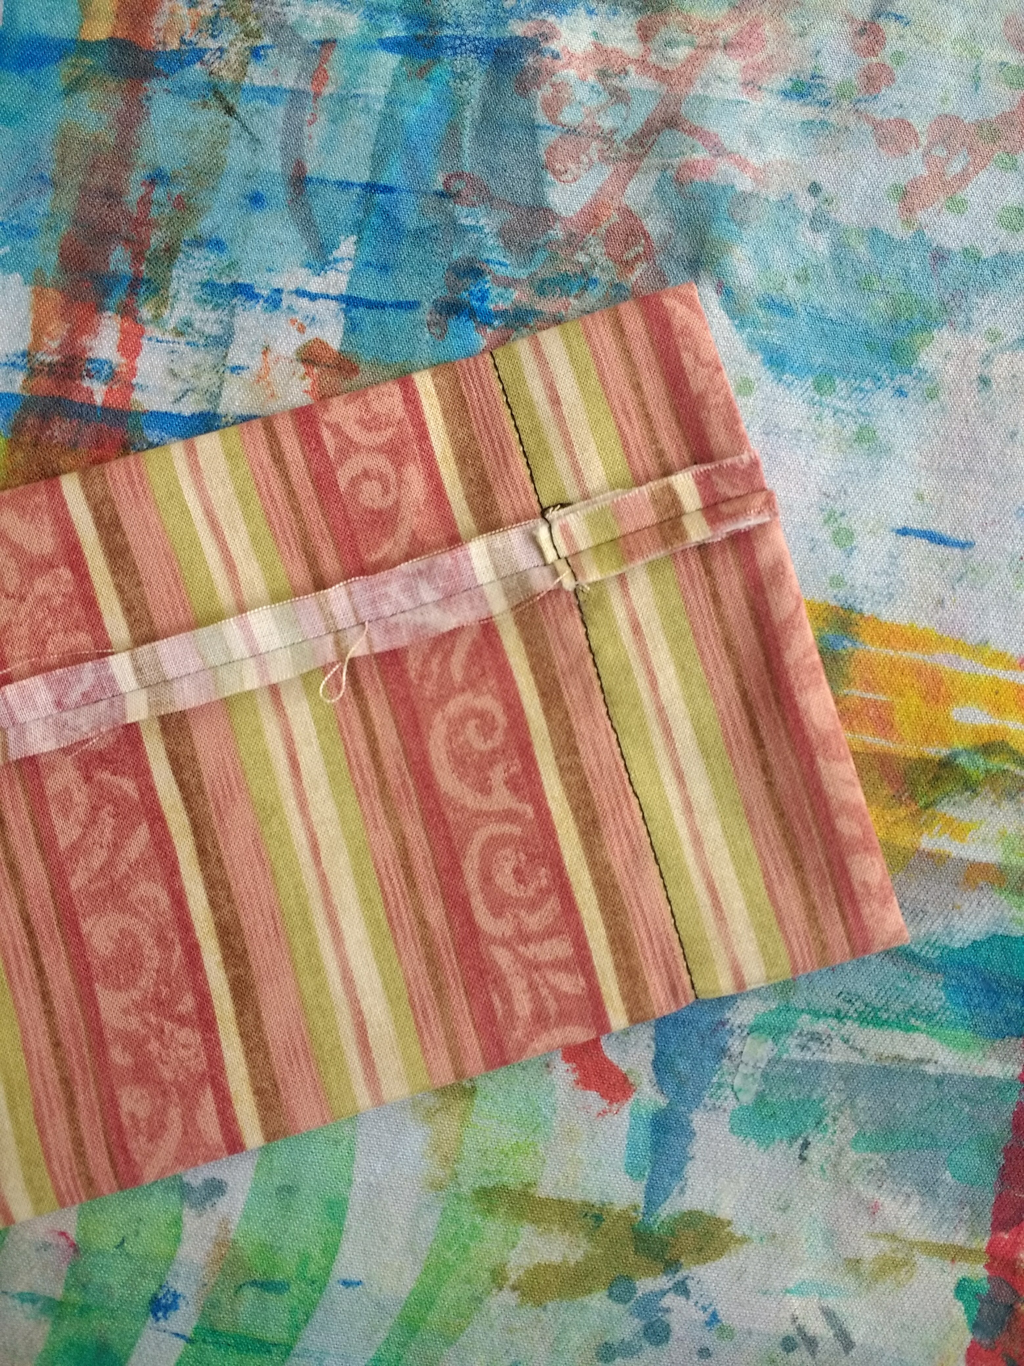
Fold in half lengthways (wrong sides together) and stitch with a 1/4 inch seam. The seam stays on the outside of the tube against the quilt back. Press the seam open and then press the sleeve lightly, so that the seam is in the centre of one side.
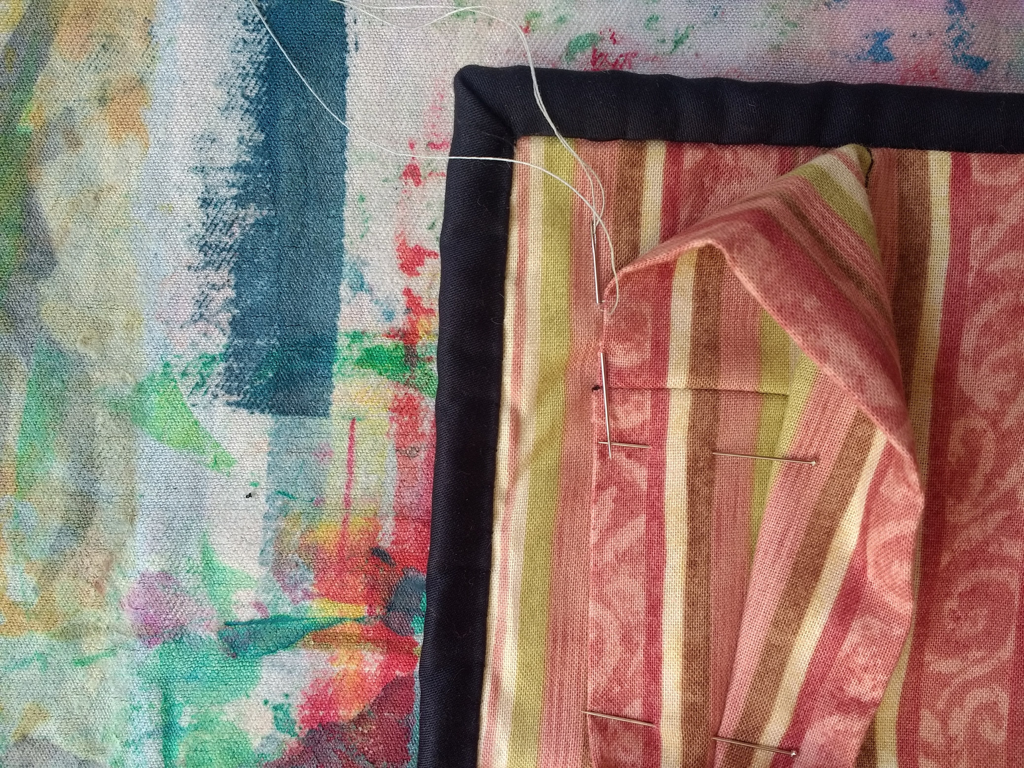
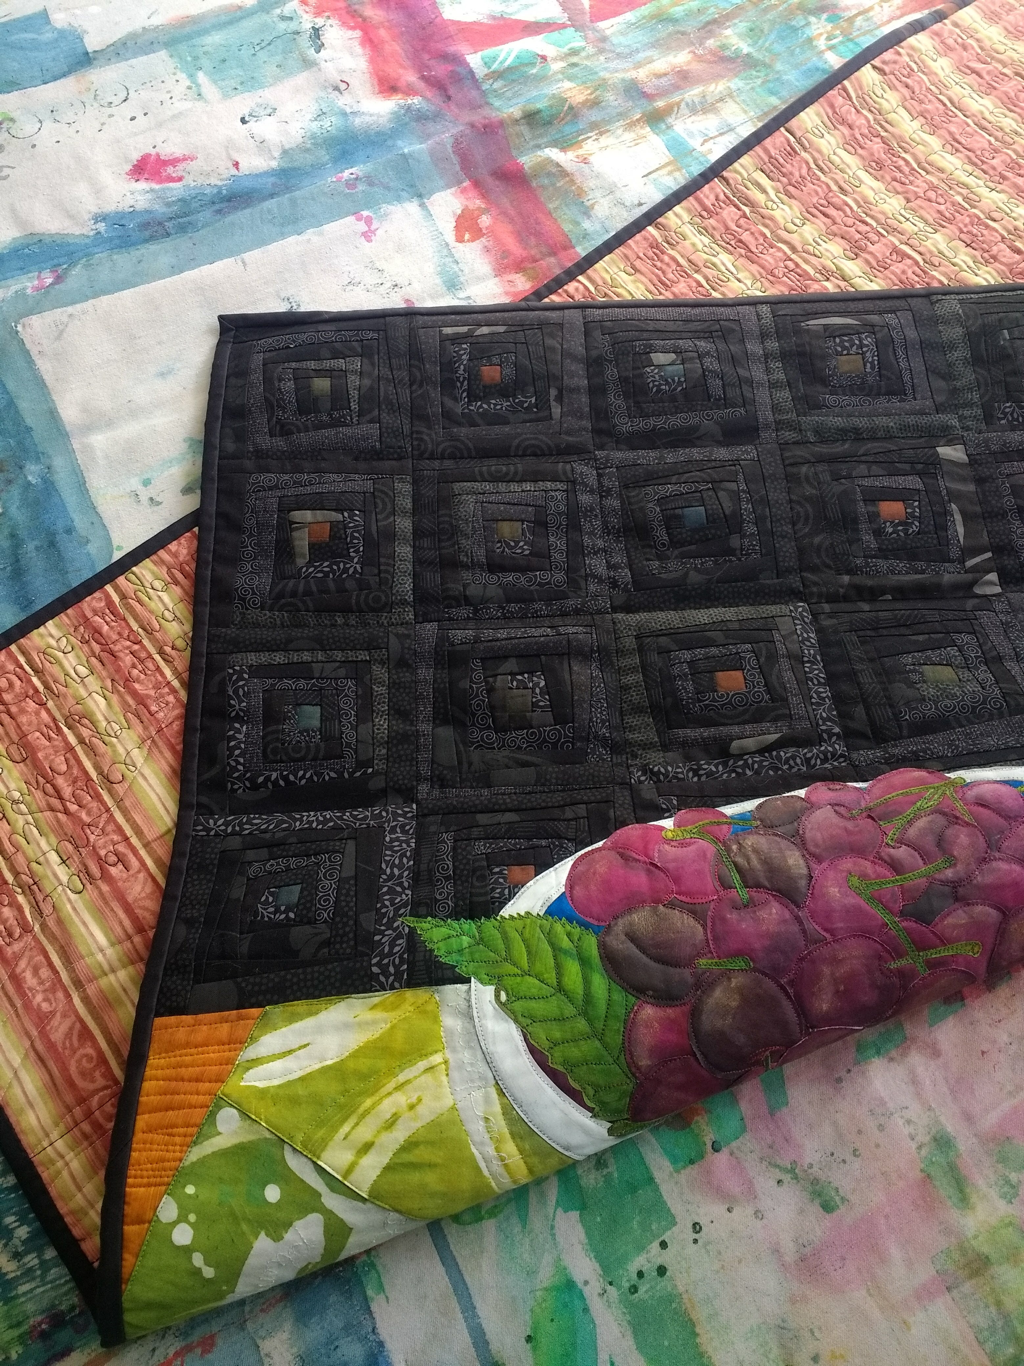
Line up the sleeve close to the top edge of the quilt to prevent the top edge flopping over - but not so close it will be seen from the front. In this case, I lined the sleeve up just below the binding. The sleeve should finish approxinmately one inch short of the side edges so the hanging pole and wall fixings can be hidden if desired.
Hand-stitch the sleeve into place using a hemming or slip-stitch with the stitches at least 1/4 inch apart. Sew down one side, along the bottom and up the second side, starting and stopping about half an inch from the top of the sleeve.
Hand-stitch the sleeve into place using a hemming or slip-stitch with the stitches at least 1/4 inch apart. Sew down one side, along the bottom and up the second side, starting and stopping about half an inch from the top of the sleeve.
Roll down the top layer of the sleeve (it will ‘stop’ where the stitching begins) and pin. Sew along the top edge. Doing this introduces extra fullness to the profile of the sleeve to accommodate the pole.
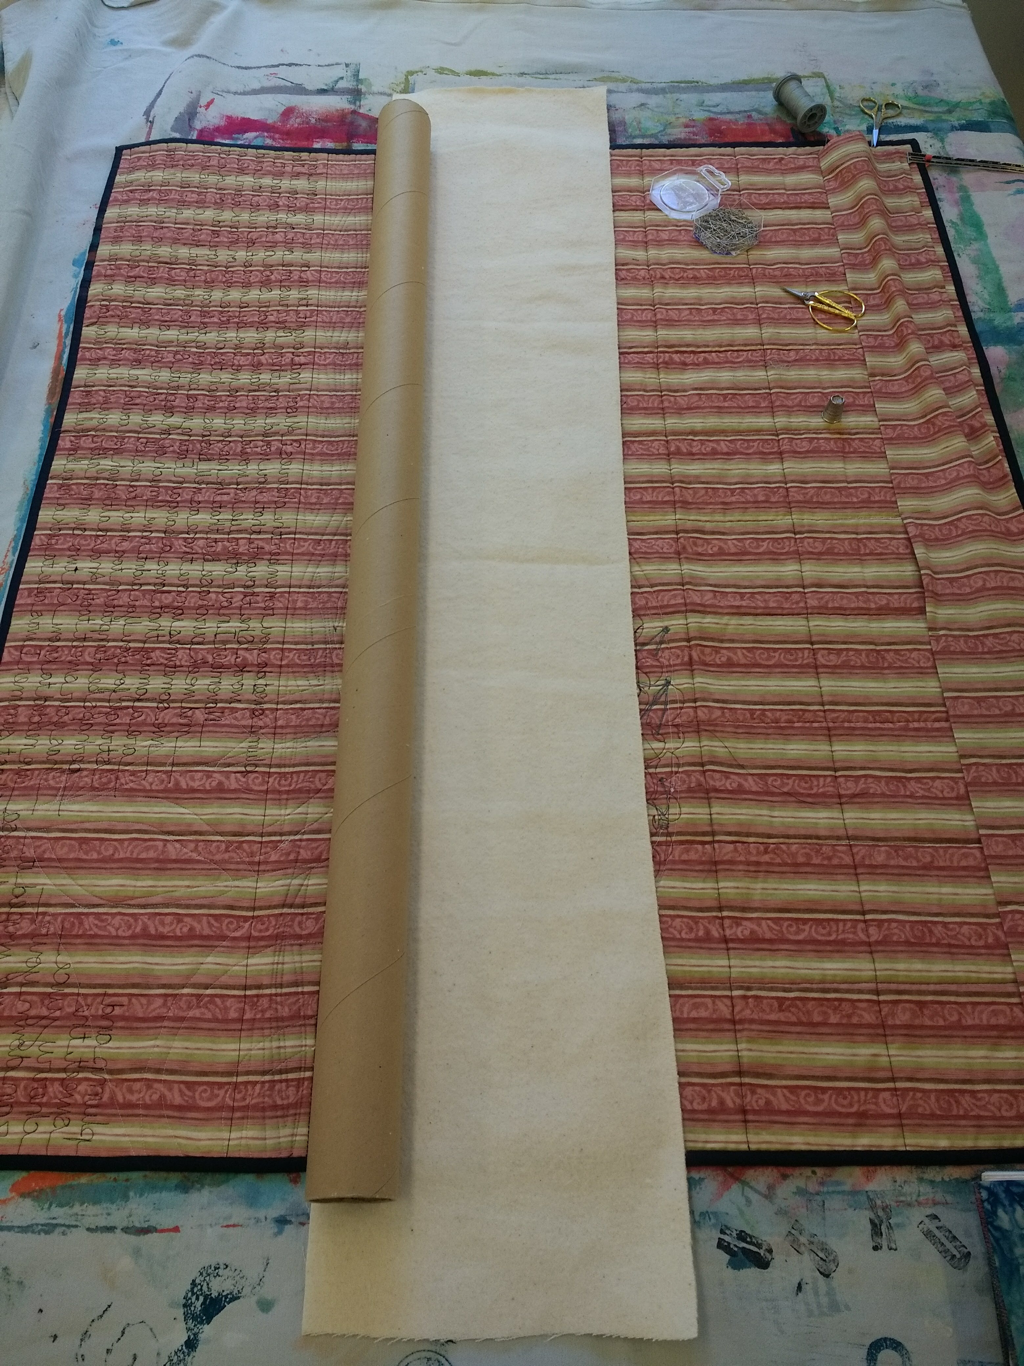
When we are sending our quilts off to a competition or exhibition we also like to give it a bespoke rolling tube and travelling bag - after all we’ve gone to all that effort in the designing and making of the quilt, we want it to arrive at its final destination in the best condition possible.
Fortunately in the Studio we have a ready supply of sturdy cardboard rolls, but try asking at fabric shops for something similar. So that the quilt doesn’t slip down the when rolled and stood on its end, we cover the cardboard tube with a piece of wadding (or in my case an off-cut of curtain inter-lining) - cut it two or three inches longer than the roll so the ends can pushed down the tube to secure it in place.
Fortunately in the Studio we have a ready supply of sturdy cardboard rolls, but try asking at fabric shops for something similar. So that the quilt doesn’t slip down the when rolled and stood on its end, we cover the cardboard tube with a piece of wadding (or in my case an off-cut of curtain inter-lining) - cut it two or three inches longer than the roll so the ends can pushed down the tube to secure it in place.
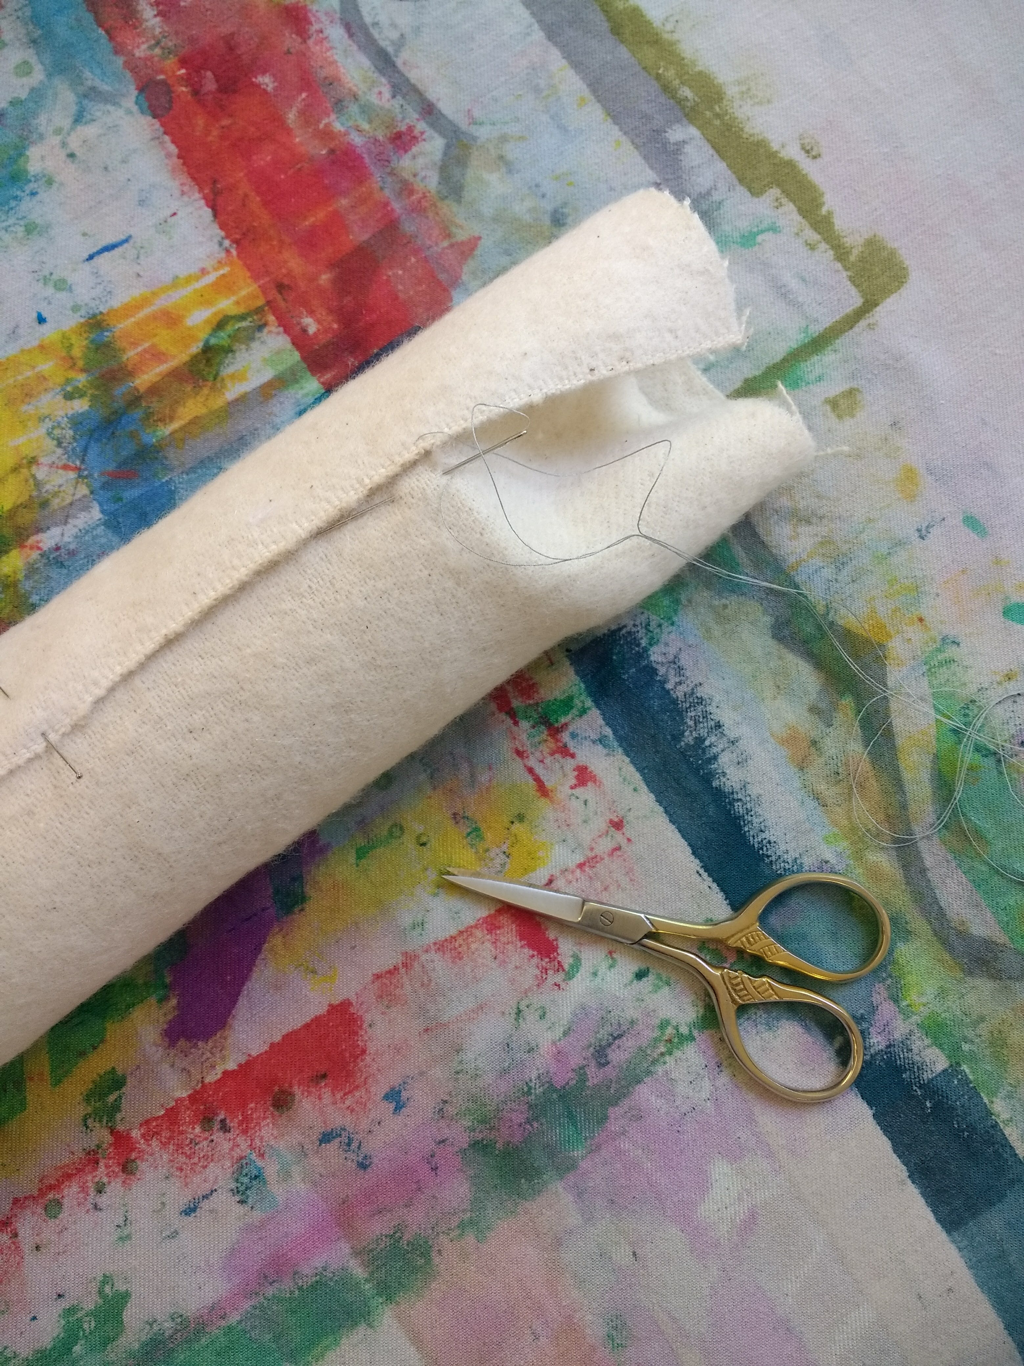
For extra security, slip-stitch the wadding in place around the tube.
Don’t forget: when you roll a quilt, roll it right side out and from the top to the bottom. That way you’ll minimise the creasing.
Don’t forget: when you roll a quilt, roll it right side out and from the top to the bottom. That way you’ll minimise the creasing.
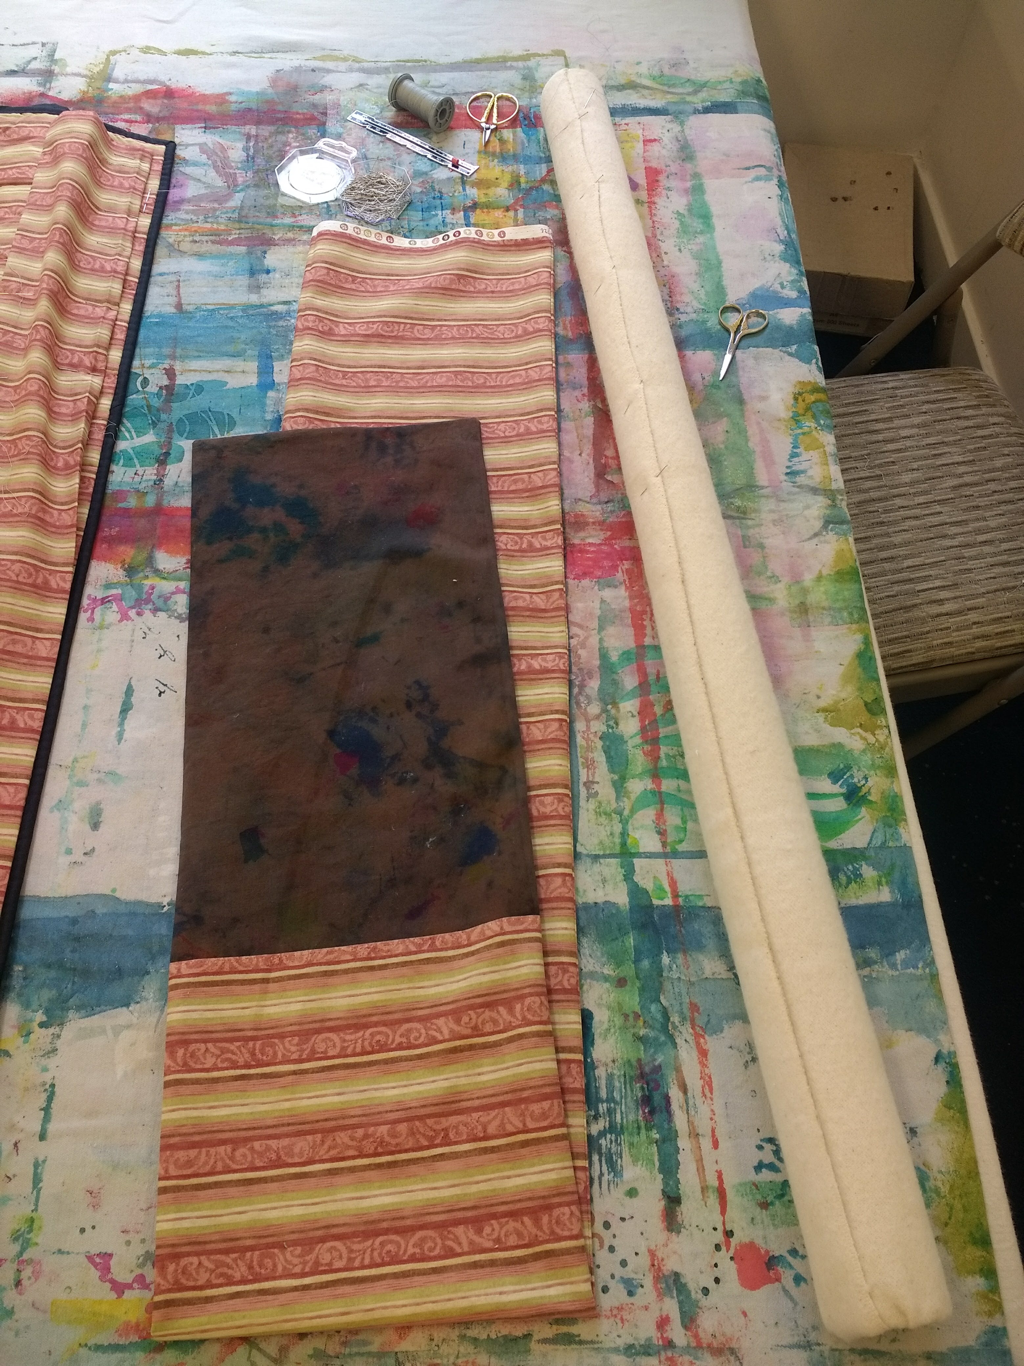
For the travelling bag cut a piece of fabric wide and long enough to accomadate the rolled quilt and sew into simple bag. It’s a good idea to write the name of the quilt and your contact details on the bag so if you store your quilts rolled you won’t have to keep unrolling them to find which one you are looking for, and also to make sure you get it back from a show!
And don't forget....no quilt is truly finished until it has a label!
So now I need to go and make sure my quilt entries are all finished and ready for dispatch!
Hazel & Terry
So now I need to go and make sure my quilt entries are all finished and ready for dispatch!
Hazel & Terry

 RSS Feed